


www.desatech.com
105339-01C 7
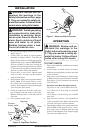
2. Inspect heater before each use. Check connec-
tions for leaks. Apply mixture of liquid soap
and water to connections. Bubbles forming
show a leak. Correct all leaks at once.
3. Inspect hose/regulator assembly before each
use. If hose is highly worn or cut, replace.
4. Have heater inspected yearly by a qualified
service agency.
5. Keep inside of heater free from combustible
and foreign objects. Remove motor and other
internal parts if needed to clean inside of
heater (see Service Procedures, page 7).
6. Clean fan blades each season or as needed (see
Fan, page 8).
SERVICE PROCEDURES
WARNING: Never service
heater while it is plugged in,
connected to propane supply,
operating, or hot. Severe burns
and electrical shock can occur.
ELECTRICAL SYSTEM
The entire electrical system for this heater is con-
tained within the motor. If any part of the electrical
system is damaged, you must replace motor.
MOTOR
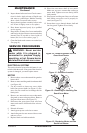
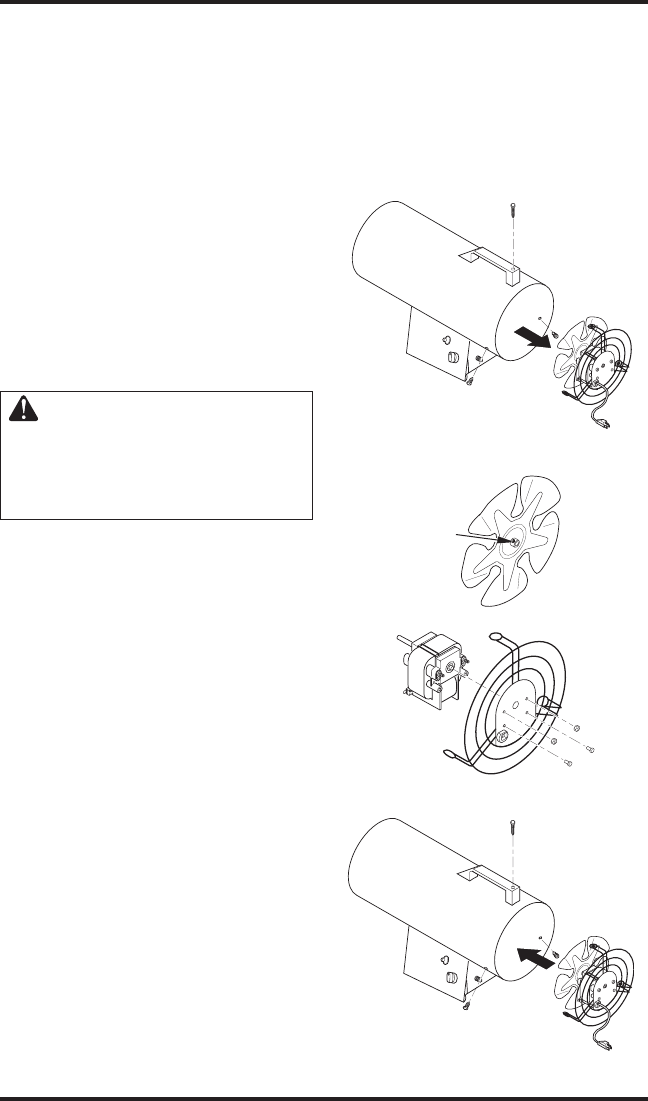
1. Remove three screws that attach fan guard to
heater shell.
2. Remove motor and fan guard from heater shell
(see Figure 10).
3. Use hex wrench to loosen set screw which
holds fan to motor shaft (see Figure 11). Re
-
move fan. Be careful not to damage the fan
blade pitch.
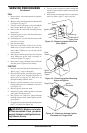
4. Remove two nuts and two screws that attach
fan guard to motor using nut-driver. Remove
fan guard from motor (see Figure 12).
5. Disconnect the green power cord wire from
motor and remove black and white wire ter
-
minals.
6. Discard old motor.
7. Attach green power cord wire to motor.
8. Attach fan guard to new motor with two nuts
and two screws.
9. Replace black and white terminals.
Figure 10 - Removing Motor and Fan
Guard from Heater
Figure 11 - Setscrew Location
Figure 12 - Removing or Attaching Fan
Guard from Motor
Setscrew
10. Place fan onto motor shaft of new motor.
Make sure set screw contacts flat surface on
motor shaft. Tighten set screw firmly (40-50
inch-pounds).
11. Place motor and fan guard into rear of heater
shell. Make sure power cord is properly lo
-
cated (see Figure 13).
12. Insert three screws through heater shell and
into fan guard. Tighten screws firmly.
MAINTENANCE
Continued
Figure 13 - Replacing Motor and Fan
Guard into Heater