www.desatech.com
114144-01B
7
ASSEMBLY INSTRUCTIONS
Continued
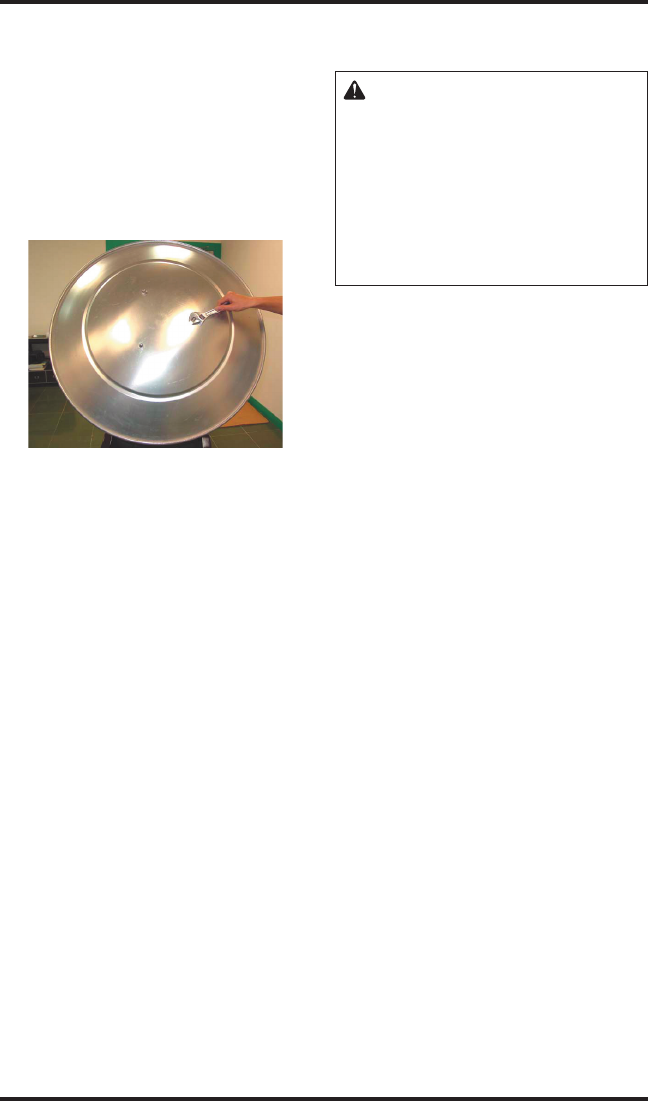
Figure 8 - Attaching Dome to Emitter
OPERATING
INSTRUCTIONS
WARNING: If you smell gas:
• Shut off gas to the appli
-
ance.
• Extinguish any open flames.
• If odor continues, immediately
call your gas supplier.
See safety warnings and precau
-
tions starting on page 1 of this
manual for more information.
PREPARING FOR OPERATION
1. Check heater for possible shipping damage. If
any is found, immediately notify the factory.
2. Follow all safety information.
3. Check and assure control knob is in the "OFF"
position.
4. Place propane/LP gas cylinder inside cylinder
base. Securely connect regulator to propane/LP
gas cylinder.
5. Turn cylinder valve on. Apply a soap and
water solution to connection at regulator and
cylinder. Bubbles forming show a leak.
6. In case of any leaks, turn off propane/LP cyl
-
inder valve, undo leaking connection. Check
and clean connection. Reconnect regulator and
leak test again.
START
1. Purge gas line leading to pilot assembly. Press
and turn control knob to HIGH position, keep
-
ing it pressed in for 1 to 2 minutes. Note: When
a new or refilled gas cylinder is installed, heater
will need to be purged again.
2. To light the pilot:
a) Press control knob and turn to the PILOT
position.
b) Hold control knob in and press ignition
button until the pilot lights.
c) Keep control knob depressed for 30 seconds
to heat thermocouple.
d) Release control knob and pilot should
remain lit. Note: To visually check igni
-
tion of pilot, slide viewing hole cover to
either side.
e) Once pilot flame stays on, close viewing
hole cover.
DOME AND EMITTER
Gently lay heater assembly on its side using one of
the shipping styrofoam inserts to prop up the top
half of heater. Align holes in dome with threaded
studs in emitter cover. Secure dome to emitter
using three cap nuts. Tighten with an adjustable
wrench. Stand heater back to upright position.


