6
102588
!
WARNING
!
WARNING
INSTALLATION
Continued
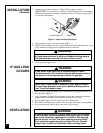
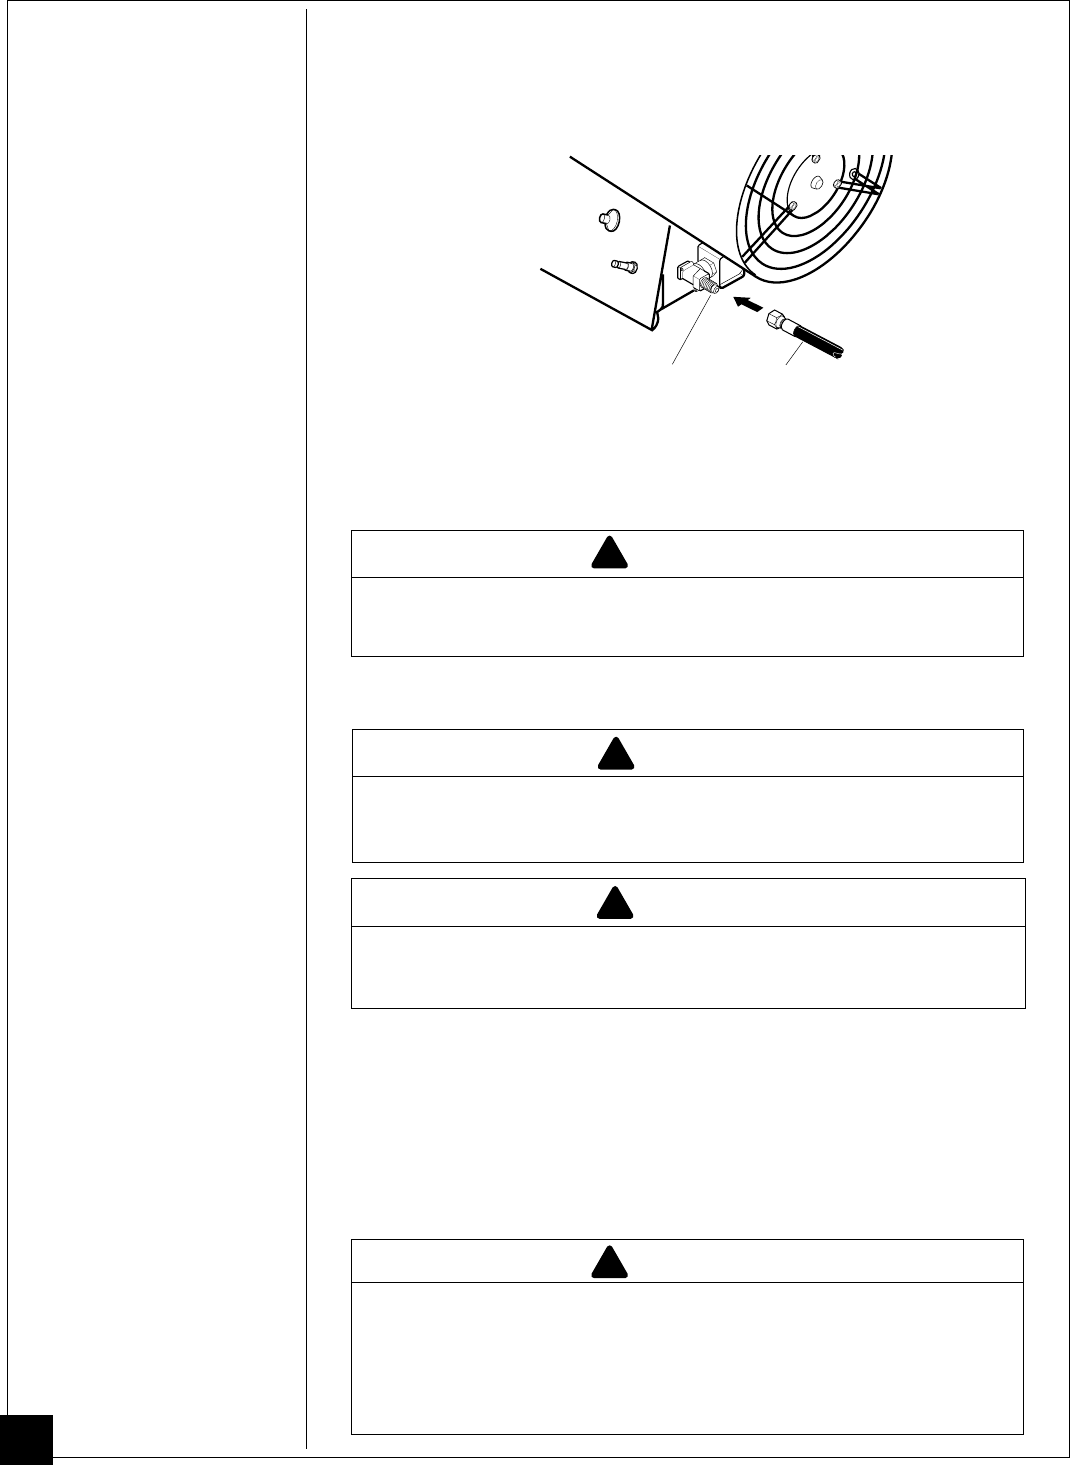
3. Connect hose to inlet connector. Tighten firmly using a wrench.
IMPORTANT:
Use extra hose or piping if needed. Install extra hose or piping
between hose/regulator assembly and propane tank. You must use the regula-
tor supplied with heater.
Inlet Connector
Hose
Figure 4 - Hose and Inlet Connector
4. Open propane supply valve on propane tank(s).
5. Check all connections for leaks. Apply mixture of liquid soap and water to gas
joints. Bubbles forming show a leak that must be corrected.
Never use an open flame to check for a leak. Apply a mixture
of liquid soap and water to all joints. Bubbles forming show a
leak that must be corrected. Correct all leaks at once.
6. Close propane supply valve.
Provide proper ventilation. If proper fresh, outside air ventilation
is not provided, carbon monoxide poisoning can occur. Provide
two fr esh, outside air openings for ventilation. One opening
should be near the floor, the other opening near the ceiling.
Each ventilation opening must be at least 130 cm
2
. Provide
proper fresh, outside air ventilation before running heater.
VENTILATION
IF GAS LEAK
OCCURS
!
WARNING
If you detect a gas leak, turn off propane supply at once.
Ventilate the area. Wait until five minutes after propane odor is
not present. Follow steps below to check for gas leak.
!
WARNING
Never use an open flame to check for a leak. Apply a mixture
of liquid soap and water to all joints. Bubbles forming show a
leak. Correct all leaks at once.
1. After turning off propane supply and ventilating area, unplug heater power cord.
2. Turn propane supply on.
3. Apply a mixture of liquid soap and water to hose and connections between
propane tank(s) and heater inlet. Bubbles forming show a leak.
4. Turn propane supply off and ventilate the area. Repair leak.
5. Wait until five minutes after propane odor is not present before restarting heater.
6. If you cannot repair leak, contact your local service center.


