15
104888
OWNER’S MANUAL
INSTALLATION
Continued
OPTIONAL WIRELESS HAND-
HELD REMOTE CONTROL
ACCESSORY GHRC and
GHRCT SERIES
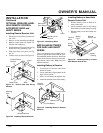
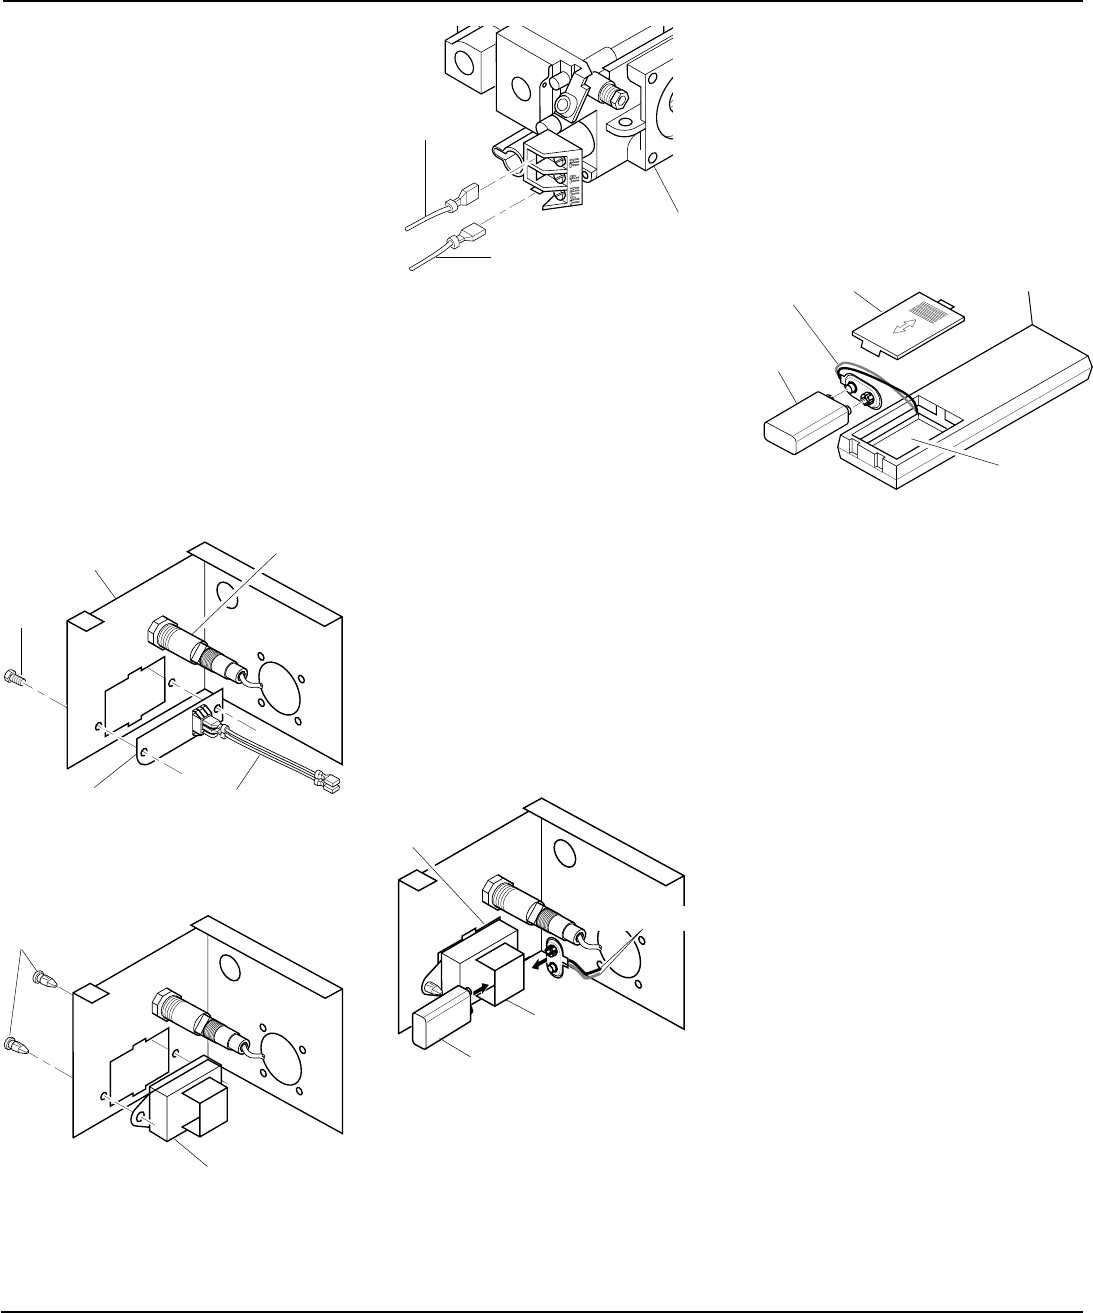
Installing Remote Receiver Unit
1. Disconnect switch wires from the con-
trol valve.
2. Remove screws attaching switchplate.
3. Remove switch plate (see Figure 32).
Discard after removing.
4. Install remote receiver unit onto gas log
heater base using mounting clips.
5. Push clips firmly into place (see Fig-
ure 33).
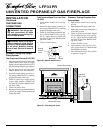
6. Connect wires as shown in Figure 34.
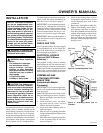
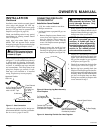
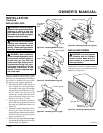
Figure 32 - Switch Plate and Wiring
Harness
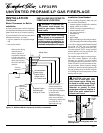
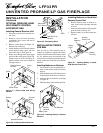
Figure 35 - Installing Battery in Remote
Receiver
Screw
Switch Plate
Wires
Figure 33 - Installing Remote Receiver
Installing Battery in Hand-Held
Remote Control Unit
1. Remove battery cover on back of re-
mote control unit.
2. Attach terminal wires to the battery.
Place battery into the battery housing.
3. Replace battery cover onto remote con-
trol unit.
Figure 36 - Installing Battery in Hand-
Held Remote Control Unit
Battery
Cover
9-Volt
Battery
Terminal
Wires
Remote
Control Unit
Battery
Housing
Figure 34 - Connecting Wires
Red Wire From
Receiver
Valve
White Wire
From Receiver
INSTALLING BATTERIES
FOR GHRC AND GHRCT
SERIES
Two 9-volt batteries (not included) are re-
quired to operate this heater with the wire-
less hand held remote control set. Install one
battery in the receiver and one in the hand-
held remote control unit.
Note:
Only use
alkaline batteries.
Installing Battery in Receiver
1. Locate back of receiver under front
burner of heater.
2. Locate the battery clip mounted on the
back of the receiver.
3. Slide a 9-volt battery through the clip.
4. Attach the terminal wires to the battery.
Remote Receiver
Mounting
Clips
Remote Switch
Bracket
Battery Clip
9-Volt Battery
Terminal Wires
Remote
Receiver
Ignitor


