


10
104306
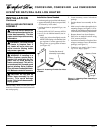
UVENTED NATURAL GAS LOG HEATER
CGD3924NR, CGB3924NR and CGB3930NR
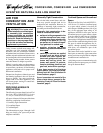
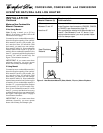
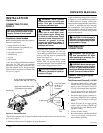
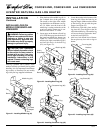
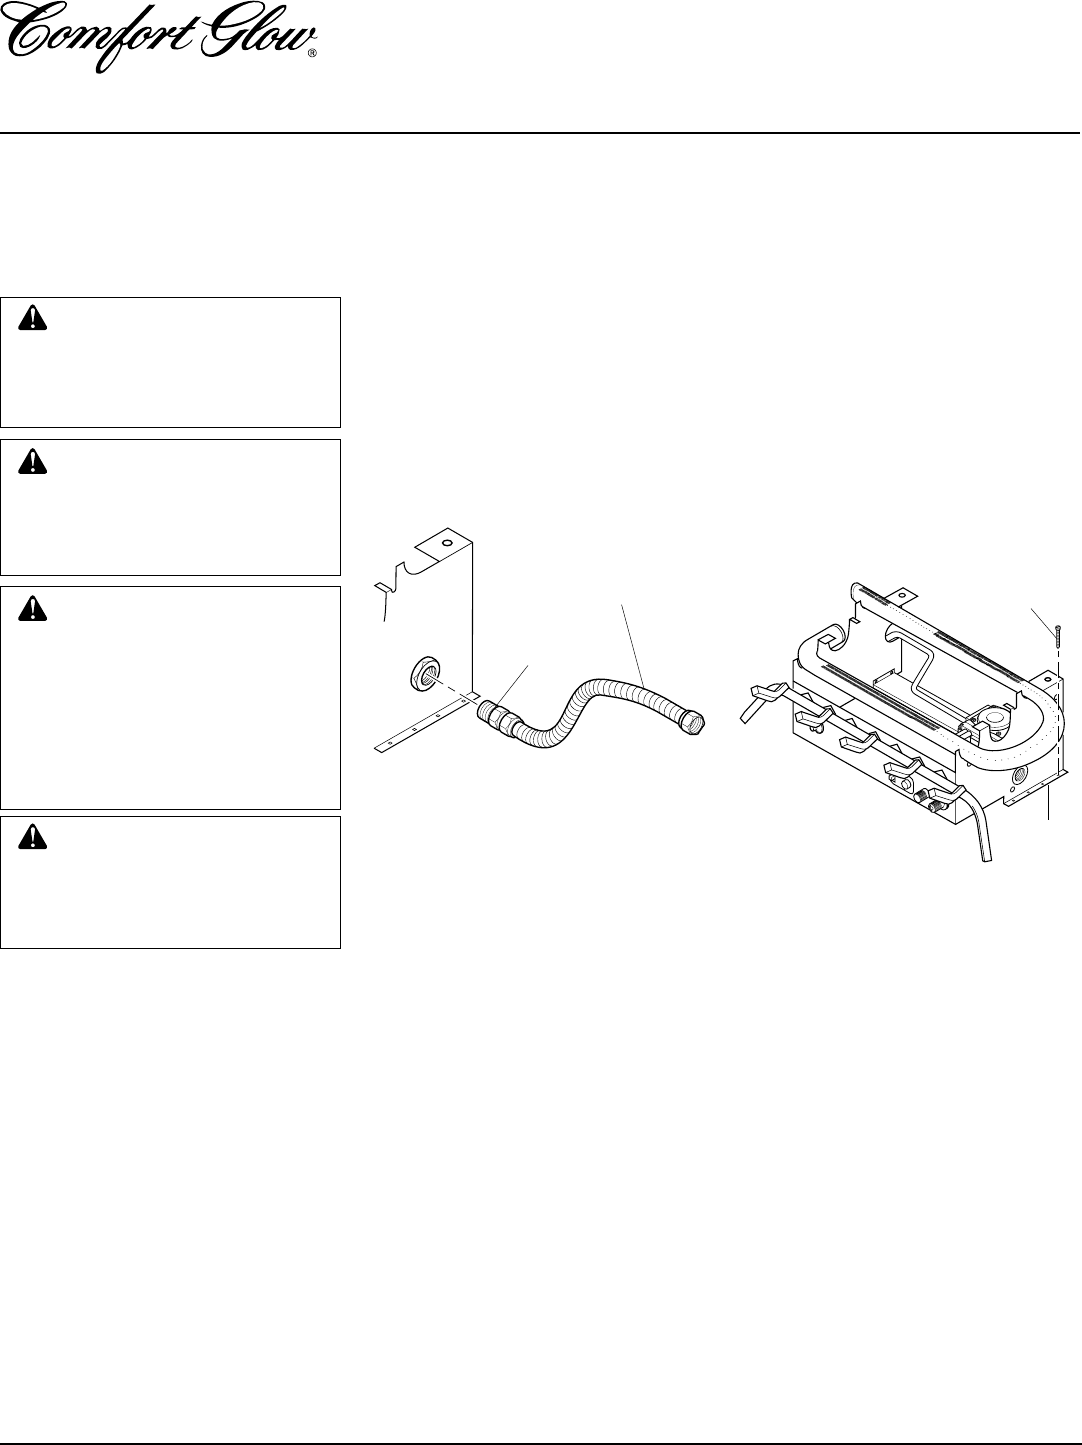
Figure 10 - Attaching Flexible Gas Hose
to Heater
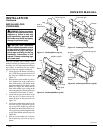
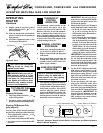
Figure 11 - Attaching Base Assembly to
Fireplace Floor
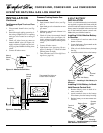
INSTALLATION
Continued
INSTALLING HEATER BASE
ASSEMBLY
IMPORTANT:
Make sure the heater burn-
ers are level. If heater is not level, heater will
not work properly.
WARNING: If installing in a
sunken fireplace, special care is
needed. You must raise the fire-
place floor to allow access to
heater control panel. This will in-
sure adequate air flow and guard
against sooting. Raise fireplace
floor with non-combustible mate-
rial. Make sure material is secure.
CAUTION: Do not pick up
heater base assembly by the
burner. This could damage
heater. Only handle base assem-
bly by grates.
WARNING: You must secure
this heater to fireplace floor. If
not, heater will move when you
adjust controls. Moving heater
may cause a gas leak.
Flexible Gas Hose (if
allowed by local codes)
Fitting
Masonry Screw
Mounting
Flanges
Installation Items Needed
• hardware package (provided with heater)
• approved flexible gas hose (not provided)
(if allowed by local codes)
• sealant resistant to propane/LP gas, not
provided
• electric drill with 3/16" masonry drill bit
• two (2) 9-volt alkaline batteries (not in-
cluded)
1. Apply pipe joint sealant lightly to male
threads of the fitting to be threaded into
gas regulator. Connect approved flex-
ible gas hose to gas regulator of heater
(see Figure 10).
2. Locate masonary screws in hardware
package.
3. Position heater base assembly in fire-
place.
4. Mark screw locations through holes in
mounting flanges (see Figure 11). If in-
stalling in a brick-bottom fireplace, mark
screw locations in mortar joint of bricks.
5. Remove heater base from fireplace.
6. Drill holes at marked locations using
3/16" masonry drill bit.
7. Attach base assembly to fireplace floor
using two masonry screws (in hardware
package) (see Figure 11).
8. Connect to gas supply. See Connect-
ing To Gas Supply, page 11.
CAUTION: Do not remove the
metal data plates attached to the
heater base assembly. The data
plates contain important warranty
information.