


104415
For more information, visit www.desatech.com
For more information, visit www.desatech.com
15
15
INSTALLATION
Installing Logs (Cont.)
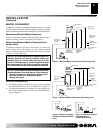
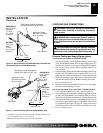
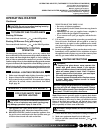
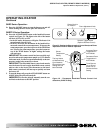
Middle Log (#2)
Metal Post
Metal
Post
Groove
Groove
Grate
Figure 22 - Installing Middle Log (#2) [18" Variable Manually-
Controlled Set Shown]
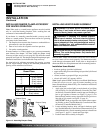
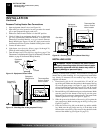
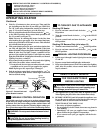
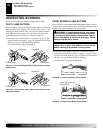
Rear Log (#3)
Peg
Grate
Prong
Grate
Prong
Rear
Burner
Groove
in Back
of Log
Groove in
Back of Log
Figure 23 - Installing Rear Log (#3) [18" Variable Manually-
Controlled Set Shown]
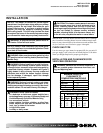
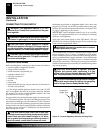
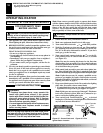
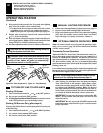
Front Log (#1)
Grate
Prongs
Metal
Grate Bar
Figure 21 - Installing Front Log (#1) [18" Variable Manually-
Controlled Set Shown]
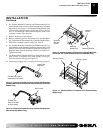
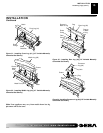
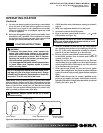
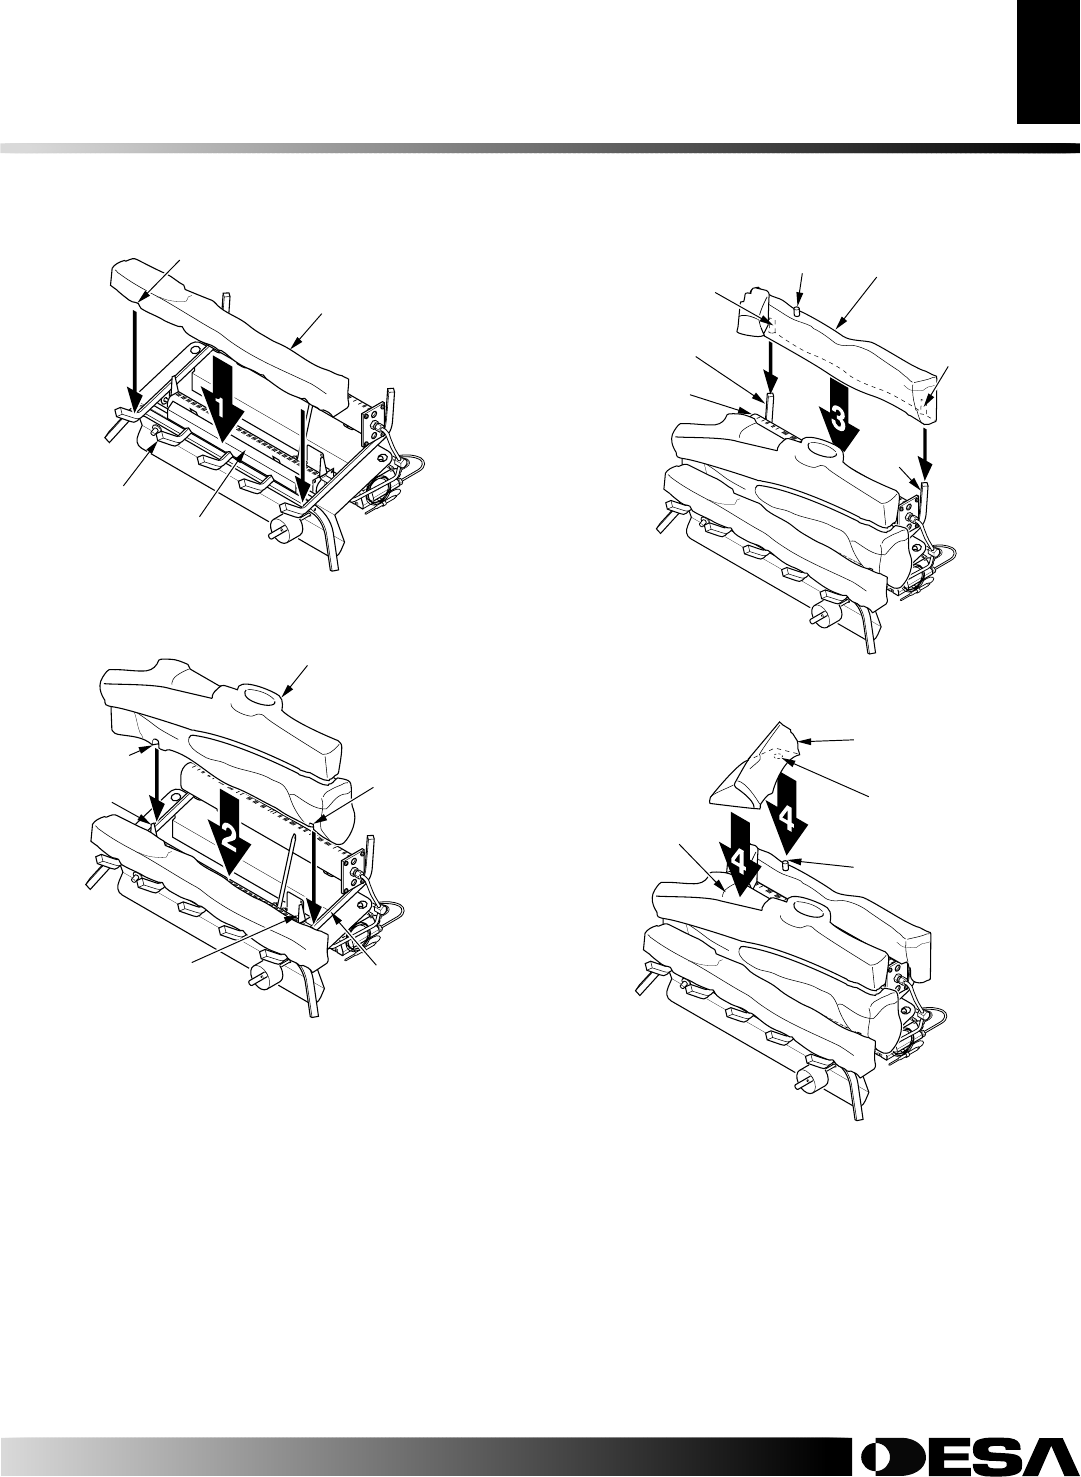
Notch
Figure 24 - Installing Crossover Log (#4) [18" Variable Manually-
Controlled Set Shown]
Crossover
Log (#4)
Hole
Peg
Cutout
INSTALLATION
Continued
Note:
Your appliance may vary from model shown but log
placement will be the same.