


MAN# 650264:B
Custom Calibration
Note 1: If your engine is warm you may need to disconnect the wire from your sender in order get to the lower
points on the gauge.
Note 2: If the key is turned off in custom setup, the previous gauge setting will be used and the custom gauge will
not be saved.
Note 3: If your gauge does not have defined ticks with numerical temp readings, it is highly recommended to use
a dedicated sender as calibration to the gauge is very inaccurate or impossible without temp markings.
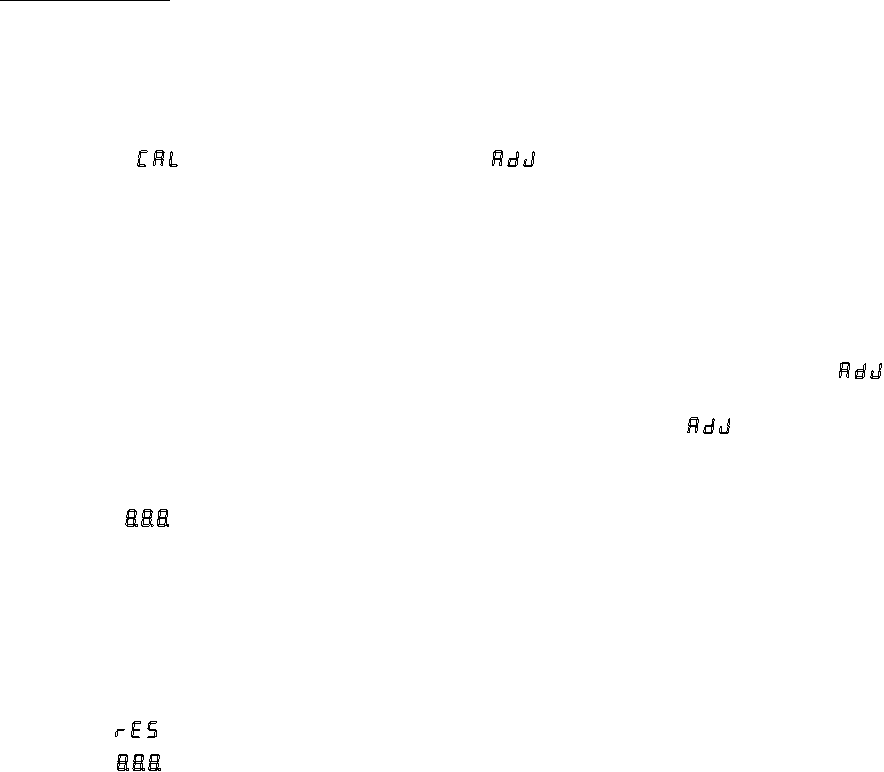
CC1. Select in Step 9 above. Display will read .
CC2. Turn the potentiometer on the lower right corner of the unit (marked CUSTOM ADJUSTMENT) with a
small flat screw driver. While doing so, watch your temp gauge and line up the needle with the lowest
temperature tick on the gauge. Custom gauge must be calibrated starting at cold temperatures and
moving to hot temperatures.
Note: Turning potentiometer clockwise increases temperature reading.
CC3. Once the gauge is set to a tick, press SW1 or SW2. A temperature reading will appear on the display.
Scroll to the temp reading that matches the tick temperature reading on the gauge using SW1 to increase
and SW2 to decrease. Press both buttons to save the number. Display will again read
.
CC4. Repeat steps CC2 and CC3 with the next lowest tick on gauge until all the ticks on your gauge have been
set. (up to 6 but no less than 4 points). Press both SW1 and SW2 at
to stop setting points if there
are less than 6 points on your gauge. If there are more than 6 points on your gauge, select points over
the full range of the gauge (cold to hot). This will give a better match to your gauge.
11. Unit will flash
to indicate set up is complete. The unit now has been set up. If the wiring and setup have
been properly completed the unit should begin normal operation at this point.
Resetting Factory presets
This procedure will return the device to the original factory presets and clear custom calibration settings.
NOTE: Calibration data for the custom gauge setup will be lost when reset to factory presets.
1. Turn key off.
2. Press and hold SW1 and SW2 and turn key on.
3. Display will read for reset
4. Display will flash to indicate unit is reset. Factory reset values are listed at the
beginning of the setup portion of this manual.
Checking set up (diagnostic mode)
This unit comes with a feature to allow you to mimic normal operating temperatures using the
adjustment pot. This can allow you to test the installation before ever starting the engine. Just
follow these steps.
1. Turn the key on.
2. Press SW1 and SW2 at the same time and hold. A number representing the temperature will come up on the
display. This number will blink once to indicate that the unit has entered diagnostic mode. SW1 and SW2 may
now be released and the unit will remain in diagnostic mode until the key is turned off.
3. Adjust the potentiometer on the left side of the unit while watching the display and listening for the fan. The fan
should start when the display reads hotter than the set ON temp. It should again shut off when the display reads
lower than the OFF temp.
4. You may also look at your water temperature gauge (if unit is using a gauge) and compare the temperature
reading of the unit to the gauge. The temperatures should be within a few degrees. If not, the wrong gauge may
be selected in the setup routine. Go through setup again by turning off the ignition, pressing and holding SW2 and
turning ignition back on. If a selection cannot be found that closely matches your gauge you may have to custom
calibrate to your gauge. (see step 10 in setup)
Checking the current reading
The current temperature reading can be displayed on the unit at anytime during normal operation without going into the
diagnostic mode. Simply press and hold SW1 while the key is on and the PAC-2700 is not in setup or diagnostic mode.
The current temperature will be shown on the display until the SW1 is released.