Page 16 Clarke
®
CombiVac 12 & 14 Operator's Manual
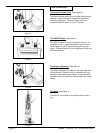
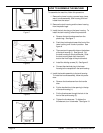
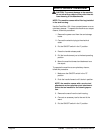
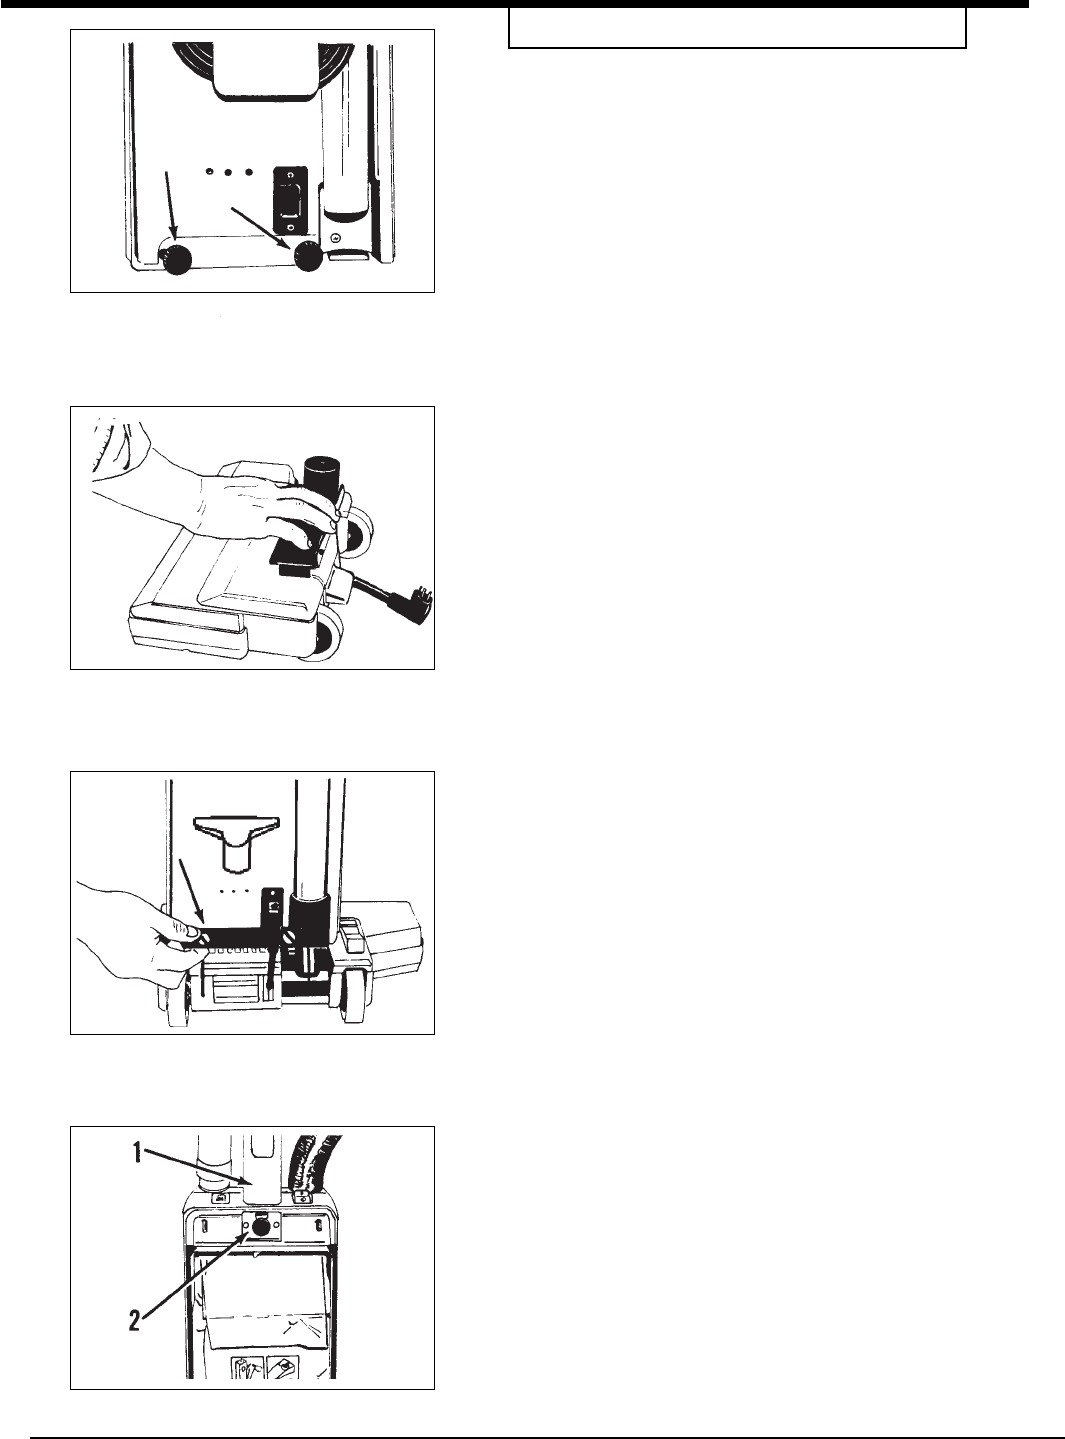
Figure 7
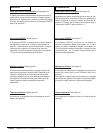
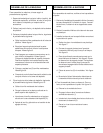
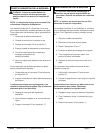
Figure 8
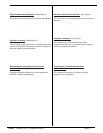
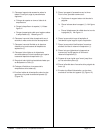
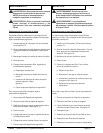
Figure 10
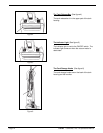
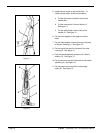
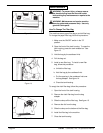
Figure 9
HOW TO ASSEMBLE THE MACHINE
To assemble the machine, follow this procedure:
1. Remove the lower housing, vacuum bags, hose,
wand, handle assembly, tank housing, and tool
holder from the carton.
2. Remove the tank housing and the lower housing
from the plastic bags.
3. Install the tank housing on the lower housing. To
install the tank housing, follow this procedure:
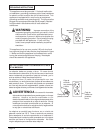
a. Remove the two thumbscrews from the
plastic bag. See figure 7.
b. Push the pivot bracket toward the front of the
lower housing until it locks in position. See
figure 8.
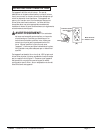
c. There are two hinges with slots on the bottom
of the tank housing (1). See figure 9. Put
the tank housing on the pivot bracket. Slide
the tank housing back until the slots fit
around the front edge of the pivot bracket.
d. Install the holding screws (2). See figure 9.
e. Connect the electrical plug in the lower
housing to the receptacle in the tank housing.
4. Install the handle assembly to the tank housing.
To install the handle assembly, follow this proce-
dure:
a. Remove the thumbscrew from the handle
tube.
b. Put the handle tube in the opening in the top
of the tank housing (1).
c. Put the thumbscrew through the hole in the
front of the tank housing (2).
d. Tighten the thumbscrew. To tighten the
thumbscrew, turn it clockwise. See figure 10.


