


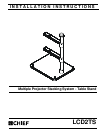


LCD2TS Installation Instructions
6
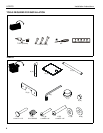
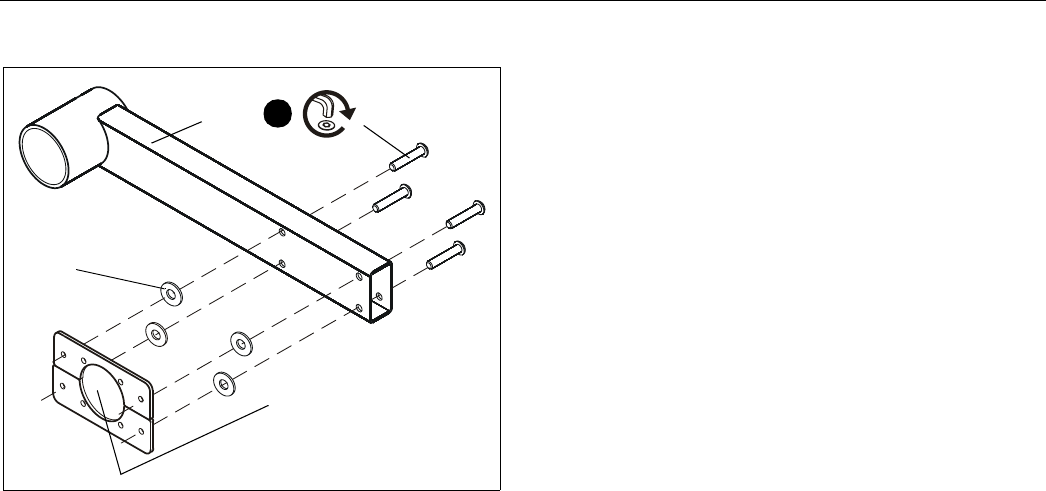
6. Insert four 1/4"-20x1-1/4" (J) button head cap screws from
the top of the projector arm. (See Figure 4)
Figure 4
7. Place a 1/4" flat washer (L) onto each screw.
8. Hold the RPM (with interface brackets attached) to the
bottom of the projector arm and tighten the screws through
the washers and into the interface brackets.
9. Proceed with Steps 5 - 10 from For RPA Models Only
section
(A)
(L)x4
RPM not shown
for clarity only
8
(J)x4