


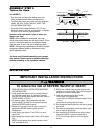

8
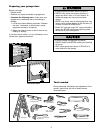
To avoid SERIOUS damage to garage door opener,
use ONLY those bolts/fasteners mounted in the top of
the opener.
WARNING
CAUTION
WARNING
WARNING
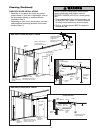
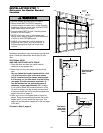
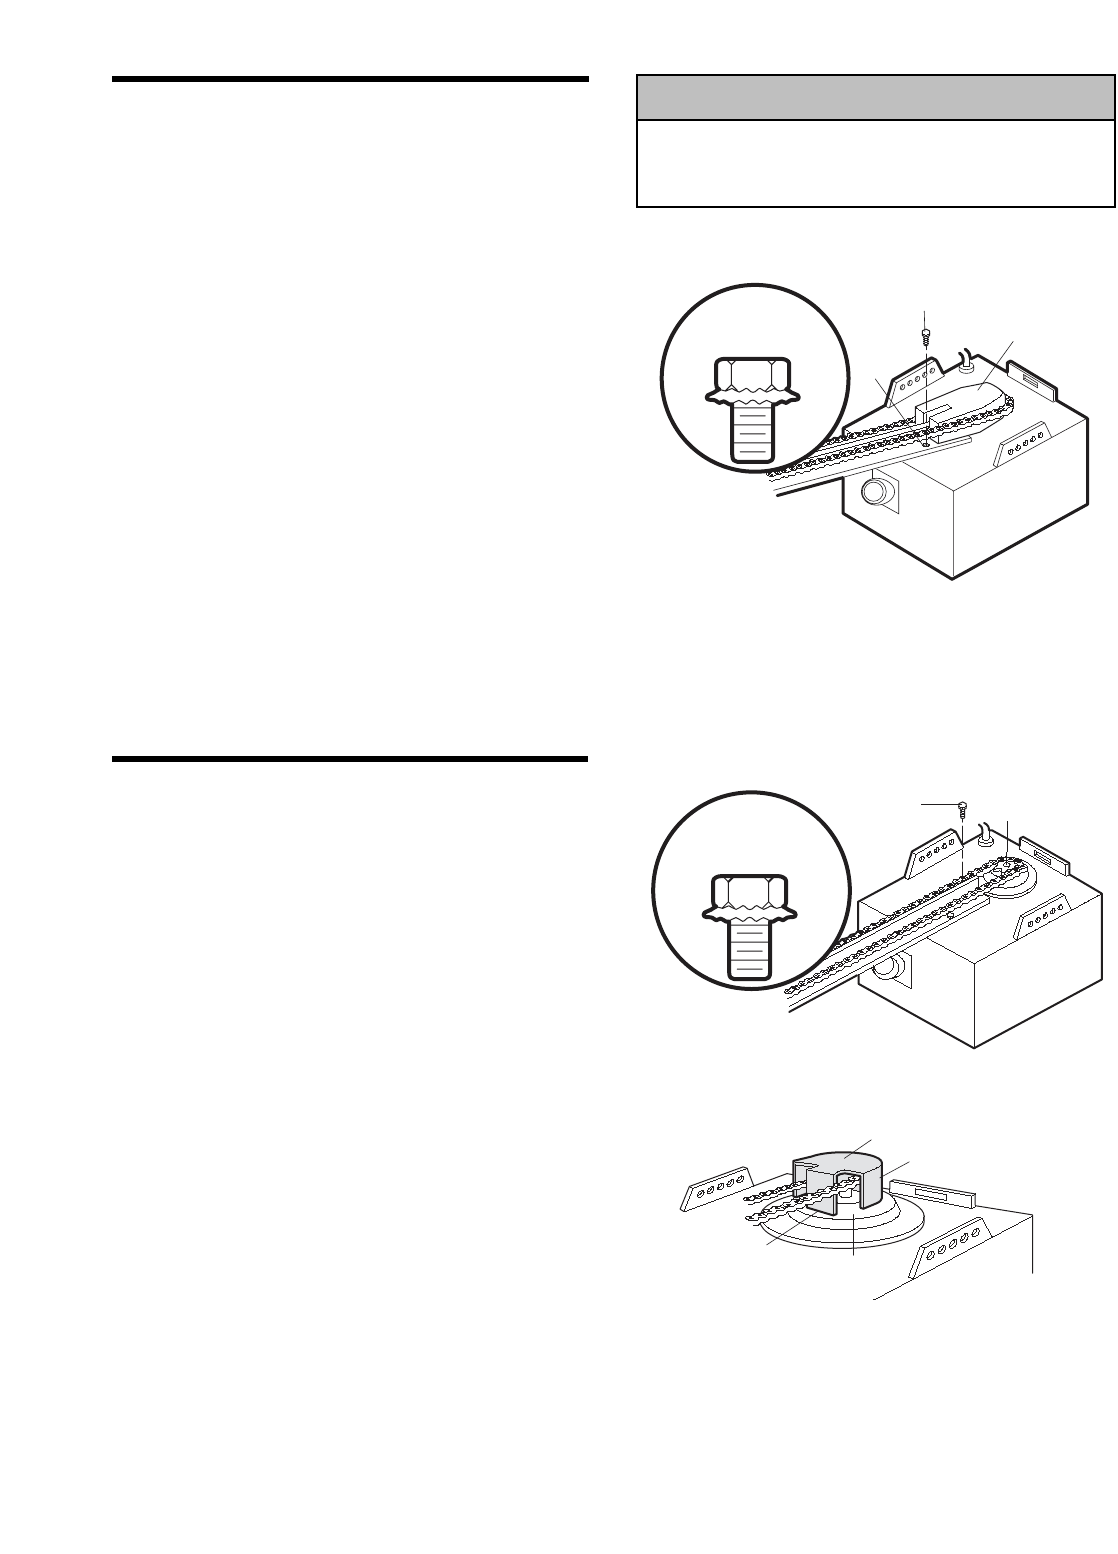
ASSEMBLY STEP 1
Fasten the Rail to the Motor Unit
MODELS 1255R 1245R, and 1240R
(For Models 1256R and 1246R see page 9)
• Remove the two washered bolts mounted in top of
motor unit.
• Position rail at an angle to opener so one hole in
rail and motor unit line up.
• Thread one of the washered bolts part way in.
Use only these bolts! Use of any other bolts will
cause serious damage to door opener.
• Align rail and styrofoam over sprocket. Cut tape
from rail, chain and styrofoam.
• REMOVE STYROFOAM.
Washered Bolt
5/16"-18x1/2"
Styrofoam
Rail
Hole
USE ONLY THIS
TYPE AND SIZE
BOLT
Washered Bolt
5/16"-18x1/2"
Motor Unit
Sprocket
USE ONLY THIS
TYPE AND SIZE
BOLT
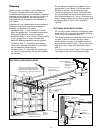
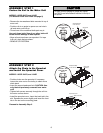
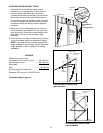
Sprocket Cover
Mounting
Plate
Front Tab Slot
Back Tab Slot
ASSEMBLY STEP 2
Attach the Chain to the Sprocket
and Install the Sprocket Cover
MODELS 1255R 1245R, and 1240R
• Position chain over the sprocket. If necessary,
loosen the outer nut on the trolley to obtain more
chain slack.
• Insert the second washered bolt. CAUTION: Use
only the bolt previously removed from motor
unit!
• Tighten both screws securely through the rail into
the motor unit as shown.
• Install the sprocket cover: Insert the back tab in the
slot. Squeeze the cover slightly and insert the front
tab in the slot on the mounting plate.
Proceed to Assembly Step 3.