


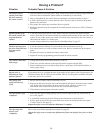

Children operating or playing with a garage door opener
can injure themselves or others.
The garage door could
close and cause serious injury or death.
Do not allow
children to operate the door control(s) or remote control
transmitter(s).
A moving garage door could injure or kill someone under
it.
Activate the opener only when you can see the door
clearly, it is free of obstructions, and is properly
adjusted.
“Security Plus”
Your garage door opener receiver and remote control
transmitter have been set at the factory to a matching
code. The door will activate when you press the LARGE
remote control push button.
Your "Security Plus" opener will operate with:
• several Security Plus remote controls (with yellow
indicator lights) utilizing up to 8 functions. NOTE:
Open/Close/Stop operation counts as 1 function.
• one Keyless Entry System (with Security Plus logo)
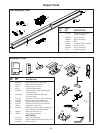
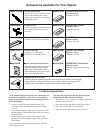
Follow the instructions below to program your opener to
match any additional remotes you may purchase. See
Accessories on page 34.
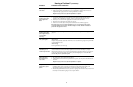
To Add a Remote Control
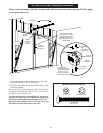
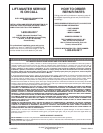
1. Press and hold the selected remote control push button.
See Figure 1.
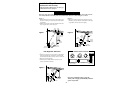
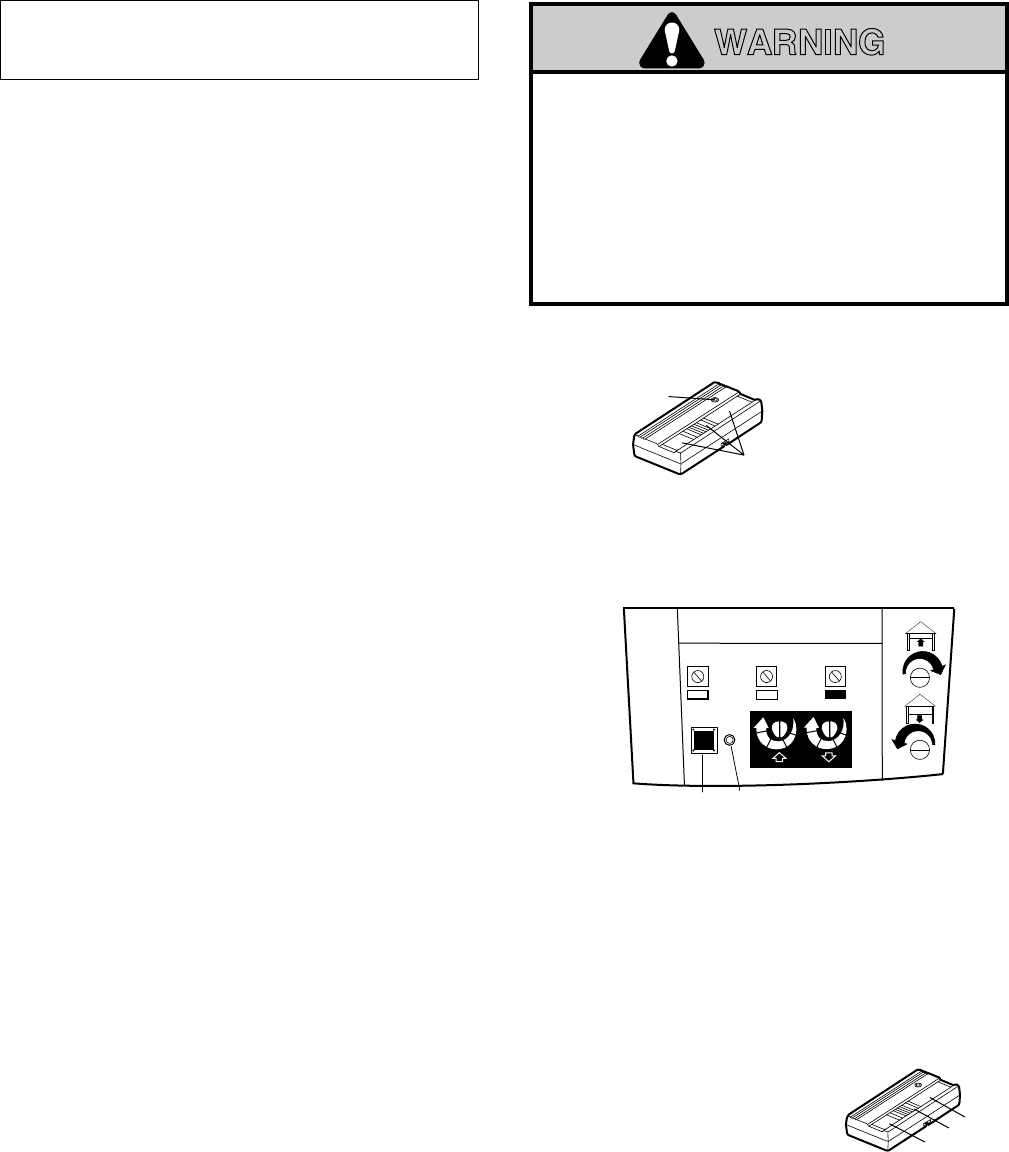
2. Press and release the "Smart" (learn) button on the
right side panel of the opener. See Figure 2. The
indicator light on the panel will begin to blink and the
opener lights will flash once.
3. Release the remote push button.
Now the opener will operate when the remote control
push button is pressed. Test by pressing the remote button
to see that the door goes up and down.
Adding a remote can also be done from the door
control, as follows:
1. With the door closed, press and hold a remote push
button.
2. Press and hold the Light button on the door control.
3. Press and hold the door control push bar.
4. After the opener lights flash, release all buttons.
Test by pressing the remote push button.
To Erase All Remote Control Codes
Press and hold the "Smart" button on the opener panel
until the indicator light turns off (about 6 seconds). All
transmitter codes are now erased. Then follow the steps
above to re-program each remote control.
To Control the Opener Lights
With Security Plus transmitters, a remote push button can
be programmed to operate the opener lights without
opening the door.
1. With the door closed, press and hold the remote button
that you want to control the light.
2. Press and hold the Light button on the door control.
3. Press and hold the Lock button on the door control.
4. After the opener lights flash, release all buttons.
Test by pressing the remote push button. The opener
lights should turn on or off but the door should not move.
29
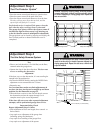
Select a
push button
Yellow
Battery Indicator
Light
Sélectionner un
bouton-poussoir
Témoin lumineux
jaune de
pile
Figure 1
WARNING
CAUTION
WARNING
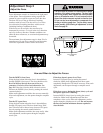
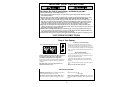
Receiver & Remote Control Programming
NOTICE: To comply with FCC rules, adjustment or modification of this
receiver and/or transmitter are prohibited, except for changing the code
setting or replacing the transmitter battery. THERE ARE NO OTHER
USER SERVICEABLE PARTS.
Security Plus
Garage Door Opener
"Smart" (learn)
Button
Indicator
Light
+
+
321
Kg
Kg
1
3
8
7
5
1
3
8
7
5
Code programming instructions are
also located on the opener panel.
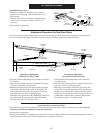
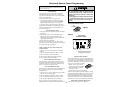
Open/Close/Stop Operation
Your Security Plus remote control can be programmed to
operate one door using all 3 buttons: the large button will
only open the door, the middle button will only close the
door, and the third button will stop the door’s movement.
You may set up this feature as follows:
1. With the door closed, press and
hold the large remote push button.
2. Press and hold the Lock button
on the door control.
3. Press and hold the door control push bar.
When the opener lights flash, release all buttons. Test by
pressing the large (Open) button on the remote. The door
should open. Press it again while the door is open and
nothing should happen. Press the middle (Close) button
and the door should close. Press the third (Stop) button
while the door is moving and it should stop immediately.
Model 67LM Security Plus Keyless Entry
Follow instructions on page 34 (Accessories).
Open
Close
Stop
Ouverture
Fermeture
Arrêt
Security Plus Remote Control
Figure 2