22
Defiant 1610CE Non-Catalytic Woodburning Stove
30003846
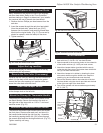
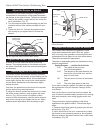
Adjust the Damper as Needed
The tension on the Defiant’s damper is adjustable to
compensate for compression of the gasket that seals
the damper to the upper fireback. To adjust the damper:
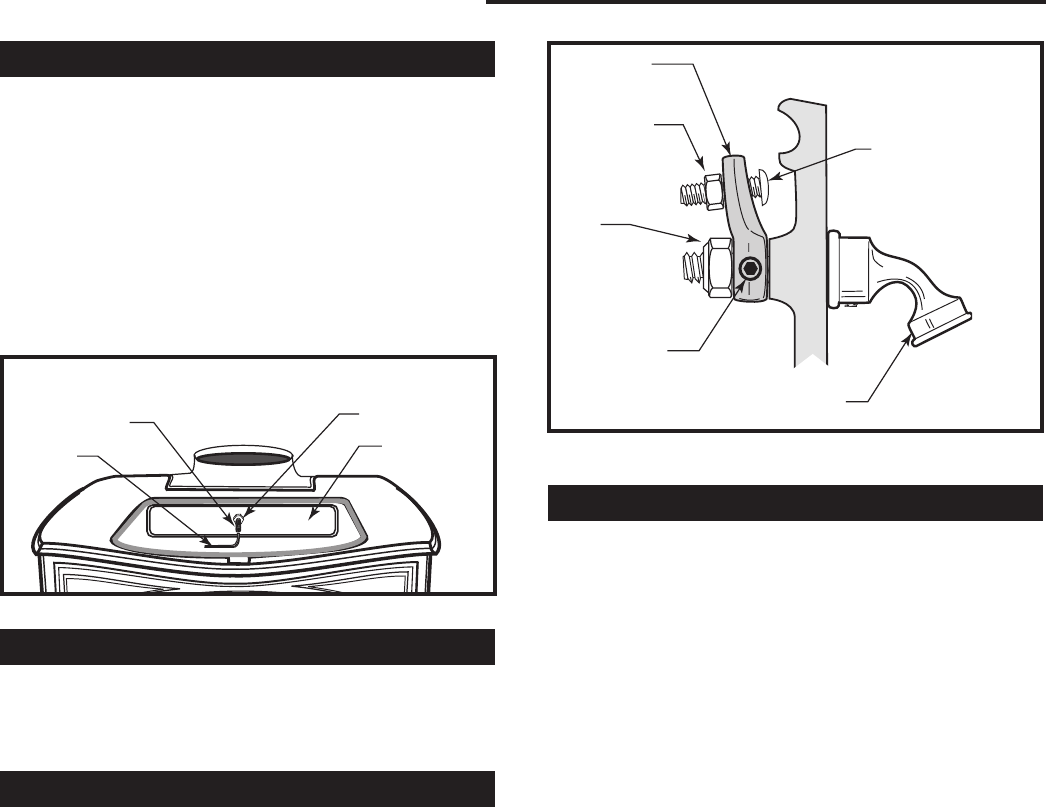
1. Remove the griddle. Loosen the lock nut at the cen
-
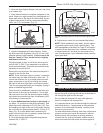
ter of the damper. (Fig. 37)
2. Turn the pressure screw approximately one half turn
clockwise with an Allen wrench provided with your
stove.
3. Tighten the lock nut. Prevent the pressure screw
from turning as you tighten the nut. Re-test the
damper.
Tighten the Damper Handle as Needed
A handle on the left side of the stove controls the
damper. The handle attaches to the damper rod with a
set screw. Periodically check the set screw and tighten
as necessary.
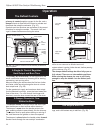
How to Adjust the Door Latches
The Defiant’s doors should close securely to prevent
accidental opening and to keep air from leaking into the
stove. On properly adjusted doors, the handles should
resist slightly as they are turned to the closed position
and the doors themselves should be drawn slightly
toward the stove.
Over time, the gasket around the doors will compress
and the latches may need adjustment.
To adjust the latches, loosen the small lock nut, rotate
the striker screw a half-turn, and re-tighten the small
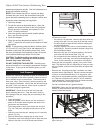
lock nut. (Fig. 40) Your stove kit includes an Allen
wrench for latch adjustments. Hold the striker screw to
keep it from turning as you tighten the lock nut. Make
repeated small adjustments until the setting is right.
Replace the Stove Gaskets as Needed
Your Defiant uses fiberglass rope gaskets to make
a tight seal between some parts. With use, particu-
larly on moving parts, gaskets can become brittle and
compressed and can begin to lose their effectiveness.
These will need periodic replacement.
The sizes of replaceable gasket are listed below, along
with their applications.
Gasket Diameter... ...And the Parts it Seals
5/16” The griddle to the stove top
(wire reinforced gasket)
5/16” The damper to the upper fireback; the
front doors to the stove front; and the
doors to each other.
3/8” The ash door to the front of the bottom
panel
3/16” The outer glass panes to the door
If you need to change a gasket, first obtain an appropri-
ate replacement from your Vermont Castings, Autho-
rized Dealer.
Wait until the fire is out and the stove has cooled. Be
sure to follow the standard safety procedure for working
with dusty materials: wear safety goggles and a dust
mask.
The procedure for replacing gaskets is the same,
regardless of the gasket location. Follow these eight
steps:
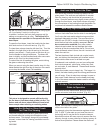
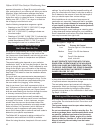
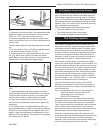
1. Remove the existing gasket by grasping an end and
pulling firmly. (Fig. 39)
2. Use a wire brush or the tip of a screwdriver to clean
the channel of any remaining cement or bits of gasket.
Remove stubborn deposits of cement with a cold chisel
if necessary. (Fig. 39)
ST531
Door Pawl
11/00
Pawl
Small Lock-
ing Nut
Large
Locking
Nut
Set Screw
Striker Screw
Handle Stub
ST531
Fig. 38 Turn the door latch striker screw in or out to tighten or
loosen the screw.
ST554
Damper adjustment
11/00
Pressure Ad-
justing Screw
Allen
Wrench
Lock Nut
Damper
ST554
Fig. 37 Adjust the damper with the Allen wrench.


