


2
thermostat is operated from batteries. The thermostat will continue
to operate if J2 is not in the correct position or not connected.
However, the backlight will not operate.
INSTALLATION
IMPORTANT: Install batteries last to ensure proper thermostat
mounting and latch engagement.
Step 1 — Th ermostat Location
Thermostat should be mounted:
S Approximately 5 ft (1.5m) from floor.
S Close to or in a frequently used room, preferably on an inside
partitioning wall.
S On a section of wall without pipes or duct work.
Thermostat should NOT be mounted:
S Close to a window, on an outside wall, or next to a door leading
to the outside.
S Exposed to direct light and heat from the sun, a lamp, fireplace,
or other heat--radiating object which may cause a f alse reading.
S Close to or in direct airflow from supply registers and return--air
grilles.
S In areas with poor air circulation, such as behind a door or in an
alcove.
Step 2 — Install Thermostat
IMPORTANT: Install batteries last to ensure proper thermostat
mounting and latch engagement.
ELECTRICAL OPERATION HAZARD
Failure to follow this warning could result in personal injury
or death.
Before installing thermostat, turn off all power to unit. There
may be more than 1 disconnect. Lock out and tag switch with
a suitable warning label.
!
WARNING
1. Turn OFF all power to HVAC unit.
2. If an existing thermostat is being replaced:
a. Remove existing thermostat from wall.
b. Disconnect wires from existing thermostat, one at a
time. Be careful not to allow wires to fall back into wall.
c. As each wire is disconnected, record wire color and
terminal marking.
d. Discard or recycle old thermostat.
ENVIRONMENTAL HAZARD
Failure to follow this caution may result in environmental
damage.
Mercury is a hazardous waste and may be found in the old
thermostat. Federal regulations require that Mercury be
disposed of properly.
CAUTION
!
3. Separate front and back plastic assembly of thermostat.
4. Route thermostat wires through hole in mounting base.
Level mounting base against wall (for aesthetic value only,
thermostat need not be level for proper operation) and mark
wall through 2 mounting holes.
5. Drill two 3/16--in. (5mm) m ounting holes in wall where
marked.
6. Secure back plate to wall with 2 anchors and screws
provided making sure all wires extend through hole in
plastic.
NOTE: Anchoring the back plate will maximize proper mounting
plate flatness and allow latch to fully engage.
7. Connect wires to proper terminal location on backplate.
8. Push any excess wire back into wall. Seal hole i n wall to
prevent air leaks. Leaks can affect thermostat operation.
Any e xcess wire left i nside thermostat casing may also af-
fect thermostat operation by interfering with airflow across
the temperature sensor.
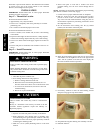
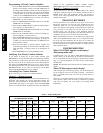
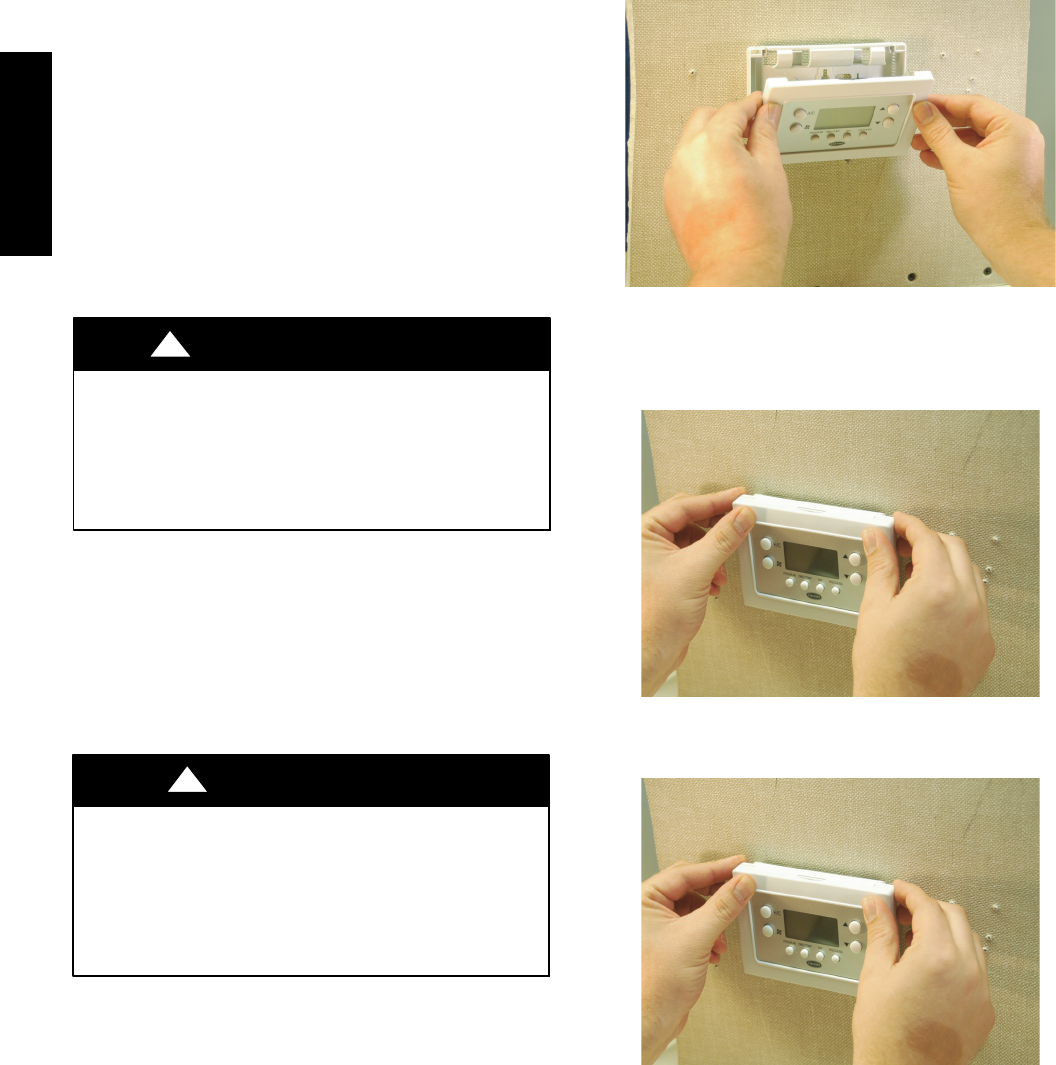
9. Set the thermostat front housing into the (2) latches
(notches) on the bottom of the back plate.
A08429
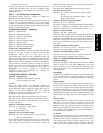
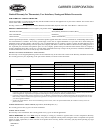
10. Rotate the front housing forward and press on the faceplate
with thumbs near the Up/Down arrows on the right and the
“H/C” and fan symbols on the left side of the display. Do
this with a moderate amount of pressure.
A08430
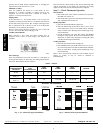
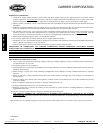
11. If necessary, continue to rotate the front housing forward
and press to engage the top corner latches.
A08431
12. Snap thermostat together making sure assembly is secure.
13. Install the batteries.
TB--PAC / TB--PHP