7
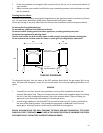
M
H
L
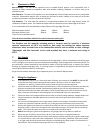
Control Knob
Thermostat
Burley Appliances is the only company to bench run and thoroughly test every single gas fire it produces.
Burley is in the unique position of knowing that every appliance that leaves the factory is in perfect
working order.
The installer should measure the inlet pressure with the appliance running on high and ensure it is to
specification.
Attach a manometer to the inlet test point and ensure there is a pressure of 20mb (+/- 1mb) for natural gas
appliances or 37mB for propane appliances.
Now turn on every other gas appliance in the house and re-check the pressure. The pressure must still be
within the tolerance of +/- 1mb.
Turn off all other gas appliances and turn the fire down to pilot only, the pressure must still be within the
tolerance of +/- 1mb.
If it is not TRANSCO or BORD GAIS must be called to adjust the regulator to the house before the fire can be
commissioned further.
Any large pressure fluctuation indicates pipework or governor problems and should be rectified. Instruct the
customer on the operation of the appliance and leave all instructions with them.
The fires are factory set and no adjustments should be made in the field.
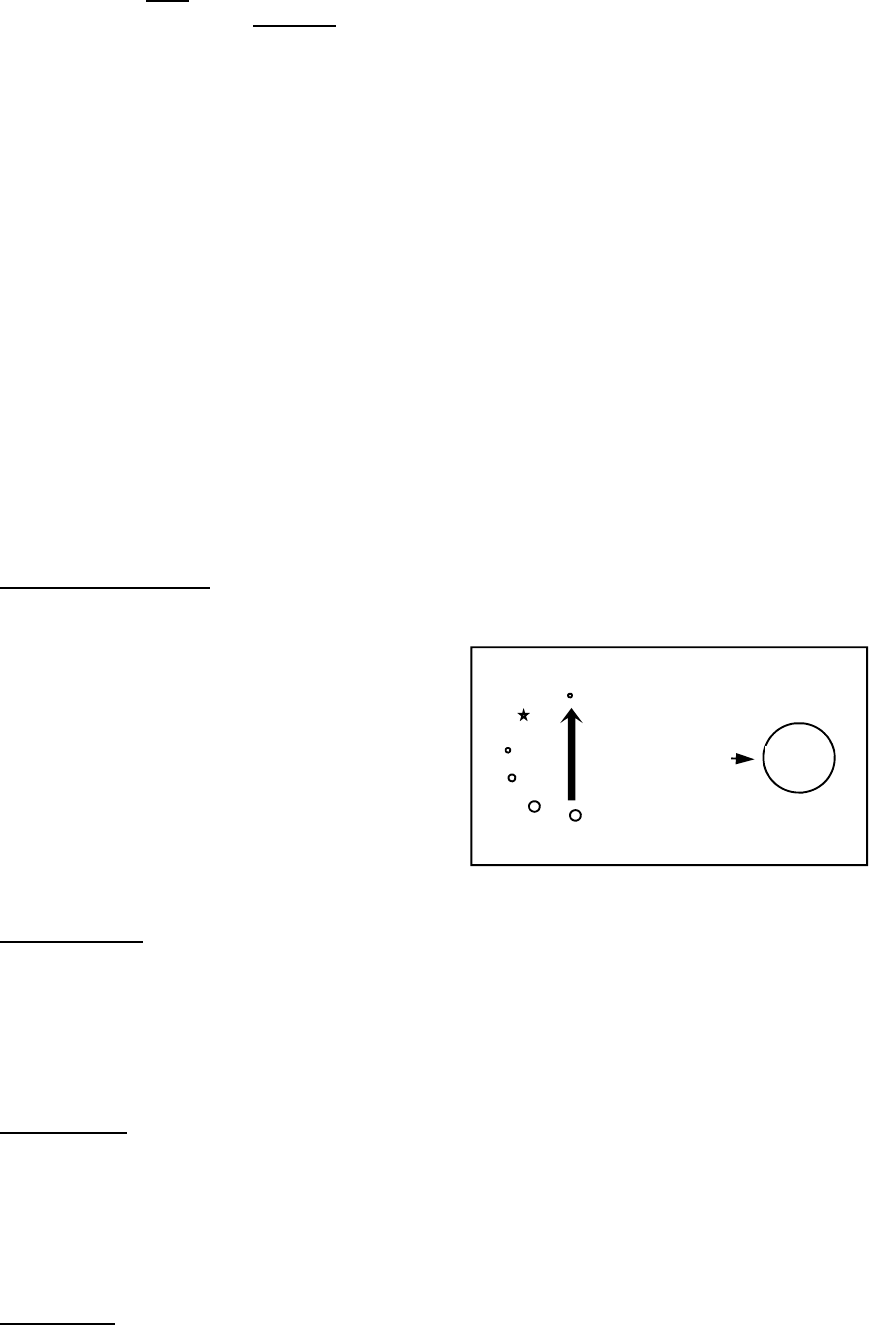
11. Lighting the Heater
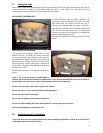
To light the fire, press the left hand (red) control knob for
several seconds then turn anticlockwise to the ignition
position. A click will be heard and the pilot (under right side
of fuel bed) should light. If it does not light, repeat the
operation a few times. Continue to hold knob for 15 – 20
sec's to establish the pilot and then release. If pilot fails to
establish, turn off, wait 1 minute then repeat lighting
procedure. Rotate the control knob to high flame to light
then back to the desired flame position. If no gas comes
through rotate the right knob (thermostat) to a hotter room
setting and the fire will light. To turn the fire off, rotate knob fully clockwise.
12. Spark Failure
The gap between the pilot electrode and the pilot should be 3.5 – 4.5mm and normally adjustment is not
necessary. Check the fire lights at least 3 times out of 5 attempts. Visually check that the spark arcs across to
the gas port on the pilot. The electrode is delicate but if necessary can be adjusted to set the spark. If the
igniter fails a lighted taper can be inserted into the pilot area when attempting to light the pilot and this
should help the fire to light.
13. Thermostat
A room temperature thermostat is attached to the back of the fire. For accurate monitoring of room
temperature it is advised that the sensing bulb is removed from its clip and carefully moved to a cooler
location up to 1 metre away, taking care not to break or pinch the capillary tube. If the fire is fitted in an
ingle nook then the thermostat should be located in room air as leaving it under the fire will cause nuisance
shut down.
14. Fireguards
The glass front on the appliance acts as a dress guard but does not provide full protection. An additional
guard should always be fitted in the presence of young children, the elderly or the infirm.


