


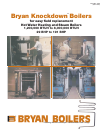
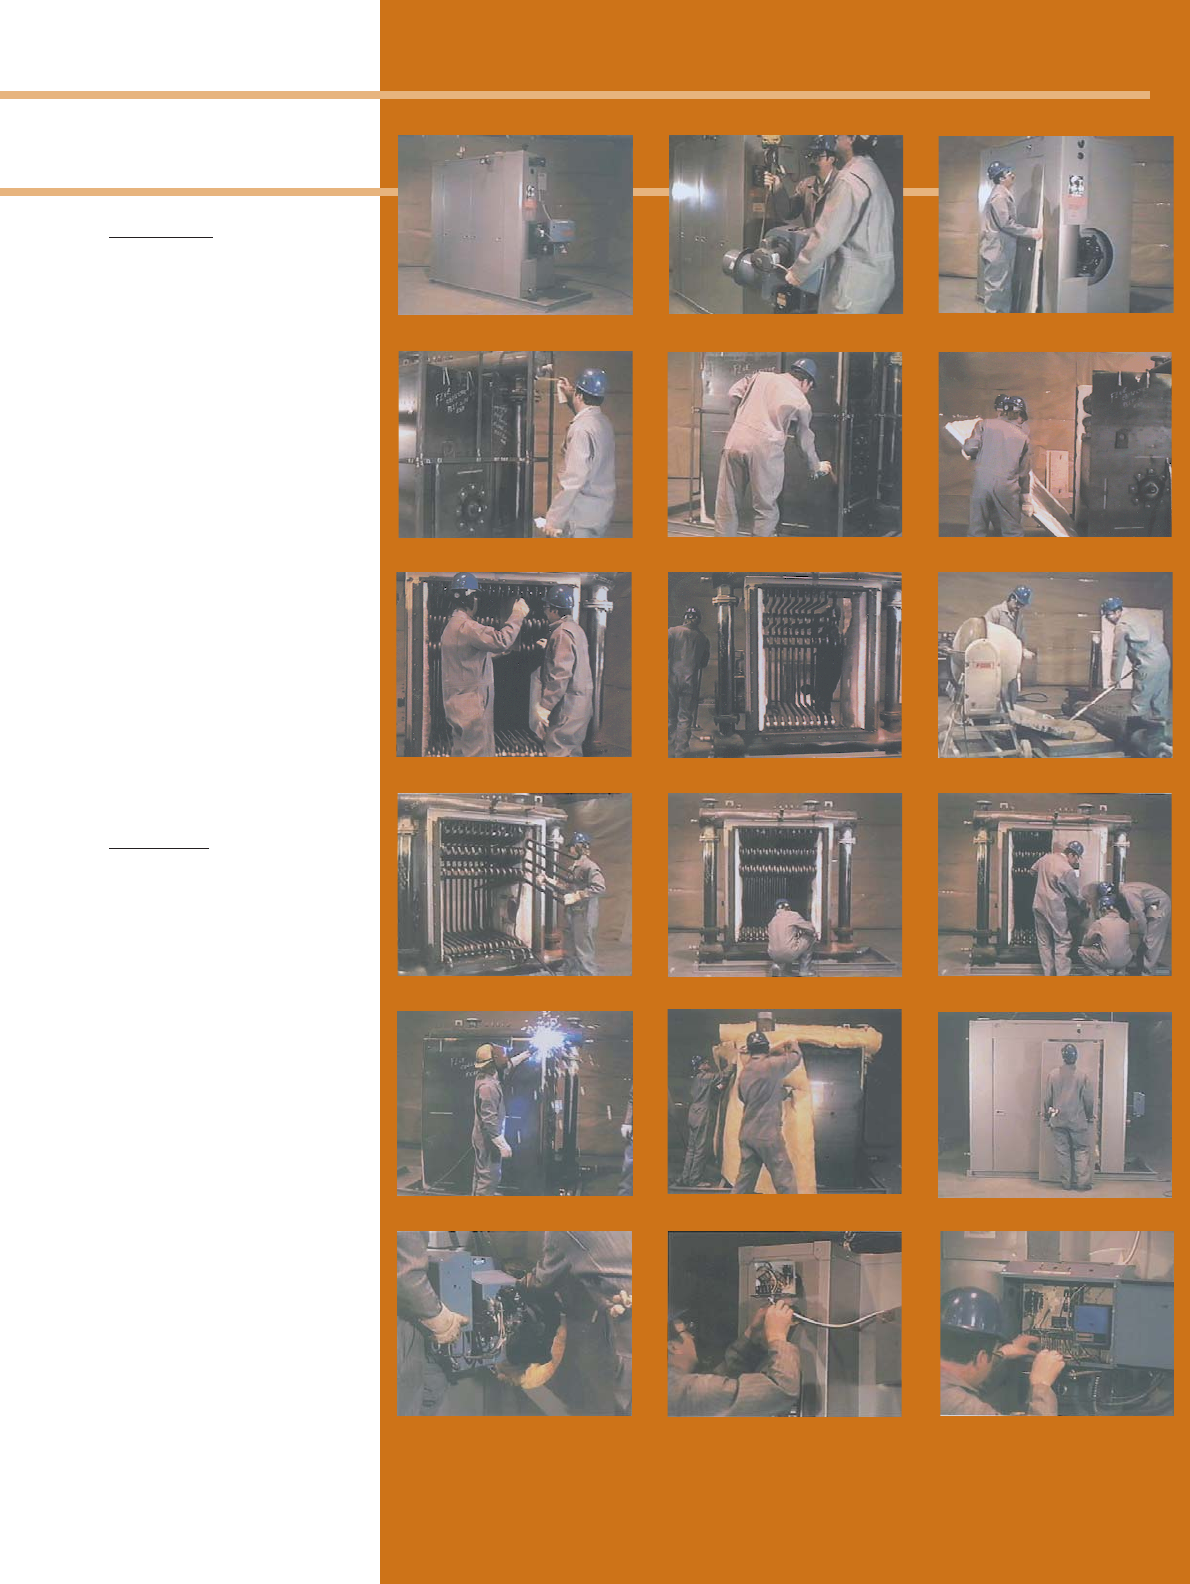
Bryan Knockdown
TM
boilers
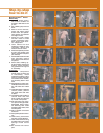
Disassembly
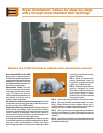
1. RV Series boiler shown.
This is KD-4 condition as
the boiler is delivered to the
job site.
2. After unbolting clips remove
burner.
3. Remove control devices,
gauges and valves, jacket
access doors and panels.
Jacket panels are fastened
with single screws.
4. Flanges are color coded
with their mates to make
correct reassembly easy.
White stripes guide accu-
rate realignment.
5. Jacket frames are tack
welded and coded for easy
reassembly. Break tack
welds and remove frame.
6. Remove tube panels (secured
by bolts and angles) tube
clamps, and back flue panel
(tack welded).
7. Remove baffles and with tube
puller furnished, remove
tubes. Remove flue collector
end panels.
8. Remove bolts holding up-
per tube header and remove
pressure vessel assembly
using permanent lift lugs on
the assembly.
Reassembly
9. Transport components
through doors to boiler site
for reassembly. Install
monoblock insulation in floor
frame, mix cement reinforced
with stainless steel needles,
pour refractory base in floor
frame.
10. Matching flange colors reas-
semble pressure vessel. Pre-
pare tube holes and install
tubes.
11. Install tube clamps. Install flue
collector panels, position
tube panel frame and weld
into place.
12. Insert baffles and install flue
collector back and side
panels. Install flue collector
top. Install tube panels.
13. Seal weld entire flue collec-
tor to prevent flue gas leaks.
Reassemble jacket frame-
work following color codes
and aligning tack welds, then
weld into place.
14. Apply insulation all around
and secure.
15. Attach jacket panels to frame-
work.
16. Install burner, pack around
head with ceramic blanket.
17. Install control devices using
pre-drilled holes and outlet
openings. Install control
panel.
18. Wire controls into burner
panel.
Step-by-step
how to do it
16
10
11
12
8
97
4
5
6
31
2
17
18
13
14 15