


8
9
ANCHORING TO A CONCRETE FLOOR
Important: Pre-drill the holes
in the safe back and floor prior
to anchoring the safe to the floor
or wall.
1 Remove the safe interior
shelving, floor panel and
elevation brace. See removal
instructions under “Shelf
Adjustment" on page 18.
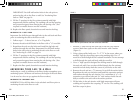
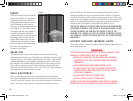
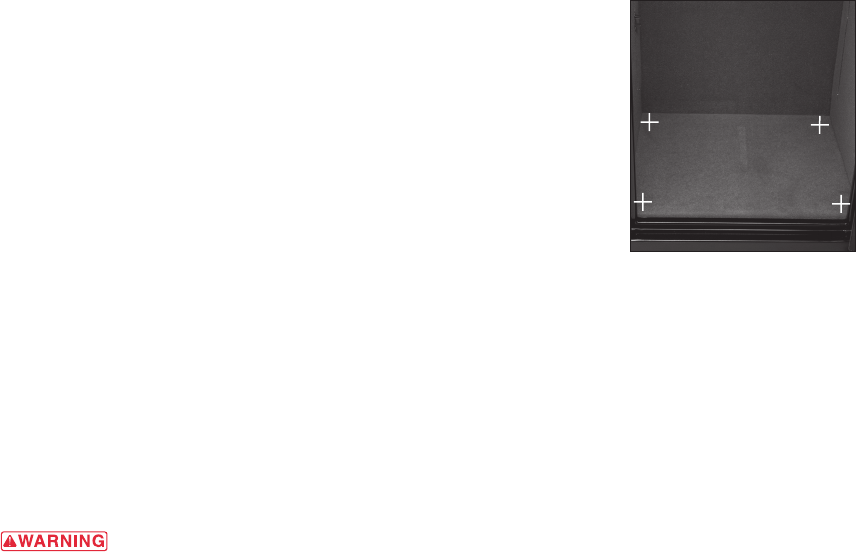
2 Measure and mark four anchor
holes 2" from the safe corners.
Use a minimum of
3
/8" x 4"
expansion-type anchor bolts and
1¾" steel washers inside the safe
floor to reinforce it at the anchor positions (Figure 2).
3 Elevate the safe by placing it on 2" x 4" wood braces. Place the
2" x 4" wood braces flat on the floor and slide one brace under the
front of the safe and one brace under the rear of the safe, elevating
the safe 1½".
4 Use a 2" wood bit to drill through the fire-resistant floor material
to expose the steel floor. (Not required on models that are not
fire-resistant.)
5 Drill a ½" hole through the center of each anchor point in the
safe floor.
6 Place the safe exactly where you want to anchor it and mark
the floor through the holes in the safe bottom.
7 Remove the safe and drill anchor holes in the floor with a
3
/8"
masonry bit.
8 Reposition the safe over the holes and install the expansion
anchors and washers through the safe floor.
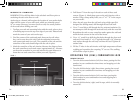
2 Lower the door onto the bottom hinge first, then onto the top pin.
3 When both the top and bottom hinges are aligned lower the door
completely down.
4 Close the door and use a
5
/32" Allen wrench to turn the Allen bolt
located in the bottom piece of the bottom hinge four half-turns
clockwise (looking down at the hinge).
5 Open and close the door several times to make sure it
swings smoothly.
IMPORTANT: Hardened steel ball bearings are located below the
hinge pins within the hinge housing. Do not lose these bearings while
the door is off of the safe. Care should be taken not to damage the
paint while removing or re-installing the door.
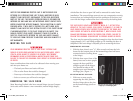
ANCHORING YOUR SAFE TO THE FLOOR
Placing your safe on a concrete floor and anchoring it to the floor and
wall behind it provides the maximum protection for your valuables.
Many common attacks on security safes involve tipping the safe over
on its back. You can reduce the chances of an effective attack by
preventing your safe from being tipped or moved.
Notice! drilling holes in The wall of a fire safe reduces The
effecTiveness of The fire-resisTanT maTerial. if holes are
drilled in The safe body, holes musT be sealed wiTh a high-
TemperaTure silicone caulking. failure To do so may allow hoT
gases To enTer your safe during a fire, which could damage
your valuables.
always wear eye and ear proTecTion when using a drill or
oTher power Tools To prevenT The possibiliTy of dusT or debris
from conTacTing your eyes, resulTing in injury. always use a
dusT mask To prevenT inhalaTion of poTenTially harmful dusT.
figure 2
Anchor holes should be placed in the corners.
07-137-BSF_Safe OM.indd 8-9 7/21/08 11:13:08 AM