


44
BUILT-IN STITCHES
PUNTADAS INCORPORADAS
PUNTI INCORPORATI
A
B
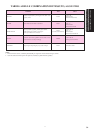
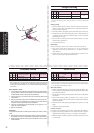
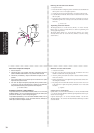
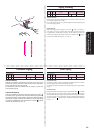
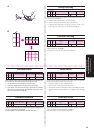
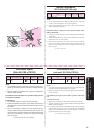
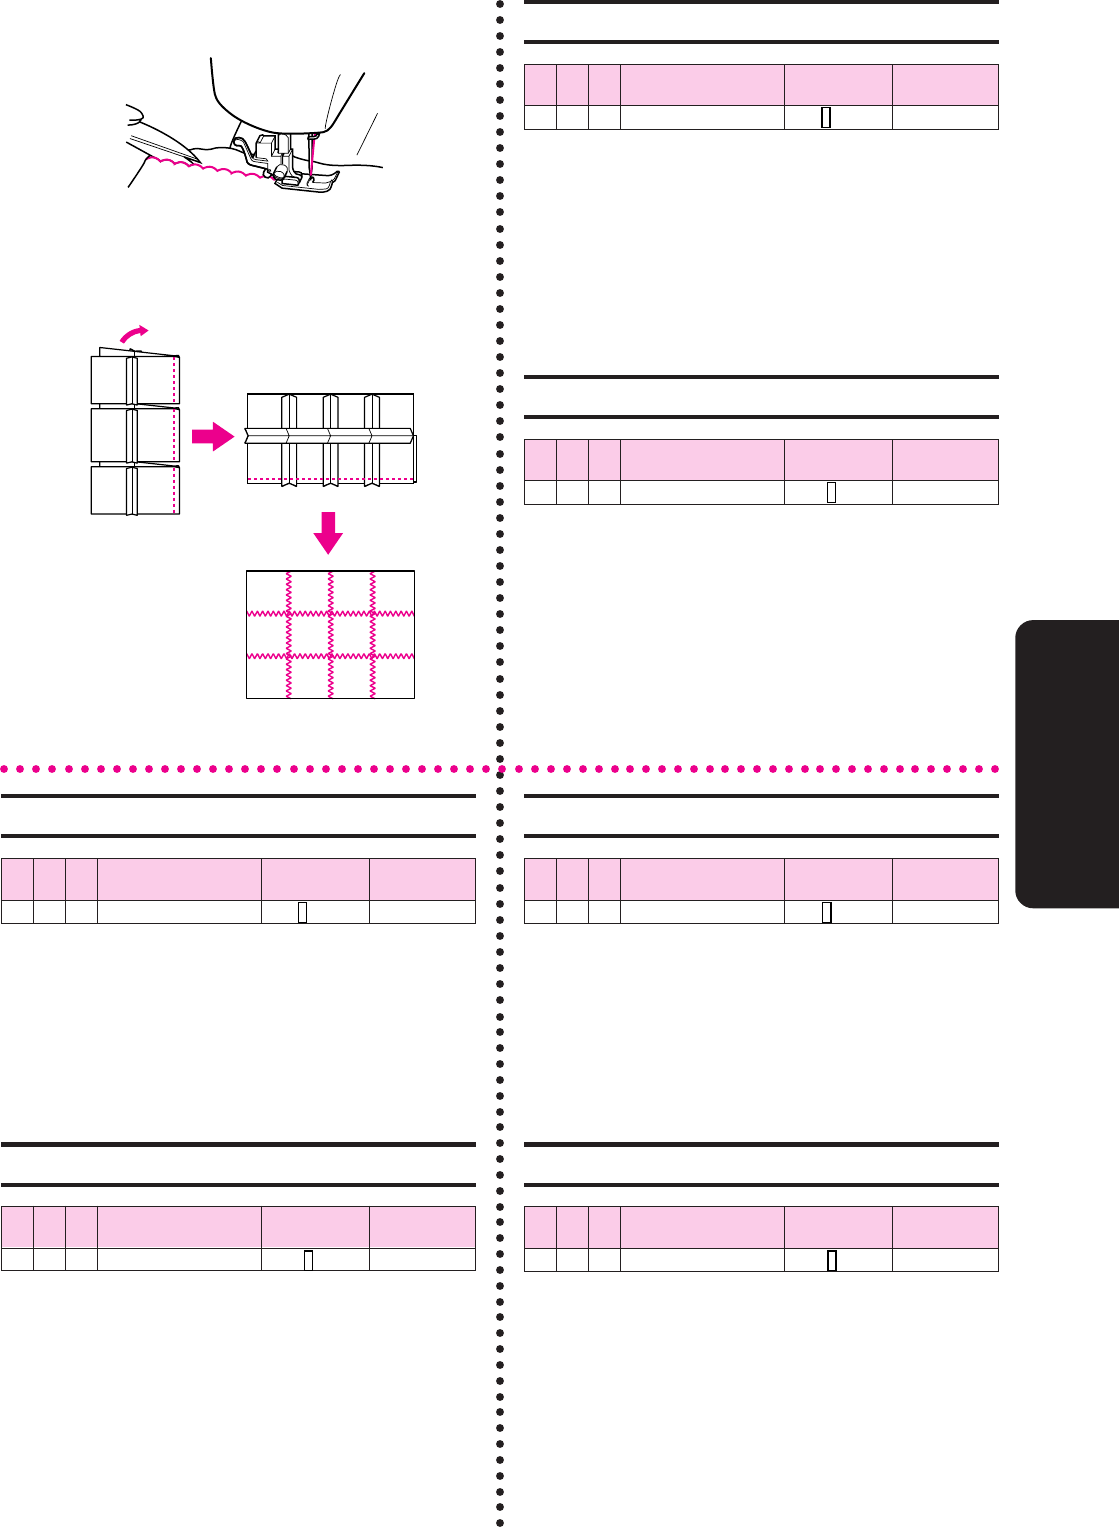
Scallop Stitching
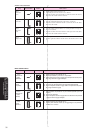
XL5300 XL5200 XL5100
Pattern Stitch Length Stitch Width
PX300 PX200 PX100
88– Scallop Stitch -1.5 3-5
This machine automatically produces a Scallop Stitch which may be
used as decorative edging.
1. Set the pattern selection dial to the Scallop Stitch.
2. Sew the Scallop Stitch along the edge of the material.
3. If desired, trim around the scallop with scissors to create a scal-
loped edge. Be careful not to cut the thread. (See fig. A.)
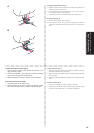
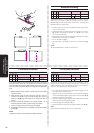
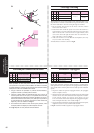
Universal Stitching
XL5300 XL5200 XL5100
Pattern Stitch Length Stitch Width
PX300 PX200 PX100
9 9 7 Universal Stitch -3 3-5
This stitch is used for joining two pieces of fabric, for example, when
making patchwork. (See fig. B.)
Set the pattern selection dial to the Universal Stitch.
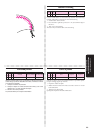
Puntada festón
XL5300 XL5200 XL5100
Número de puntada
Largo de puntada Ancho de puntada
PX300 PX200 PX100
88– Puntada festón -1,5 3-5
Esta máquina puede realizar automáticamente unas puntadas fes-
tón que pueden servir para decorar los bordes de la tela.
1. Ponga el selector de puntadas en puntadas festón.
2. Cosa las puntadas festón a lo largo del borde del tejido.
3. Si lo desea, corte el borde con tijeras, siguiendo las puntadas,
para crear un borde festonado. Sin embargo, tenga sumo cuida-
do en no cortar el hilo. (Ver fig. A.)
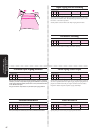
Puntada universal
XL5300 XL5200 XL5100
Número de puntada
Largo de puntada Ancho de puntada
PX300 PX200 PX100
9 9 7 Puntada universal -3 3-5
Esta puntada se usa para unir dos piezas de tejido o realizar traba-
jos como el patchwork. (Ver fig. B.)
Ponga el selector de puntadas en la puntada universal.
Punto smerlo
XL5300 XL5200 XL5100
Punto Lunghezza Ampiezza
PX300 PX200 PX100
88– Punto smerlo -1,5 3-5
Questa macchina produce automaticamente un punto smerlo che permette
di realizzare rifiniture decorative lungo le cuciture.
1. Disporre il selettore dei punti sul punto smerlo.
2. Cucire il punto smerlo lungo il bordo del tessuto.
3. Se desiderato, rifilare i margini delle cuciture con le forbici per ottenere
un bordo smerlato, facendo attenzione a non tagliare il filo. (Vedi fig.
A.)
Punto universale
XL5300 XL5200 XL5100
Punto Lunghezza Ampiezza
PX300 PX200 PX100
9 9 7 Punto universale -3 3-5
Questo punto è indicato per unire insieme due pezzi di stoffa, ad esempio
quando si eseguono lavori di patchwork. (Vedi fig. B.)
Ruotare il selettore dei punti sul punto universale.