42
TABLE OF
CONTENTS
Chapter
1
Chapter
2
Chapter
3
Chapter
4
Chapter
5
Chapter
6
Chapter
7
Chapter
8
Chapter
9
Chapter
10
Chapter
11
Chapter
12
Chapter
13
Chapter
14
Chapter
15
Chapter
16
Chapter
17
Chapter
18
Narrow overlock stitch/
rolled edge stitch
The Narrow overlock/Rolled edge stitche is a deco-
rative finish for lightweight to midweight fabrics. It is
often used to complete the edge of a fabric. This
stitch is sewn by removing the left needle and using
the 3-thread overlock stitch.
Instructions for both Narrow overlock/Rolled
edge Stitches
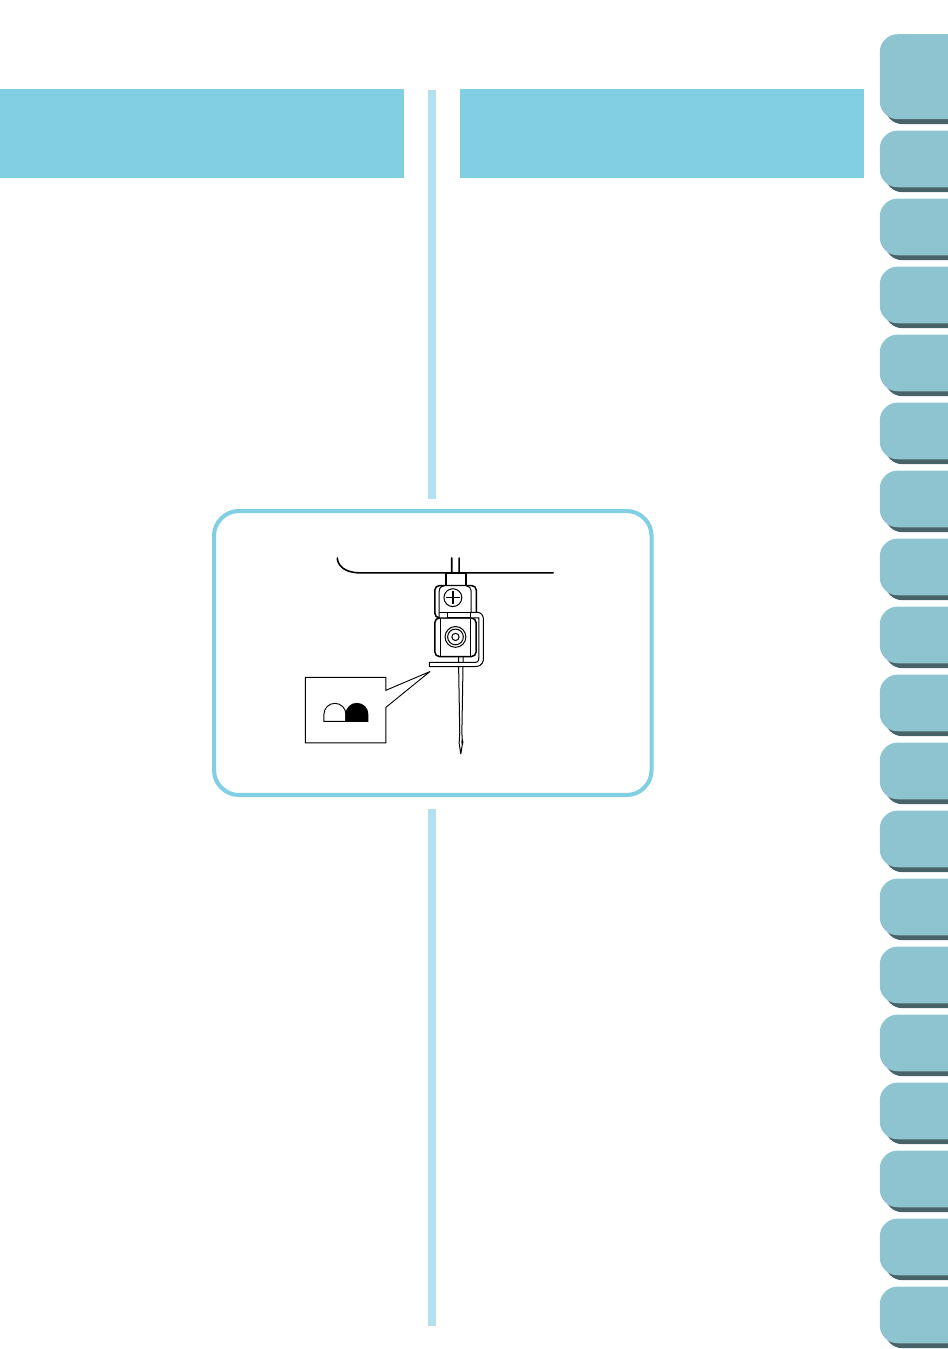
(1)Remove the left needle (on Two-needle models).
(2)It is recommended that a #80 Nylon or Polyester
thread be used on the following fabric:
Georgette
Rayon
Linen/Light Cotton
Broad Cloth
(3)Thread the machine for a three thread overlock,
using the right needle.
(4)Remove the stitch finger.
1 Raise the presser foot lever.
2 Pull all threads toward the back of the ma-
chine.
3 Check to make sure that the thread is no
longer wrapped around the stitch finger.
4 Open the front cover.
5 Turn the hand wheel until the upperlooper is at
its lowest position.
Puntada overlock estrecha/
puntada de borde enrollado
La puntada overlock estrecha/de borde enrollado
constituye un acabado decorativo para tejidos finos
y medios. Se usan a menudo para terminar los
bordes de los tejidos. Se obtiene esta puntada
retirando la aguja izquierda y haciendo uso de la
puntada overlock de tres hilos.
Instrucciones para las puntadas overlock estre-
chas/de borde enrollado
(1)Retire la aguja izquierda (en los modelos de dos
agujas).
(2)Se recomienda usar un hilo de nilón o poliester n
°
80 para los siguientes tejidos:
Georgette
Rayón
Lino/algodón fino
Paño fino
(3) Enhebre la máquina como para puntadas overlock
de tres hilos, usando la aguja derecha.
(4)Retire la uñeta de las puntadas.
1
Levante la palanca del prensatelas.
2
Tire todos los hilos hacia la parte trasera de la
máquina.
3
Averigue que el hilo no quede enrollado alre-
dedor de la uñeta de puntadas.
4
Abra la tapa delantera.
5
Gire la ruedecilla hasta que el áncora superior
llegue a su posición más baja.


