


66
CONTENTS
SETTING UP
SEWING
UTILITY
STITCHES
MY CUSTOM
STITCH
TM
(CREATE YOUR OWN
STITCH DESIGNS)
EMBROIDERING
MAINTENANCE
ERROR
MESSAGES
SEWING CHART
PATTERNS
(PROGRAMMED
IN MACHINE)
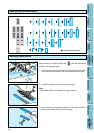
BUTTON SEWING
M
1
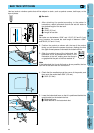
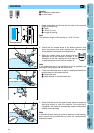
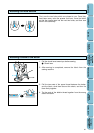
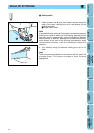
1. Raise the presser foot lever and slide the feed dog position
switch to the right to lower the feed dogs.
1 Feed dog position switch
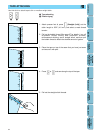
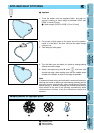
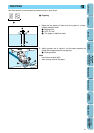
5. Remove the fabric, leaving plenty of thread on the ends
6. From the wrong side of the fabric, pull the end of the bobbin
thread to pull the upper thread through to the wrong side of
the fabric. Tie the two thread ends together and cut the
threads.
Note
Remember to return the feed dogs to their original position.
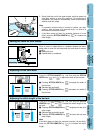
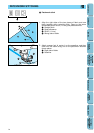
2. Attach button sewing foot M, place the button into the
presser foot, and then lower the presser foot lever.
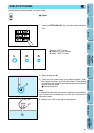
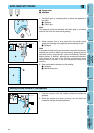
3. Turn off automatic thread cutting.
4. Gently hold the end of the upper thread, turn the balance
wheel to check that the needle correctly goes into each hole
in the button, and then start sewing. Once sewing is
completed, the machine automatically stops.
Note
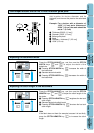
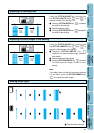
– To adjust the stitch width, press the STITCH ADJUST key,
and then use the STITCH WIDTH keys and to
adjust the stitch width to the distance between the button
holes.
– If extra strength is needed to secure the button, perform the
button sewing operation again.
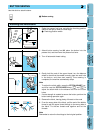
1 Button sewing
1
Use this stitch to attach buttons.
Attaching two-hole buttons
6