


14
i
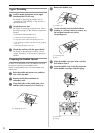
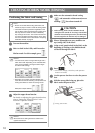
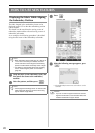
Press .
→ The sewing screen is displayed.
j
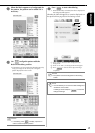
Press , and then adjust the tension of the
upper thread.
For details on adjusting the tension of the upper
thread, refer to “Adjusting Thread Tension” in
chapter 5 of the machine’s Operation Manual.
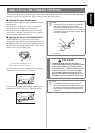
Start Embroidering
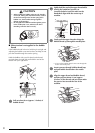
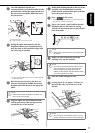
a
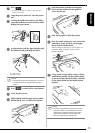
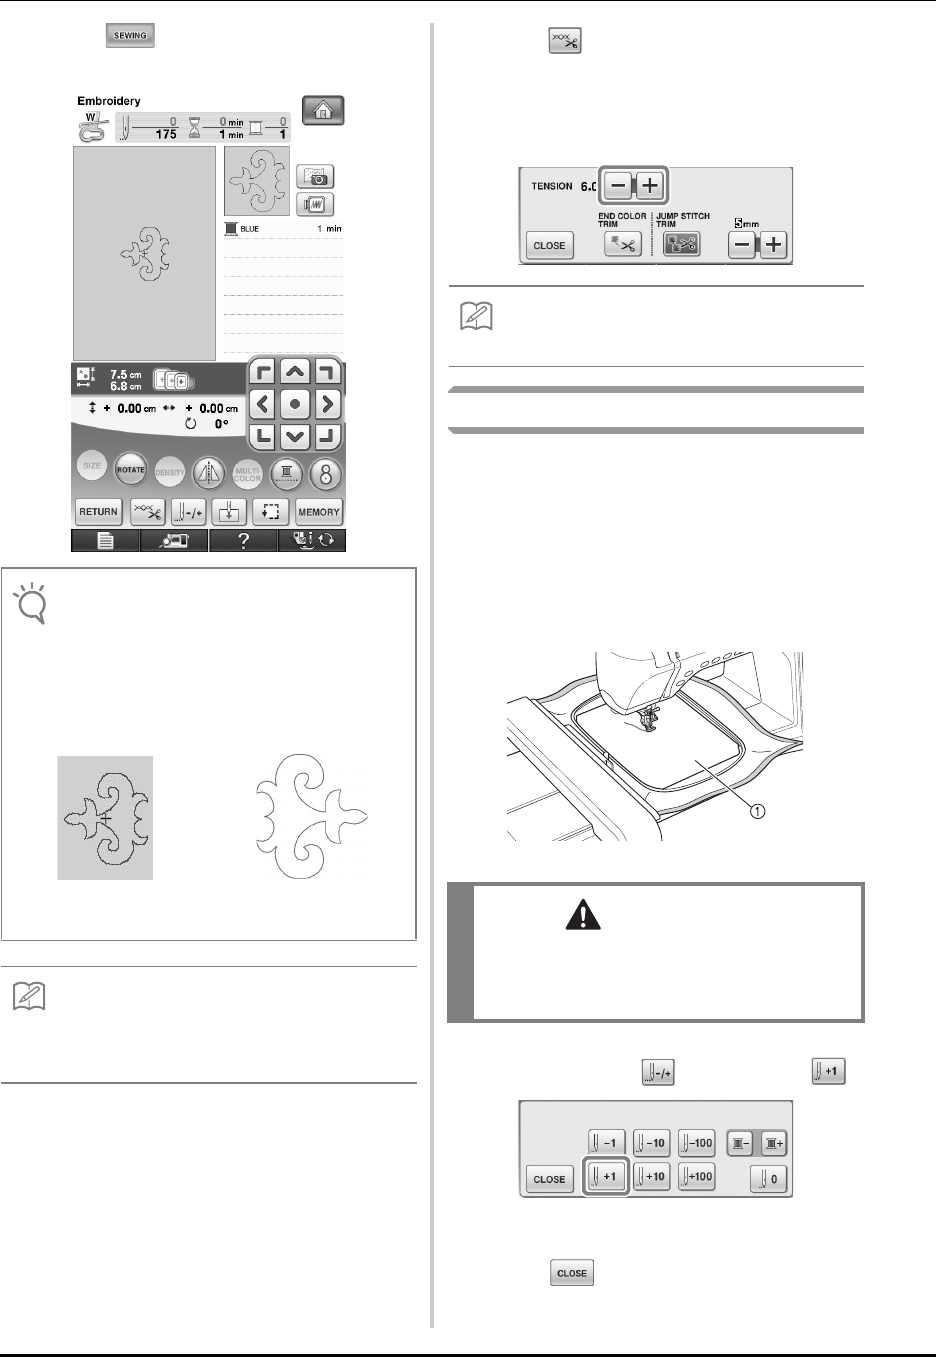
Hoop the fabric so the right side of the fabric
is facing down with the stabilizer lying on the
top. Use an embroidery frame that fits the
size of the pattern and then attach the frame
to the machine. These patterns are
embroidered from the wrong side of the
fabric so technically you are working in
“reverse” of normal embroidering.
a Wrong side of fabric
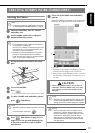
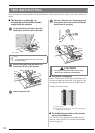
b
It is necessary to move to the beginning of
stitching so press , and then press .
→ The embroidery frame moves to the beginning of
stitching.
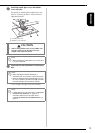
c
Press .
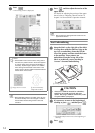
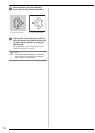
Note
• Since bobbin work is sewn from the wrong side of
the fabric, the pattern shown in the screen appears
as a mirror image of the final sewn embroidery. If
necessary, flip the image to preview it. In addition,
when sewing with the thread colors shown in the
sewing screen, select a bobbin thread that matches
what is shown in the screen.
a Image shown in screen b Sewn embroidery
(Right side of fabric)
Memo
• With embroidery patterns for bobbin work, the size
and thread density cannot be changed. In addition,
the automatic thread cutting function cannot be
turned on.
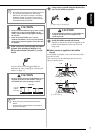
Memo
• We recommend a setting between 6 and 8 for the
upper thread tension.
CAUTION
• Always use a stabilizer material for embroidery.
Otherwise, the needle may break and cause
injuries. Not using a stabilizer material may result
in a poor finish to your project.