


UTILITY STITCHES ——————————————————————————————————————————————————————
—
70
8
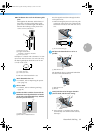
Raise the presser foot lever, remove the
fabric, and cut the thread.
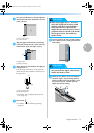
9
Raise the buttonhole lever to its original
position.
0
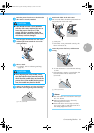
Insert a pin along the inside of one bar tack at
the end of the buttonhole stitching to prevent
the stitching from being cut.
1 Pin
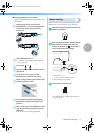
a
Use the seam ripper to cut towards the pin
and open the buttonhole.
1 Seam ripper
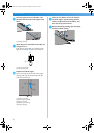
For keyhole buttonholes, use the eyelet punch
to make a hole in the rounded end of the
buttonhole, and then use the seam ripper to cut
open the buttonhole.
1 Eyelet punch
• When using the eyelet punch, place thick
paper or some other protective sheet under
the fabric before punching the hole in the
fabric.
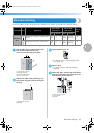
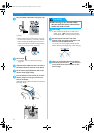
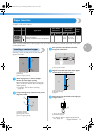
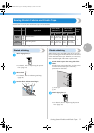
■ Changing the density of the stitching
Press the stitch length adjustment button, and
then slide the stitch length adjustment slider
to adjust the stitch length.
1 Stitch length adjustment button
2 Stitch length adjustment slider
3 Stitch length adjustment indicator
• For details, refer to “ Adjusting the stitch
length” (page 52).
• If the fabric does not feed (for example, if it is
too thick), decrease the density of the
stitching.
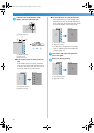
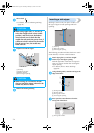
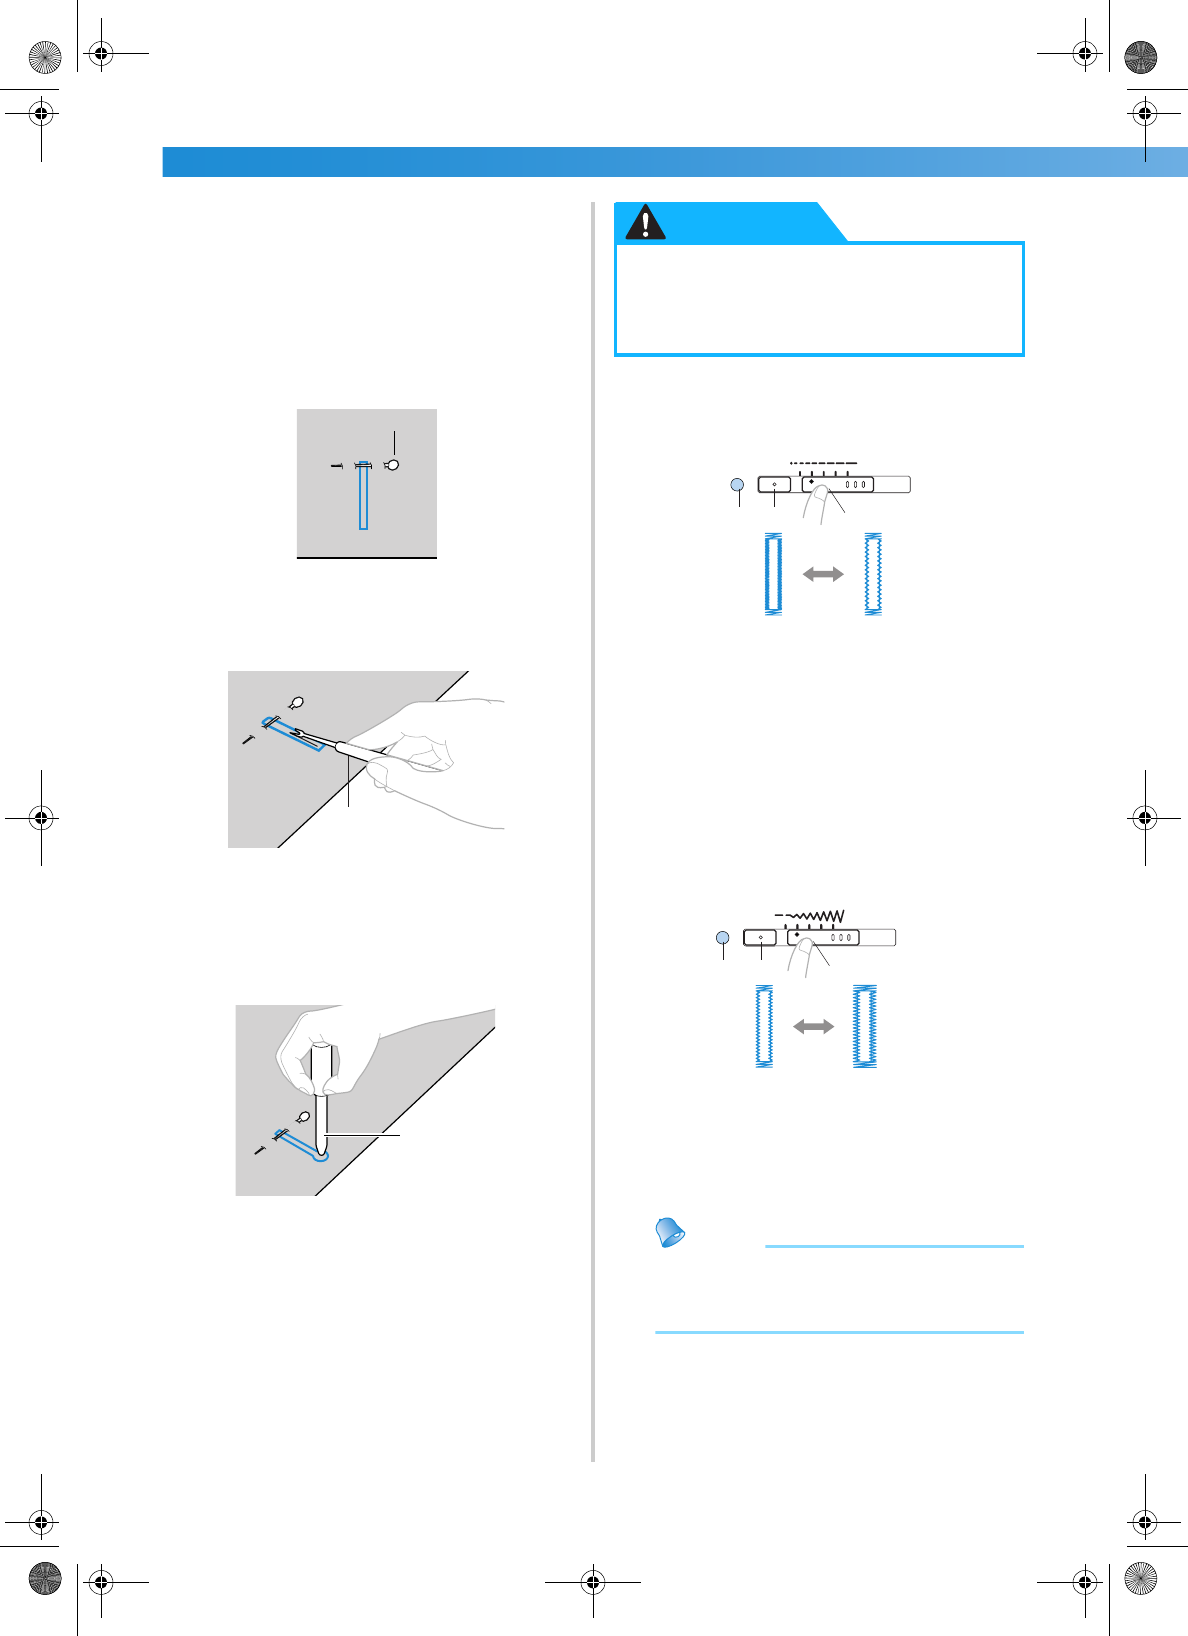
■ Changing the stitch width
Press the stitch width adjustment button, and
then slide the stitch width adjustment slider
to adjust the stitch width.
1 Stitch width adjustment button
2 Stitch width adjustment slider
3 Stitch width adjustment indicator
• For details, refer to “ Adjusting the stitch
width” (page 51).
Memo
● Before sewing buttonholes, check the stitch
length and width by sewing a trial
buttonhole on a scrap piece of fabric.
1
1
1
● When opening the buttonhole with the
seam ripper, do not place your hands in
the cutting direction, otherwise injuries
may result if the seam ripper slips.
CAUTION
2
3 1
2
3 1
S2_brotherE.book Page 70 Thursday, February 13, 2003 11:03 AM