


Express
®
Crescent
®
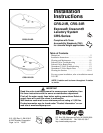
Lavatory System - CRS-Series
Installation Instructions CRS-2/IR, CRS-3/IR
5
Bradley Corporation • 215-1330 Rev. K; EN 06-915 2/8/07
Installation Instructions continued . . .
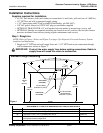
Step 3: Install wall anchors
1. Measure and mark the centerline of the lavatory system on the wall.
3. Using cardboard template 186-1311 provided, mark six mounting holes on wall.
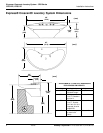
3. Drill holes in the wall and install the six 3/8" wall anchors with a minimum pull-out rating of 1,000
lbs. (supplied by installer) at the locations shown in Figure 1 on page 3.
NOTE: The six 3/8" anchors will be used to mount the Crescent® bowl to the wall.
4. OPTIONAL TRAP COVER: Install the 1/4" wall anchor for the Trap Cover (supplied by
installer) as shown on Figure 1. Use Trap Cover to locate.
5. OPTIONAL SOAP TANK: Install 1/4" anchors for soap tank installation (refer to soap system
installation manual #215-1583 for further instructions).
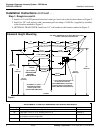
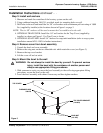
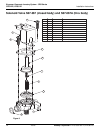
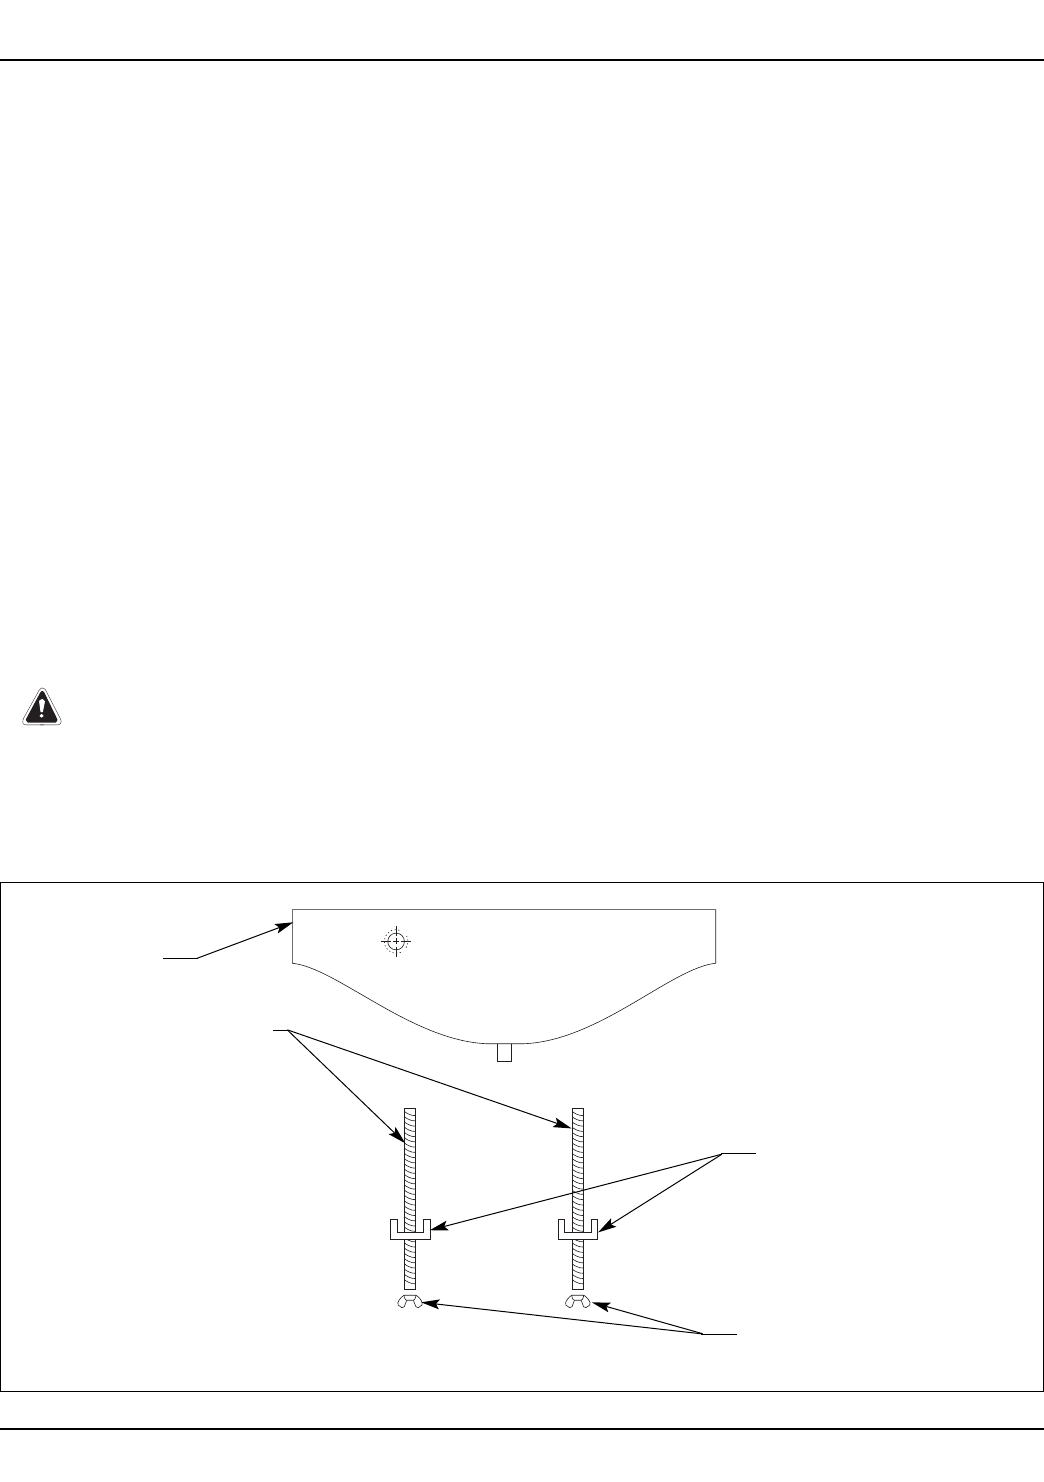
Step 4: Remove cover from bowl assembly
1. Unpack the bowl and cover assembly.
2. Remove the wing nuts on the two threaded rods which retain the cover (see Figure 3).
3. Remove the top cover bracket.
4. Lift the cover off and set aside.
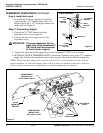
Step 5: Mount the bowl to the wall
WARNING: Do not attempt to install the bowl by yourself. To prevent serious
injury, install the bowl with the assistance of another person and
always use appropriate lifting procedures.
1. With someone to assist you, move the bowl assembly to the wall using appropriate lifting
procedures, secure the bowl to the wall.
2. Level the bowl assembly with shims if necessary and then tighten anchors.
Figure 3
TOP COVER
THREADED ROD
330-078
WING NUT
(161-076)
TOP COVER BRACKET
(140-852)