TTW1 Universal Service
Replacement Blower
MITW -10 Series
Page 11
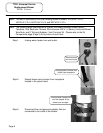
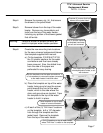
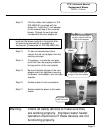
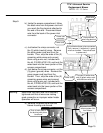
Step 14. If necessary, re-route the vent pipe
such that it can be properly seated in
the top portion of the vent adapter.
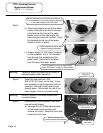
Step 15. Be sure that both clamps on the vent
adapter are firmly tightened, securing
the blower, vent adapter, and vent pipe
together.
Step 16. Double-check all vent connections.
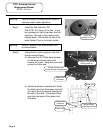
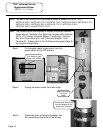
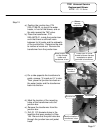
Step 17. Restore electrical power to the water
heater.
Plug power cord
back into outlet.
Warning: Check all safety devices to make sure they
are working properly. Improper water heater
operation could occur if these devices are not
functioning properly.
Be sure that vent pipe is
properly seated in the top
side of vent adapter.
Adequately tighten both
clamps on the vent adapter.
Rubber vent
adapter
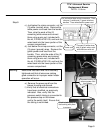
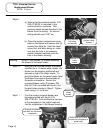
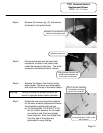
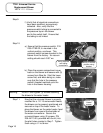
Step 12. Find the rubber vent adapter kit, P/N
239-46263-00, provided with the
blower kit. Install the 2” vent adapter
on the exhaust side of the universal
blower. Discard the vent terminal
included with the vent adapter kit.
Step 13. If it has not already been done,
remove the old vent adapter from the
existing vent pipe.
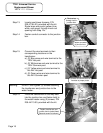
Note: In order to prevent condensate from draining
back into the blower (vertical or horizontal runs),
an optional condensate kit is available as a
service part (Condensate kit, P/N 239-45875-00).


