


7
www.bissell.com 800.237.7691
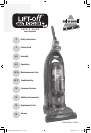
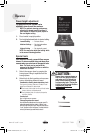
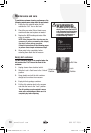
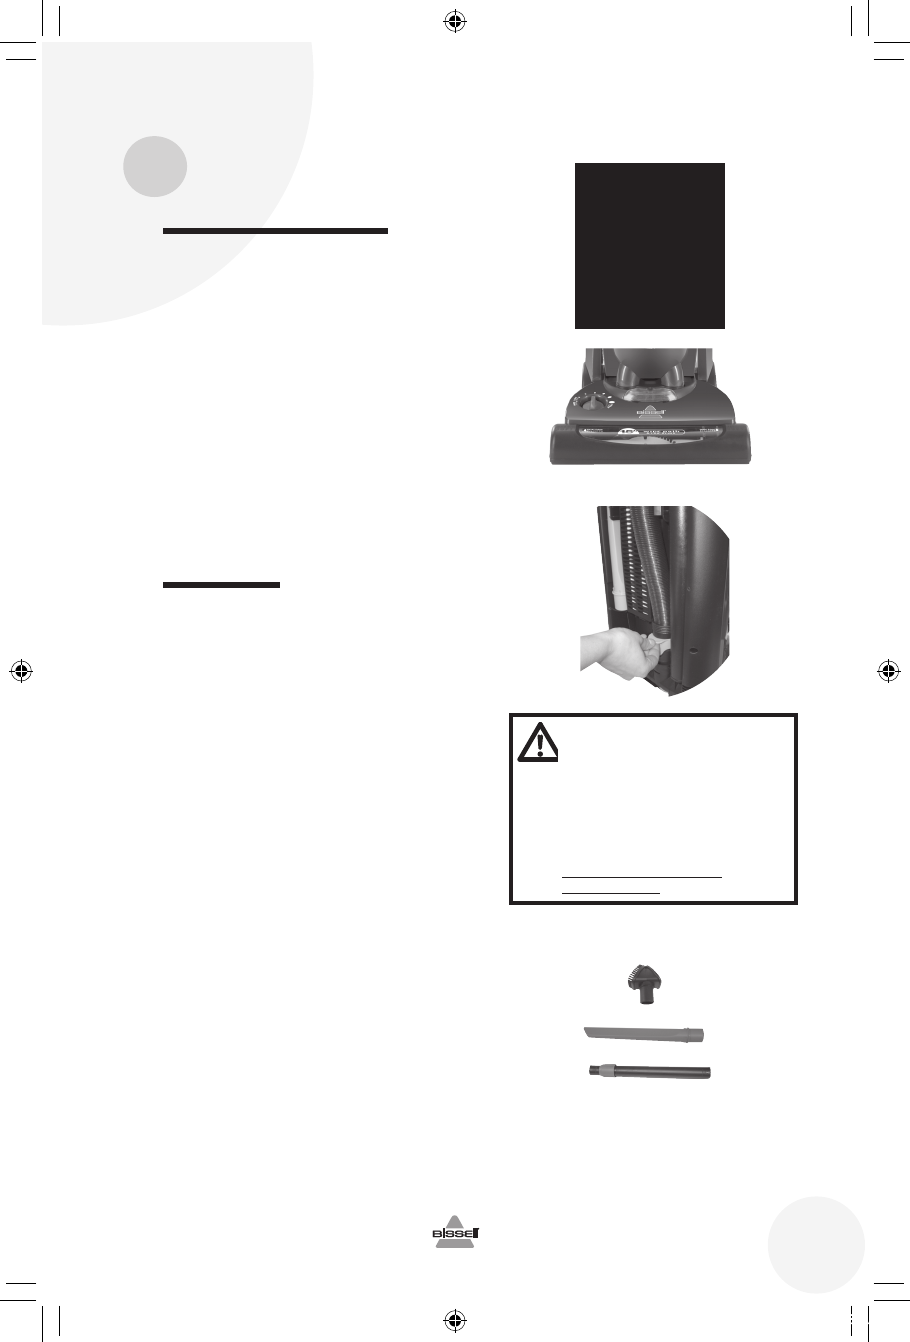
Power height adjustment
The powerfoot on your vacuum can be
adjusted to clean several floor surfaces.
NOTE: For optimal cleaning performance,
adjust to the lowest practical setting. If
your cleaner is difficult to push, adjust to
the next higher setting.
1. Place handle in upright position.
2. Turn height adjustment knob to desired setting.
Lowest Setting – For bare floors.
Medium Settings – For short and medium
pile carpets.
Highest Setting – For plush pile carpet.
NOTE: You may also adjust the setting while
in the normal cleaning position.
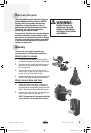
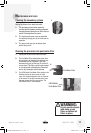
Special tools
Your vacuum is not only a powerful floor vacuum
cleaner, it’s also a versatile stairs and above floor
vacuum when you select one of the special tools.
Note: The tools can be used with the
vacuum in the Upright Position or with the
Detachable Canister.
1. Detach the vacuum hose by grasping the
hose grip and lifting to separate from the
hose grip base.
2. Attach tools by firmly pushing onto vacuum
hose or telescoping extension wand.
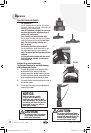
Combination dusting brush/upholstery tool:
Two types of cleaning tools are included in one
attachment. Rotate for desired tool.
■ Use brush side to dust furniture, blinds, books,
lamps, shelves, and baseboards.
■ Use upholstery side for curtains, draperies,
cushions, fabrics.
Crevice tool:
Use in tight narrow spaces.
Telescoping extension wand:
Use with desired attachment for a longer reach. To
extend the wand, twist the collar to “Unlock” posi-
tion and push away from you. Twist the collar to the
“Lock” position to lock into place. To retract, twist to
unlock, pull toward you and twist to relock.
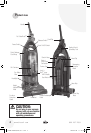
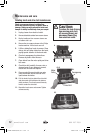
Operation
Tip:
Before cleaning under
low furniture, check
area first for objects
that might harm the
unit or block the
Vacuum Hose.
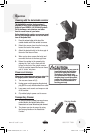
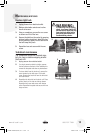
CAUTION:
Always place vacuum cleaner on
floor in its fully Upright Position
and make sure it is locked into
place before removing Canister
or when using tools. Placing the
Lift-Off in its full Upright Position
automatically stops the
rotating brush.
1.
DJ68-00250K(EN)-0.1.indd 7 2009.2.28 11:36:58 AM