


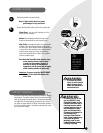
5
How To Put It Together
How to Use this Guide
This User’s Guide has been designed to help you get
the utmost satisfaction from your BISSELL ProHeat
ClearView. You’ll find assembly and operating
instructions, safety precautions, as well as maintenance
and troubleshooting instructions. Please read this Guide
thoroughly before assembling your Deep Cleaner.
Pay particular attention to the product diagram, assem-
bly instructions, and part names. Locate and organize all
parts before assembly. Familiarize yourself with the parts
and where they go. Following this User’s Guide will
greatly enhance your ability to get the most performance
from your BISSELL ProHeat ClearView for many years.
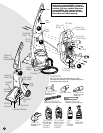
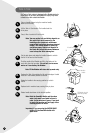
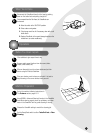
Your ProHeat ClearView comes in three,
easy to assemble components.
Upper Handle
Lower Handle
Tool Caddy
The only thing you will need to assemble your cleaner is
a Phillips head screwdriver.
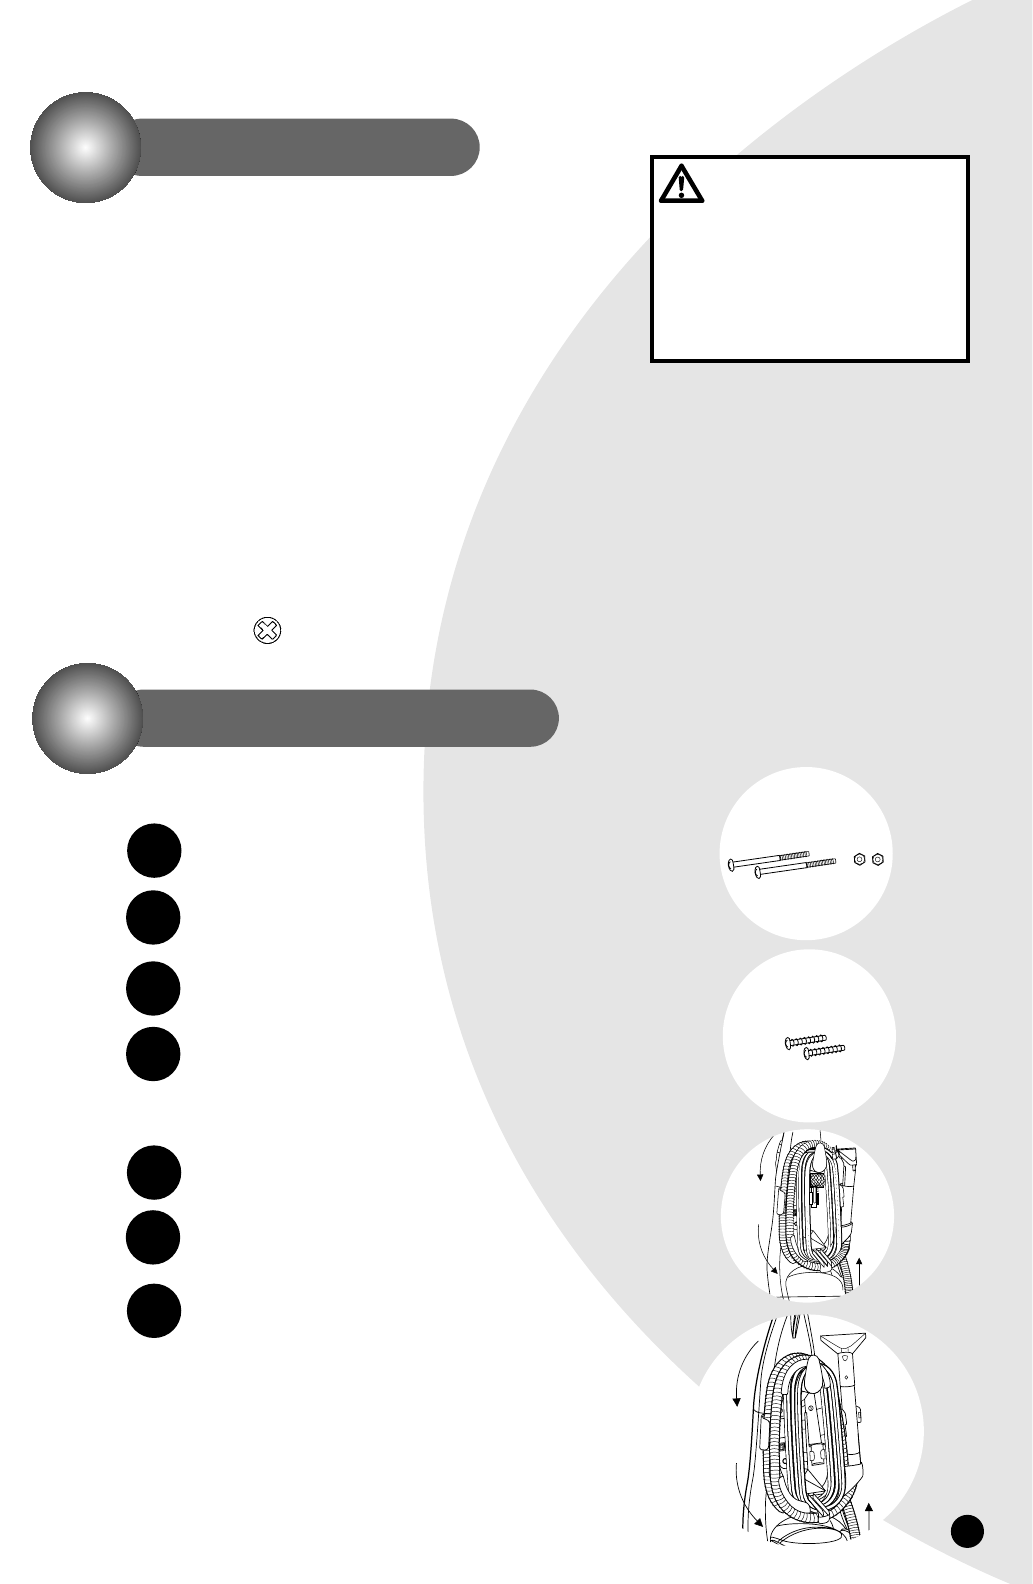
Refer to Assembly Diagram on page 4
Slide Upper Handle onto Lower Handle.
Feed bundled power cord through Tool Caddy
from caddy’s flat side.
Align Upper Handle holes and Tool Caddy holes.
Place hex nut into back of Tool Caddy and hold in
place. Insert bolt from front to back turning into
the hex nut until snug. Do not over tighten.
Repeat for the second bolt and hex nut.
Insert 2 screws into lower 2 holes.Turn until snug.
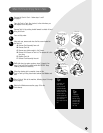
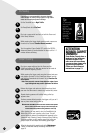
Snap tools into Storage on the Tool Caddy as
shown in figure 6.
Wrap Power Cord and Flex Hose as shown in
figure 7.
ProHeat ClearView assembly is
now complete.
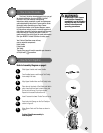
WARNING:
Do Not plug in your cleaner
until you have completely
assembled it per the following
instructions and are familiar
with all instructions and
operating procedures.
1.
2.
3.
4.
ON
O
F
F
O
N
OFF
6
7
5.
6.
7.