


4
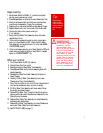
1.
2.
3.
4.
5.
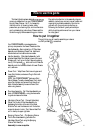
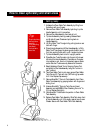
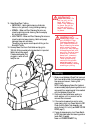
Handle Assembly. Slide Handle Assembly (with
attached Hose Rack/Cord Holder) down onto Lower
Chassis until it will go no further. Secure by placing
two (2) Phillips Head bolts into front of Handle
Assembly and into hex nuts at back of Lower Chassis
unit, as shown.
Power Cord. Wrap Power Cord around upper and
lower Cord Holders, and secure Plug to Cord with
molded clip.
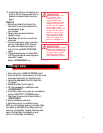
NOTE: Your POWERSTEAMER
TM
features a Cord
Quick-Release. To easily release Power Cord, rotate
upper Cord Holder and remove Cord. Use clip at
back of Handle Assembly to secure Power Cord
when using cleaner.
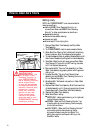
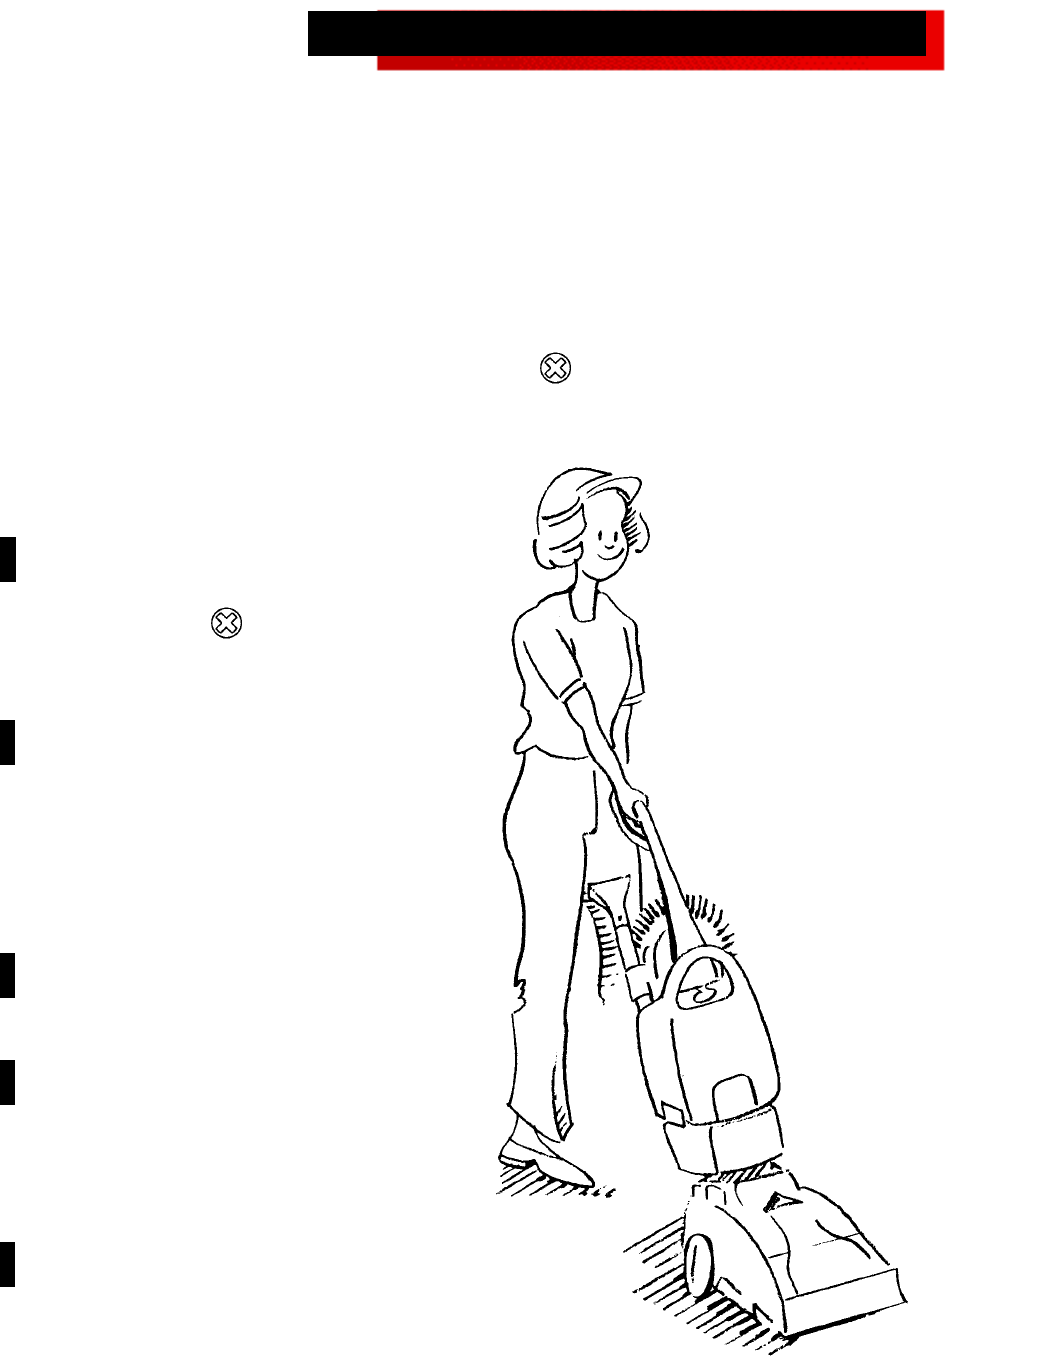
Flex Hose Assembly. Coil Flex Hose Assembly on
back of POWERSTEAMER,
TM
using the hose racks
to guide and secure the Hose.
Upholstery/Carpet Tool. Connect Upholstery/
Carpet Tool to end of Flex Hose Assembly by
depressing the button at the end of the Hose.
Slide the Tool over the Hose end until the button
snaps into place in hole in Tool. Secure Hose/Tool
unit in clamp at upper right side.
Spraying Crevice Tool. Clip Spraying Crevice
Tool to Flex Hose Assembly just below the
Upholstery/Carpet Tool using the Spraying
Crevice Tool Hose Clip.
Assembly is now complete.
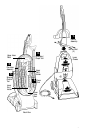
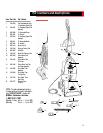
Your POWERSTEAMER
TM
is packaged as two
primary components–the Lower Chassis and the
Handle Assembly. Also included is a 10’ Flex Hose
Assembly and Upholstery/Carpet Tool. Additional
attachments are included on some models.
The only thing you will need to assemble your cleaner
is a Phillips head screwdriver.
This User’s Guide has been designed to help you get
maximum satisfaction from your POWERSTEAMER
T M
Upright Deep Cleaner. You’ll find assembly
instructions for all cleaning tasks, safety
precautions, pre-cleaning tips, and maintenance
and troubleshooting instructions. Please read this
Guide thoroughly before assembling your cleaner.
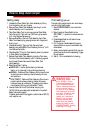
How to use this guide
Pay particular attention to the assembly diagram,
assembly instructions, and part names. Locate and
organize all parts before assembly. Familiarize
yourself with the parts and where they go.
Following the Guide will greatly enhance your
ability to get top performance from your cleaner
for many years.
How to put it together