


OPERATING INSTRUCTIONS
IMPORTANT:
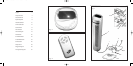
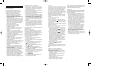
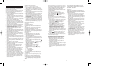
REMOTE CONTROL
The Remote Control requires 2 AAA batteries
for operation.To install the batteries, simply
depress the back of the remote, with your thumb
in the indentations, and remove the cover. Insert
the batteries according to the diagram shown
inside. Replace the cover.
Operating
1. Set the fan base on a dry level surface.
2. Plug the cord into a suitable 230-240V. AC
outlet.
3. Turn the fan on by pressing the 0/OFF
LED light on the front of the fan will illuminate.
Turn the fan Off by pressing the 0/OFF
button. Pressing the 0/OFF button will
automatically clear all settings and reset the fan.
4. The speed is adjusted by repeatedly pressing
the Speed Button - I II III - on the remote
control or on the control panel.
I= low speed
II = medium speed
III = high speed
The appropriate LED light on the front of the
fan will illuminate.
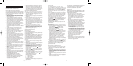
ADJUSTMENT
Oscillation control (See Fig.3/4)
To start and stop oscillation of the fan head, push
the Oscillation Button on the remote control or
on the control panel.
Air direction set manually
With the Oscillation Button off, the air direction
angle can be set in five horizontal positions by
manually turning the fan body until the fan 'clicks'
into the desired position.
Timer control (See Fig.3/4)
To start and stop the timer, press the Timer Button
on the remote conrol or control panel to cycle
through the timer settings.
The appropriate LED light on the front of the fan
will illuminate.
Natural breeze movement/ Sleep control
(See Fig.3/4)
1. For a natural breeze movement, push the Breeze
Button once. This will automatically vary
the fan speeds faster and slower.
2. Push the button again to activate the
sleep control. This function slows the fan speed
down and when used in conjunction with the
timer settings will gradually slow the fan down
and switch off. E.g. SLEEP + 4hrs TIMER
programmes the fan to gradually slow down
over the 4 hours and eventually turn off.
3. Push the button a 3rd time to switch off
the BREEZE and SLEEP functions.
The appropriate LED light on the front of the fan
will illuminate when the Breeze function is selected.
CLEANING AND MAINTENANCE
Follow these instructions to correctly and safely
care for your Bionaire fan. Please remember:-
• Always unplug the fan before cleaning or
assembly.
• Do not allow water to drip on or into the fan
motor housing.
• Be sure to use a soft cloth, moistened with a
mild soap solution.
• Do not use any of the following as a cleaner:
petrol, thinners or benzine.
The Holmes Group reserves the right to change
or modify any specifications without notice.
THIS PRODUCT IS MANUFACTURED TO
COMPLY WITH THE E.E.C. DIRECTIVES
73/23/EEC, 89/336/EEC and 98/37/EEC.
GUARANTEE
PLEASE KEEP YOUR RECEIPT AS THIS WILL
BE REQUIRED FOR ANY CLAIMS UNDER THIS
GUARANTEE.
• This product is guaranteed for 3 years.
• In the unlikely event of breakdown, please
take it back to the place of purchase, with
your till receipt and a copy of this guarantee.
• The rights and benefits under this guarantee
are additional to your statutory rights which
are not affected by this guarantee.
• Holmes Products Europe undertakes within the
specific period, to repair or replace free of charge,
any part of the appliance found to be defective
provided that:
• We are promptly informed of the defect.
• The appliance has not been altered in any way
or subjected to misuse or repair by a person
other than a person authorised by Holmes
Products Europe.
• No rights are given under this guarantee to a
person acquiring the appliance second hand
or for commercial or communal uses.
• Any repaired or replaced appliance will be
guaranteed on these terms for the remaining
portion of the guarantee.
32
PLEASE READ AND SAVE THESE
INSTRUCTIONS
IMPORTANT INSTRUCTIONS
When using electrical appliances, basic safety
precautions should always be taken including
the following:-
• Use the fan only for purposes described in
the instruction manual.
• To protect against electrical shock, do not
immerse the fan, plug or cord in water or
spray with liquids.
• Close supervision is necessary when any
appliance is used by or near children.
• Unplug from the electrical outlet when not in
use, when moving the fan from one location
to another, before putting on or taking off
parts and before cleaning.
• Avoid contact with any moving parts.
• Do not operate in the presence of explosive
and/or flammable fumes.
• Do not place the fan or any parts near an
open flame, cooking or other heating
appliance.
• Do not operate any appliance with a damaged
cord, plug, after the appliance malfunctions,
or has been dropped/damaged in any
manner.
• The use of attachments not recommended or
sold by the appliance manufacturer may
cause hazards.
• Do not use outdoors.
• Do not let the cord hang over the edge of a
table or counter, or come into contact with hot
surfaces.
• To disconnect from the electrical supply, grip
the plug and pull from the wall outlet. DO
NOT pull on the cord.
• Always use on a dry, level surface.
• The fan should not be operated without its
base fitted.
• The fan should not be operated laying on its
side.
• This product is intended for household use
ONLY and not for commercial or industrial
applications.
• Should the fan stop working, first check the
fuse in the plug (UK only) or fuse/circuit breaker
at the distribution board is operating, before
contacting the manufacturer or service agent.
• If the supply cord or plug is damaged, it must
be replaced by the manufacturer or its service
agent or a similarly qualified person in order
to avoid hazard.
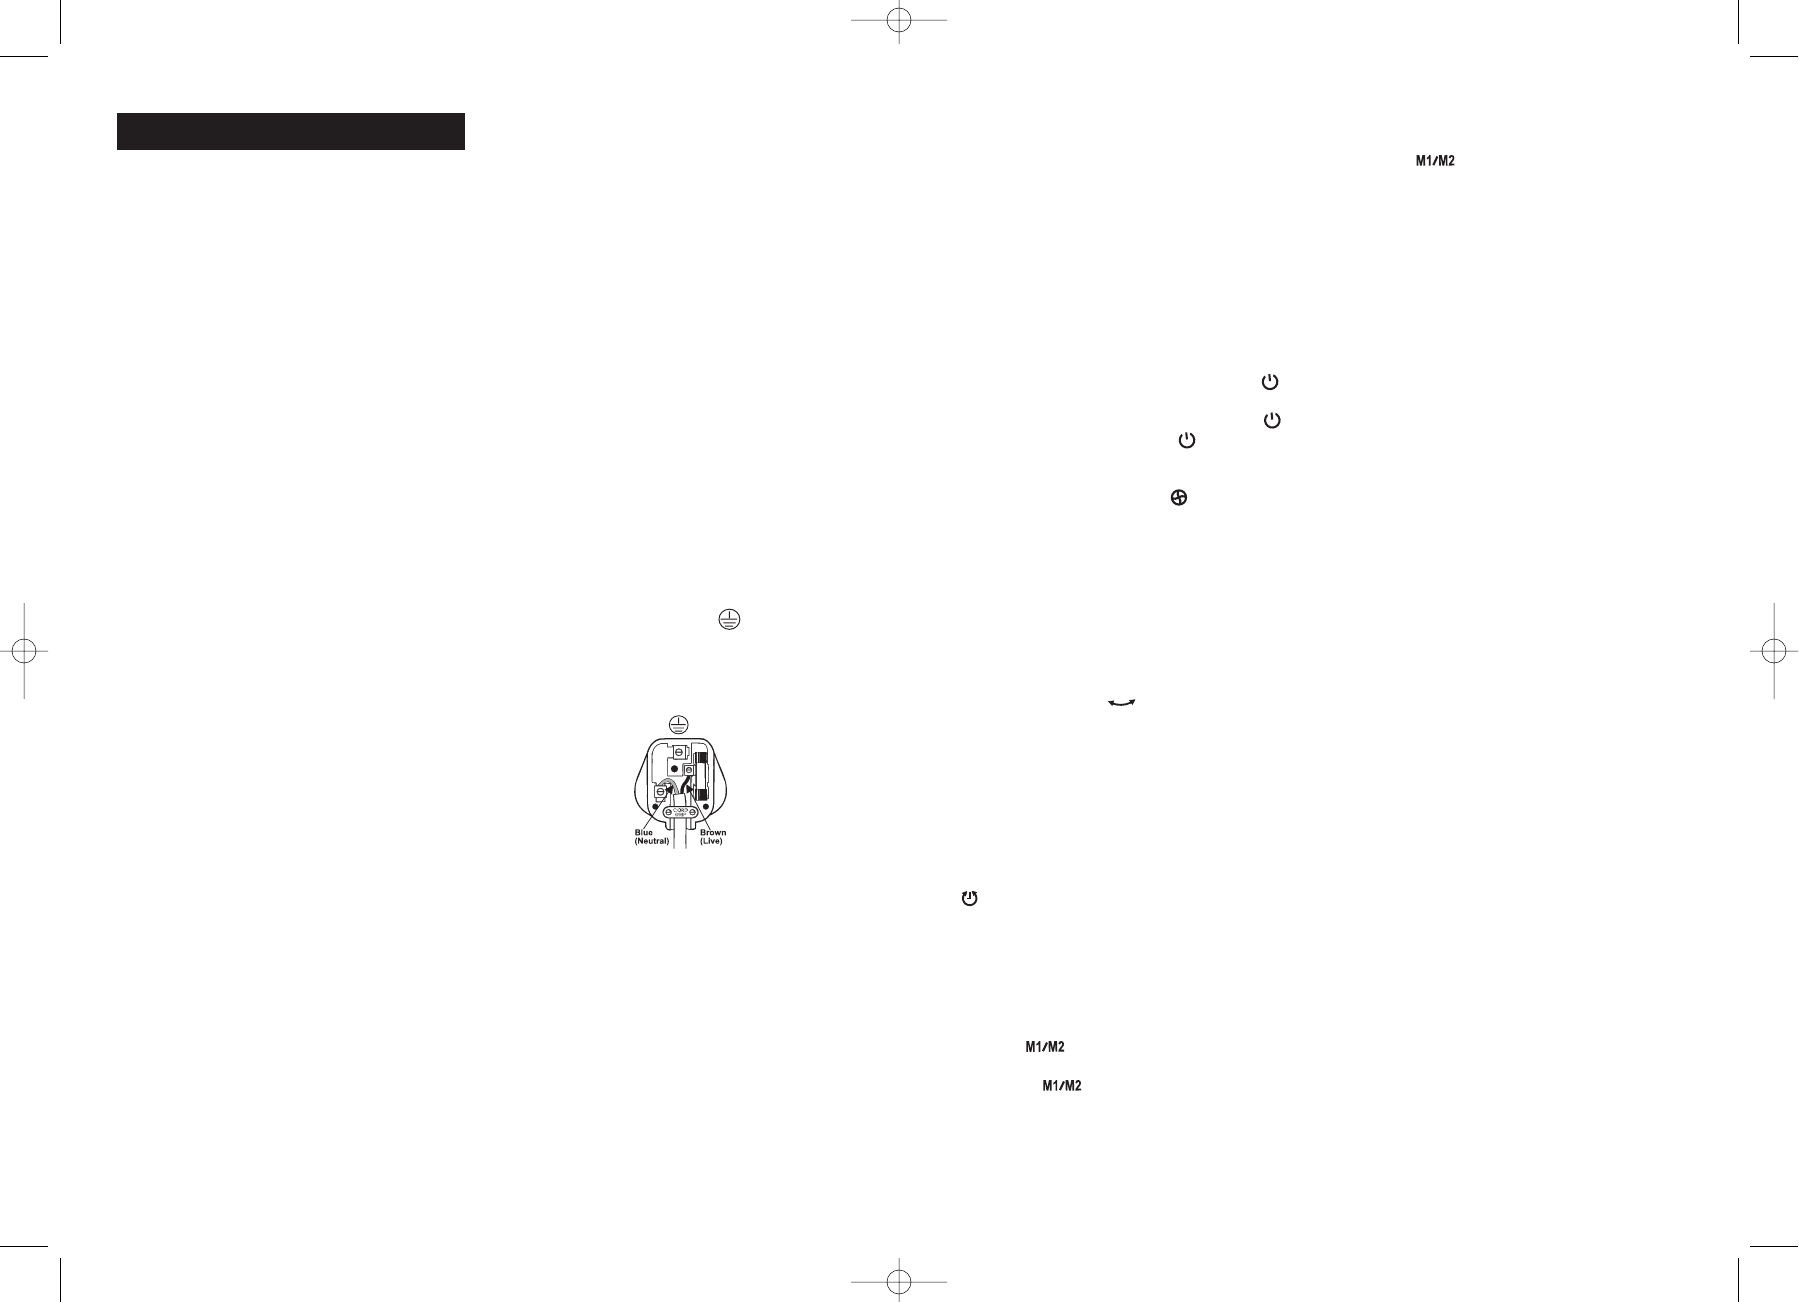
FITTING A REPLACEMENT PLUG (UK
ONLY)
The wires in this mains lead are coloured in
accordance with the following code:
Blue - Neutral
Brown - Live
This appliance is fitted with a 13 amp plug.
The fuse should be rated at 3 amps and ASTA
approved to BS1362.
However if the plug is unsuitable, it should be
removed from the supply cord and an
appropriate plug fitted as detailed below:-
As the colours of the wires in the mains lead of
this appliance may not correspond with the
coloured markings identifying the terminals in
your plug, proceed as follows:-
The wire which is coloured Blue must be
connected to the terminal which is marked with
the letter N or coloured Black.
The wire which is coloured Brown must be
connected to the terminal which is marked with
the letter L or coloured Red.
NB. Neither wire should be connected to the
terminal in your plug which is marked with the
letter E or by the Earth symbol or coloured
Green or Green and Yellow. If in doubt consult a
qualified electrician.
If any other plug is used, a 3 amp fuse must be
fitted either in the plug or adaptor or at the
distribution board.
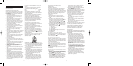
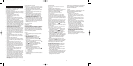
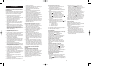
ASSEMBLY INSTRUCTIONS (See Fig 1.)
1. Remove all contents from the box, being careful
not to discard any parts required for assembly.
2. Pass the power cable (1) through the slot (2)
in the rear base (3).
3. Push the rear base into the front base (4) and
snap together.
4. Insert the fan body (5) into the assembled base
(from step 3) taking care to ensure the power
cable is not trapped. Turn the fan upside down
and insert the 2 butterfly screws (6). Turn
clockwise to tighten.
5. Pass the power cable over pillar (7) of the
assembled base and ensure that the power
cable lies flat in the groove in the rear base.
Make sure the power cable is fixed securely,
by using the cord grip (8) (See Fig 2).
U.K. and IRELAND
3 amp
BT05RCIQ03M1 visual.qxd 2/12/04 9:06 AM Page 7