


5
2
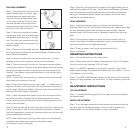
Tools Required: Phillips Head Screwdriver
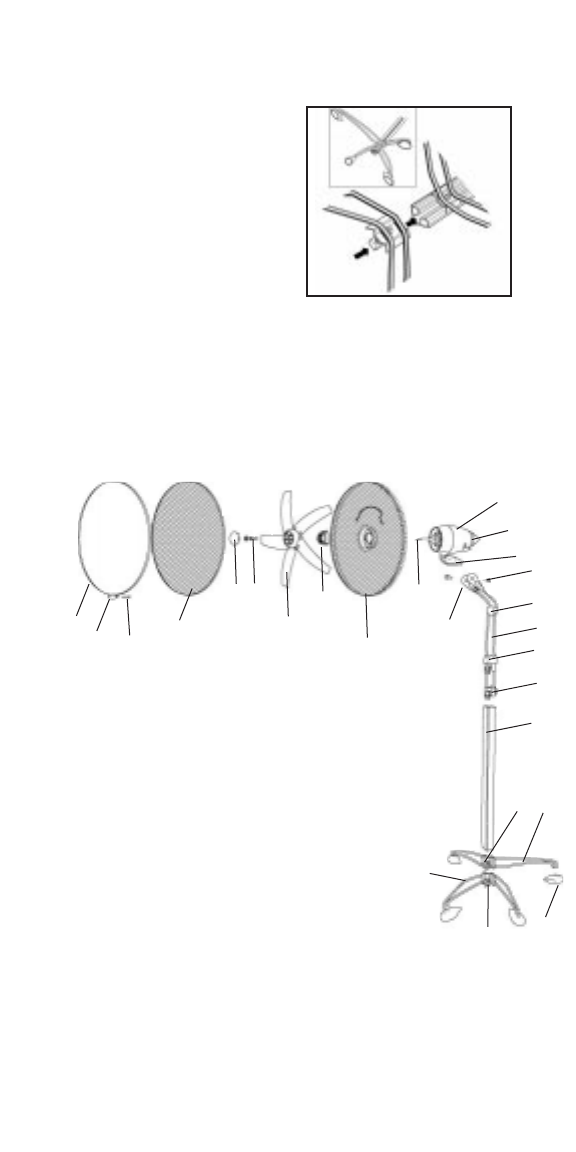
BASE/POLE ASSEMBLY
Step 1. Insert the large foot bracket
( U ) into the bottom of the lower pole.
Make sure to align the rectangular plas-
tic tab with groove inside the pole. Slide
the foot up approximately two inches
and then screw the feet into place.
Step 2. Insert the small foot bracket
( X ) into the bottom of the lower pole. Make sure to align the rectangular
plastic tab with groove inside the pole. Slide the foot up until it touches the
bottom of the upper foot bracket. Then screw the small foot bracket into
place.
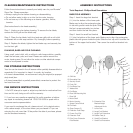
ASSEMBLY INSTRUCTIONS
CLEANING/MAINTENANCE INSTRUCTIONS
Follow these instructions to correctly and safely care for your Bionaire
®
Stand Fan. Please remember:
• Always unplug the fan before cleaning or disassembling.
• Do not allow water to drip on or into the fan motor housing.
• Do not use any of the following as a cleaner: gasoline, thinner,
benzine.
(See instructions for fan head assembly)
Step 1. Unplug your fan before cleaning. To access the fan blade,
remove the front grill and fan blade cap.
Step 2. Clean the fan blade, both front and rear grills with a soft cloth
moistened with a mild soap solution. Dry thoroughly before operating.
Step 3. Replace the blade, tighten the fan blade cap, and securely fas-
ten the front grill.
FAN HEAD, BASE AND POLE CLEANING
Using a soft, moist cloth, with or without a mild soap solution, carefully
clean the fan base, pole, and head. Please use caution around the
motor housing area. Do not allow the motor or other electrical compo-
nents to be exposed to water.
FAN STORAGE INSTRUCTIONS
Your fan can be stored in the off-season either partially disassembled or
assembled. It is important to keep it in a safe, dry location.
• If stored disassembled, we recommend using the original (or appropri-
ately sized) box.
• If stored assembled or partially assembled, remember to protect the
fan head from dust.
FAN SERVICE INSTRUCTIONS
1. Do NOT attempt to repair or adjust any electrical or mechanical func-
tions on this unit, doing so will void the warranty.
2. If you have any questions regarding this unit’s operation or believe
any repair is necessary, please call 1-800-253-2764 to speak with a
consumer service representative.
If you need to exchange the unit, please return it in its original carton,
with a sales receipt, to the store where you purchased it. If you are
returning the unit more than 30 days after the date of purchase, please
see the enclosed warranty.
A. Grill Hub
B. Decorative Cap
C. Security Screw
D. Front Grill
E. Fan Blade Cap
F. Washer/Nut
G. Fan Blade
H. Rear Grill Mounting Nut
I. Rear Grill
J. Motor Shaft
K. Motor Housing
L. Speed Control Knob
M. Fan Neck
N. Clasp Screws (2)
O. Extension Pole Clasp
P. Power Cord Clip
Q. Extension Pole
R. Pole Cover, Extension
Pole Bracket
S. Extension Pole
Bracket/Height
Adjustment Knob
T. Lower Pole
U. Large Foot Bracket
V. Large Foot Extensions
W. Rubber Feet (4)
X. Small Foot Bracket
Y. Small Foot Extensions
A
B
C
D
E
F
G
H
I
J
K
L
M
N
O
P
Q
R
S
T
U
V
W
X
Y