


Page 8 AXIS T90C10/T90C20 Installation Guide
Installation
Notes:
• When the IR-LED is installed, the camera cables can only be routed through the wall (not along the wall).
•The
IR-LED is controlled by the level of ambient light which is detected by the unit's photocell. Ensure that
the photocell is not obstructed or covered.
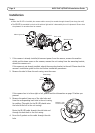
1. If the camera is already installed, disconnect power from the camera; remove the weather
shield, and the dome cover on the camera; remove the unit casing from the mounting bracket;
detach the camera unit.
If the camera is not already installed, attach the mounting bracket to the wall. Please check the
camera’s installation guide for this and further installation procedures.
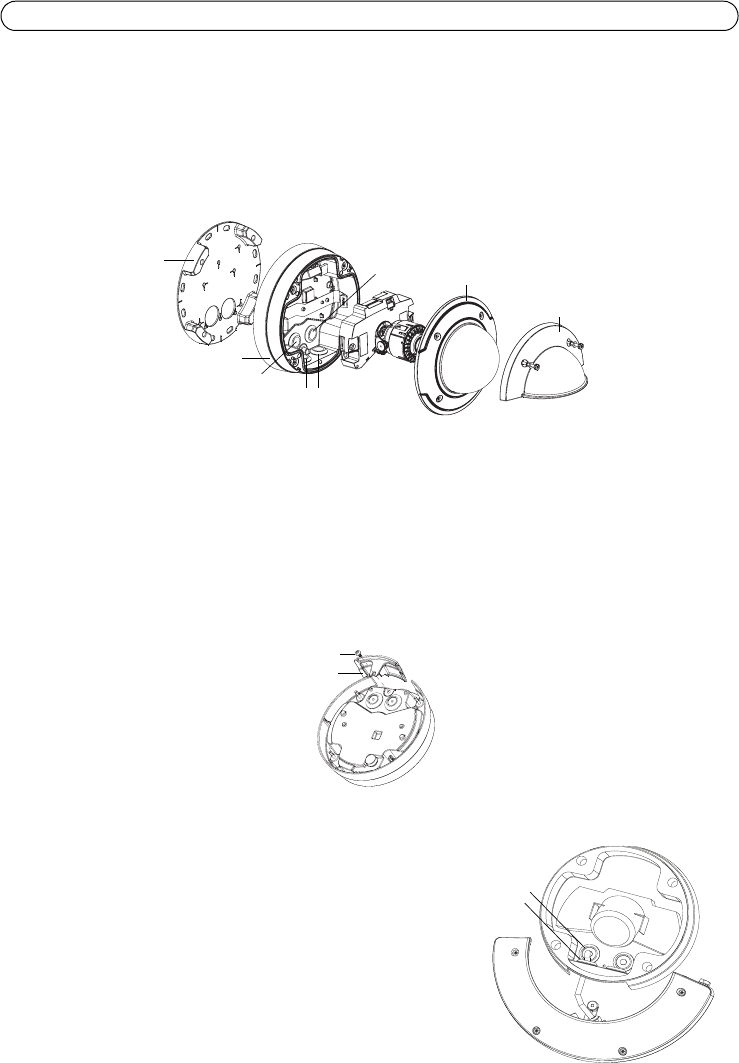
2. Remove the side lid from the unit casing; save the screw.
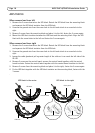
If the camera lens is to face right or left, please read the information on page 10 before you
proceed.
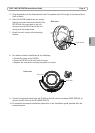
3. Remove the gasket from one of the side holes and
from the corresponding back hole in the unit casing,
for cabling. (The cable for the IR-LED should enter
the hole to the left in the unit casing)
Route the IR-LED cable through the side hole and
through the back hole in the unit casing.
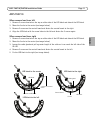
4. Force the 2 gaskets on the cable through the side
hole.
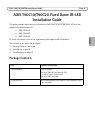
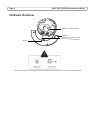
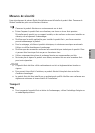
Mounting bracket
Unit casing
Dome cover
Weather shield
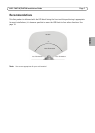
Side holes
Back hole
Back hole
Side lid
Screw
Unit casing
Gaskets in side
and back holes