Installation (for qualified installers only) 19
© Travis Industries 4080123 100-01174_002
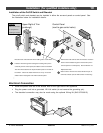
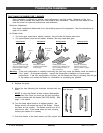
Installation of the On/Off Switch and Rheostat
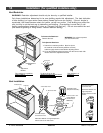
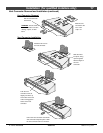
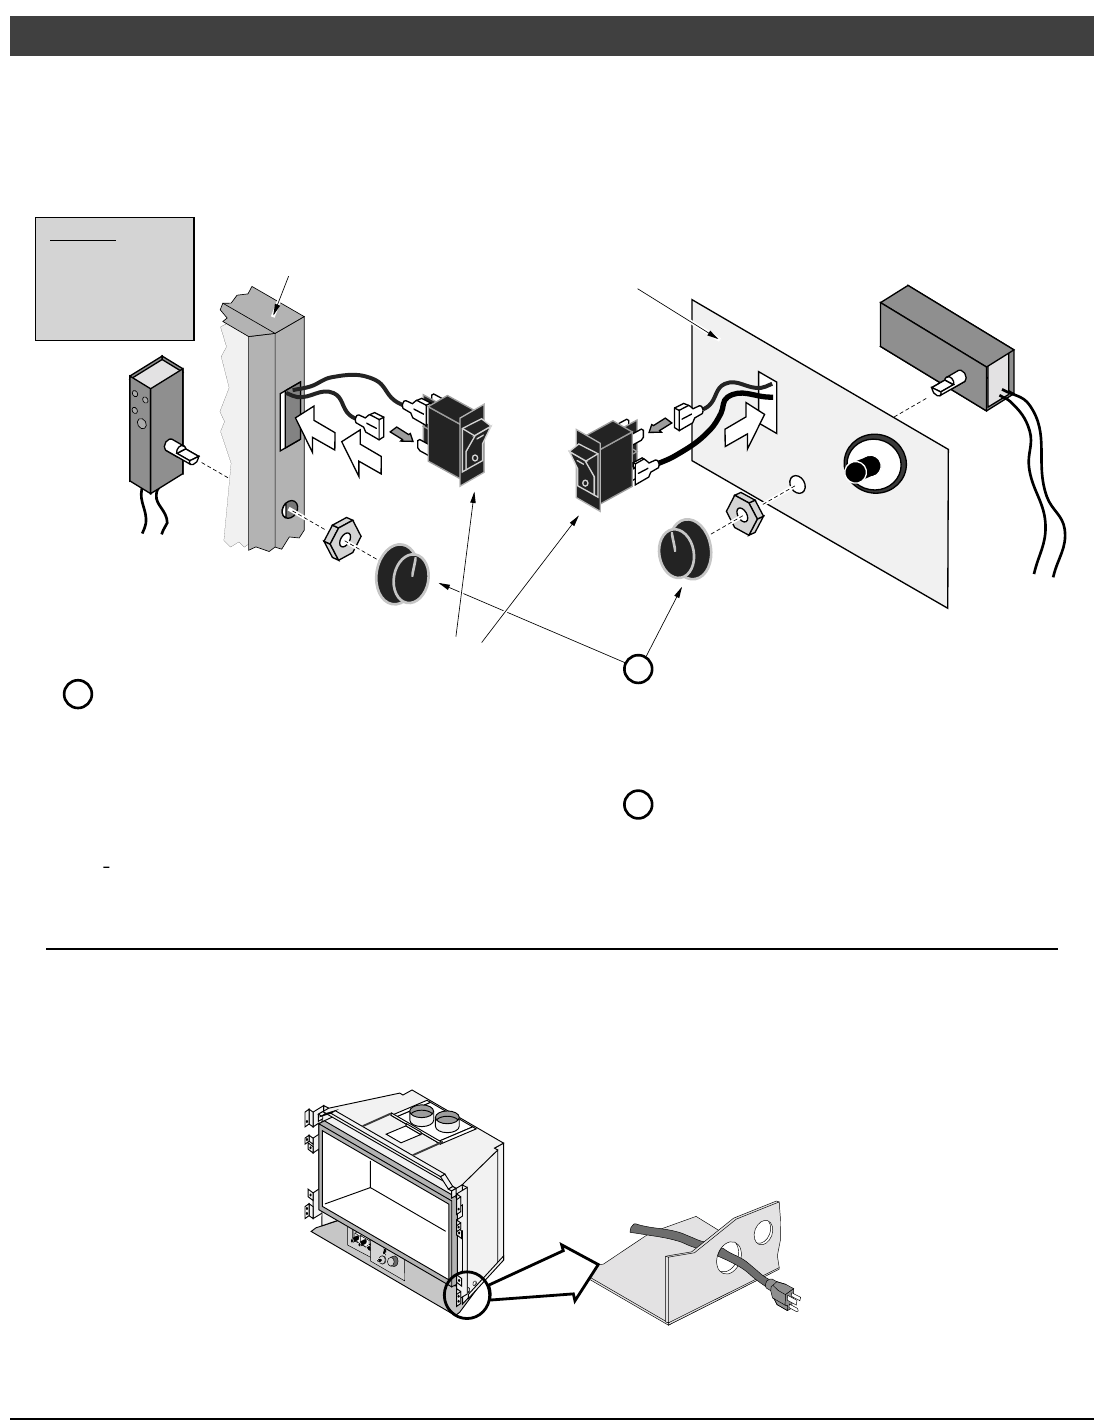
The on/off switch and rheostat may be installed in either the surround panels or control panel. See
the illustration below for installation details.
c
a
Disconnect the red and brown wires leading to the on/off switch.
Insert the wires through the rectangular mounting hole (on the
surround panel or control panel) and attach to the on/off switch.
The wires must attach to the top and bottom posts on one side of
the switch - it does not matter which wire is on top. Press the
switch into the rectangular hole until it locks into place.
WARNING:
Make sure the heater
is unpluged before
installing the rheostat.
Upper Right of Trim
(preferred)
Remove the knob and nut from the rheostat. Insert the
shaft on the rheostat through the circular hole (on the
surround panel or control panel). Secure with the nut.
Replace the knob.
Make sure the wires do not contact the burner pan or
other hot surfaces (secure with lock ties if necessary).
Control Panel
(next to gas control valve)
b
Electrical Connection
• Route the power cord out of the access hole on the right side of the appliance.
• Plug the power cord into a grounded 120 Volt outlet (do not remove the grounding pin).
• The electrical connection may also be made using the optional Wiring Kit (SKU 97200315).


