


• Remove the AC adapter from paper pulp packaging and plug it into the unit.
Then plug cord into a standard electrical wall outlet. Press the On/Off button to
"on" and a green light will appear at top of unit. The rake will automatically run
through its first cleaning cycle and smooth out litter.
Optional Items
Litter Box Carpet
• Place assembled unit on carpet.
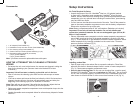
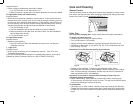
Paw-Cleaning Ramp
• The paw-cleaning ramp has two holes that snap into the pivot pins on the
inside of waste receptacle compartment cover. Position paw-cleaning ramp
with carpet-side facing up. Point pivot pins toward the disposable waste
receptacle end of unit. Lift paw-cleaning ramp and insert one of the pivot pins
into one of the holes. Slightly stretch the other pivot pin to reach other hole,
then insert (Fig. 5). Tug slightly on ramp to ensure that it is firmly in place.
LED Lights on Control Panel
• LED light blinks slowly when the cleaning mode is activated.
• LED light blinks fast when the battery level is low or when there is a blockage.
• Red LED light blinks slowly (approximately every second) when the rake has
encountered an obstacle that it can not remove.
Helpful Information
If you need to acclimate your cat to the LitterMaid
®
litter box, refer to "Acclimating
Your Cat" in this use and care book.
If your unit is not working properly, refer to "Troubleshooting" in this use and care
book.
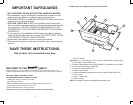
Batteries (Recommended for use only as back-up):
• Remove pull-on tabs on the edge of battery compartment to open it.
• Remove battery door.
• Follow diagram in the compartment to install 8 "AA" cell batteries. (Batteries
not included.)
Important: Do not mix old and new batteries. Do not mix alkaline and
carbon-zinc (standard) batteries. Do not use rechargeable type (Ni-Cad, Ni-
MH or Li-lon) batteries.
Just as your alarm clock continues to run on batteries if there is a power failure,
the LitterMaid
®
litter box will continue to operate as long as batteries are
installed.
5
Fig. 5
6
Sensors
Sensors (located on interior side panels) must be clean at all times. Wipe sensors
with a soft, dry cloth to keep them dust free.
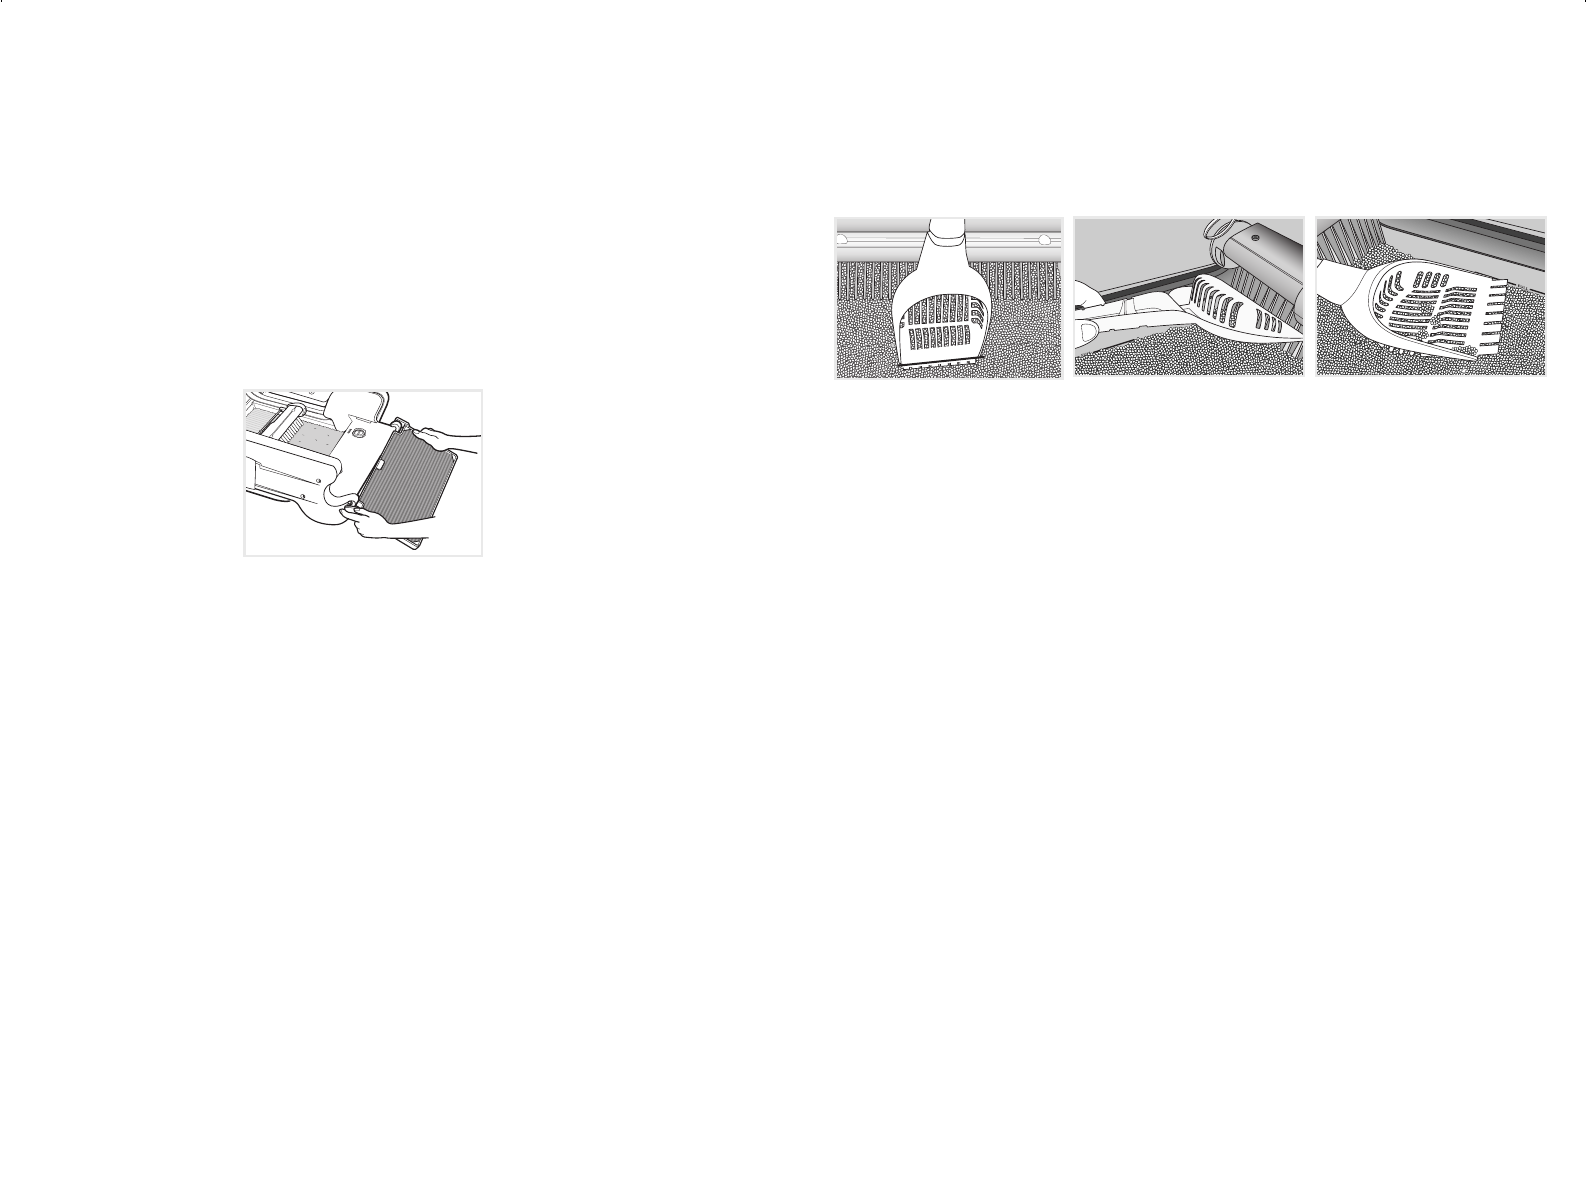
The LitterMaid
®
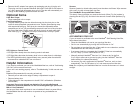
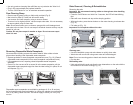
Scoop and Rake Cleaner
This handy 3-way tool helps you measure the level of litter (Fig. 6a), assists in
cleaning the rake (Fig. 6b), and aids in the removal of small waste particles (Fig.
6c).
ACCLIMATING YOUR CAT
If your cat needs to acclimate to the new LitterMaid
®
Self-Cleaning Litter Box,
follow these instructions.
• Place the LitterMaid
®
unit next to your previous litter box.
• Set it to run automatically by turning the On/Off button to "on".
• Do not clean out previous litter box. (Cats prefer to use a clean box, and the
LitterMaid
®
litter box will always be clean.)
• If cat seems timid, do not operate the LitterMaid™ litter box automatically
for 2 to 3 days. (Turn the On/Off button to "off.")
• Manually activate LitterMaid
®
litter box 2 to 3 times a day for the first
2 to 3 days to allow cat to get used to going into the LitterMaid
®
litter box
before setting it to clean automatically.
• As soon as your cat is acclimated to LitterMaid
®
litter box, set it to clean
automatically. Turn On/Off button to "on" and remove previous litter box.
Note: Do not place your LitterMaid
®
litter box in moist environment or in direct
sunlight.
Fig. 6b
Fig. 6c
Fig. 6a
▼
Max Line
▼