


First Choice When Quality Matters
NORTH
AMERICA
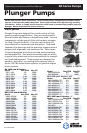
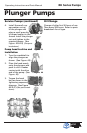
Plunger Pumps
Operating Instructions and Parts Manual RK Series Pumps
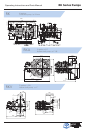
Figure 15
Figure 16
Figure 19
Figure 18
Figure 13
Figure 14
Figure 12
Figure 17
Figure 20
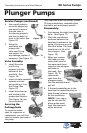
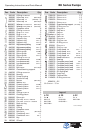
Service Pumps (continued)
4. Use a small probe to
move the poppet up
and down to assure
that the valve is
functioning properly
and that no debris is
stuck in the valve. (See
Figure 12)
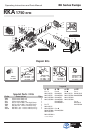
5. Using the
mechanics pick
remove the
valve seat O-ring
and inspect for
any damage, replace if
necessary. (See Figure 13)
Valve Assembly:
1. Install the valve
seat O-ring
squarely into the
bottom of the
manifold. (See
Figure 14)
2. Insert the valve assembly
squarely into the
port pushing it into
the O-ring. (See
Figure 15)
3. Install the valve cap
and torque to the
proper specification.
(See Figure 16) (See
parts breakdown)
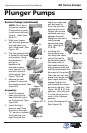
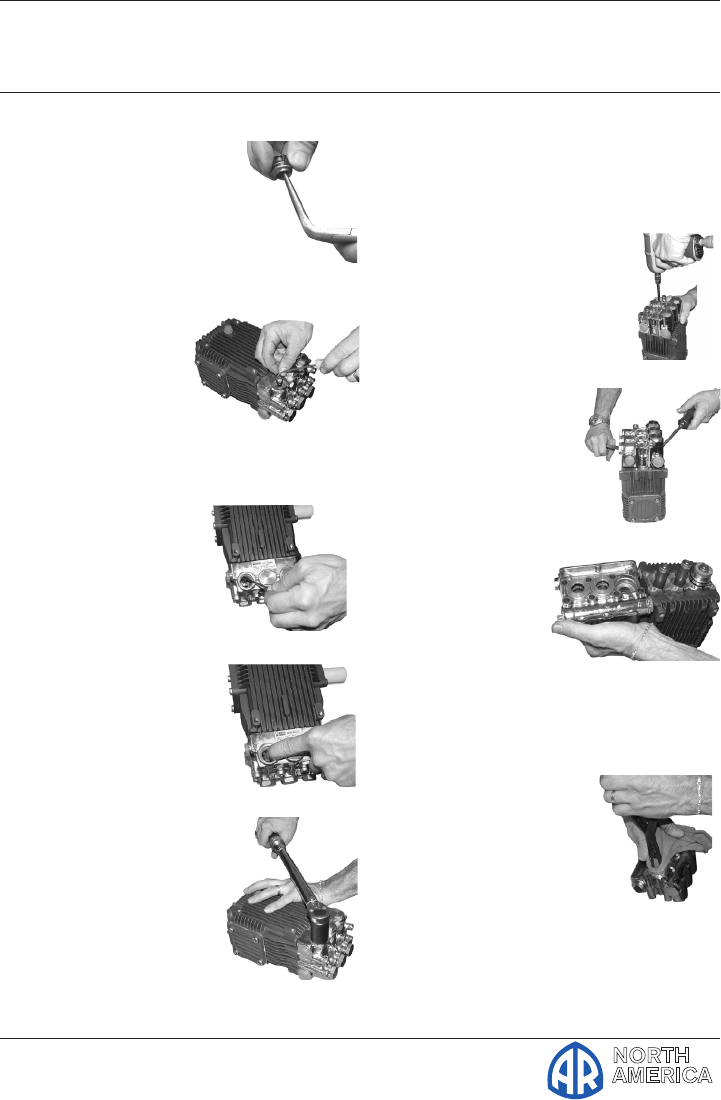
Servicing the
Packings/Seals
To access the water
seals for inspection or
replacement, you will first
need to remove the head of
the pump.
Tools required: 6mm hex socket, ratchet,
(2) long screwdrivers, reversible pliers,
mechanics pick and torque wrench.
Disassembly:
1. First remove the eight 6mm head
bolts. (See Figure 17)
2. Place the screwdrivers
as shown between the
head and crankcase of the
pump, lifting one up and
the other down. The head
should start to lift off of
the plungers. (See
Figure 18)
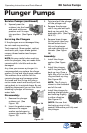
3. When you remove
the head you may
notice that some of
the water seals have
stayed on the plungers
and some in
the head. (See
Figure 19) To
remove the
seals from the
plungers simple
turn the assemblies and
pull off.
4. If the seal assemblies are in the
head use the reversible pliers to
grab the seal retainer
on the inside bore
(NOTE: Use a rag so
you do not mar the
piston guide area),
twist the retainer in
either direction