


20
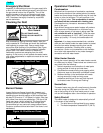
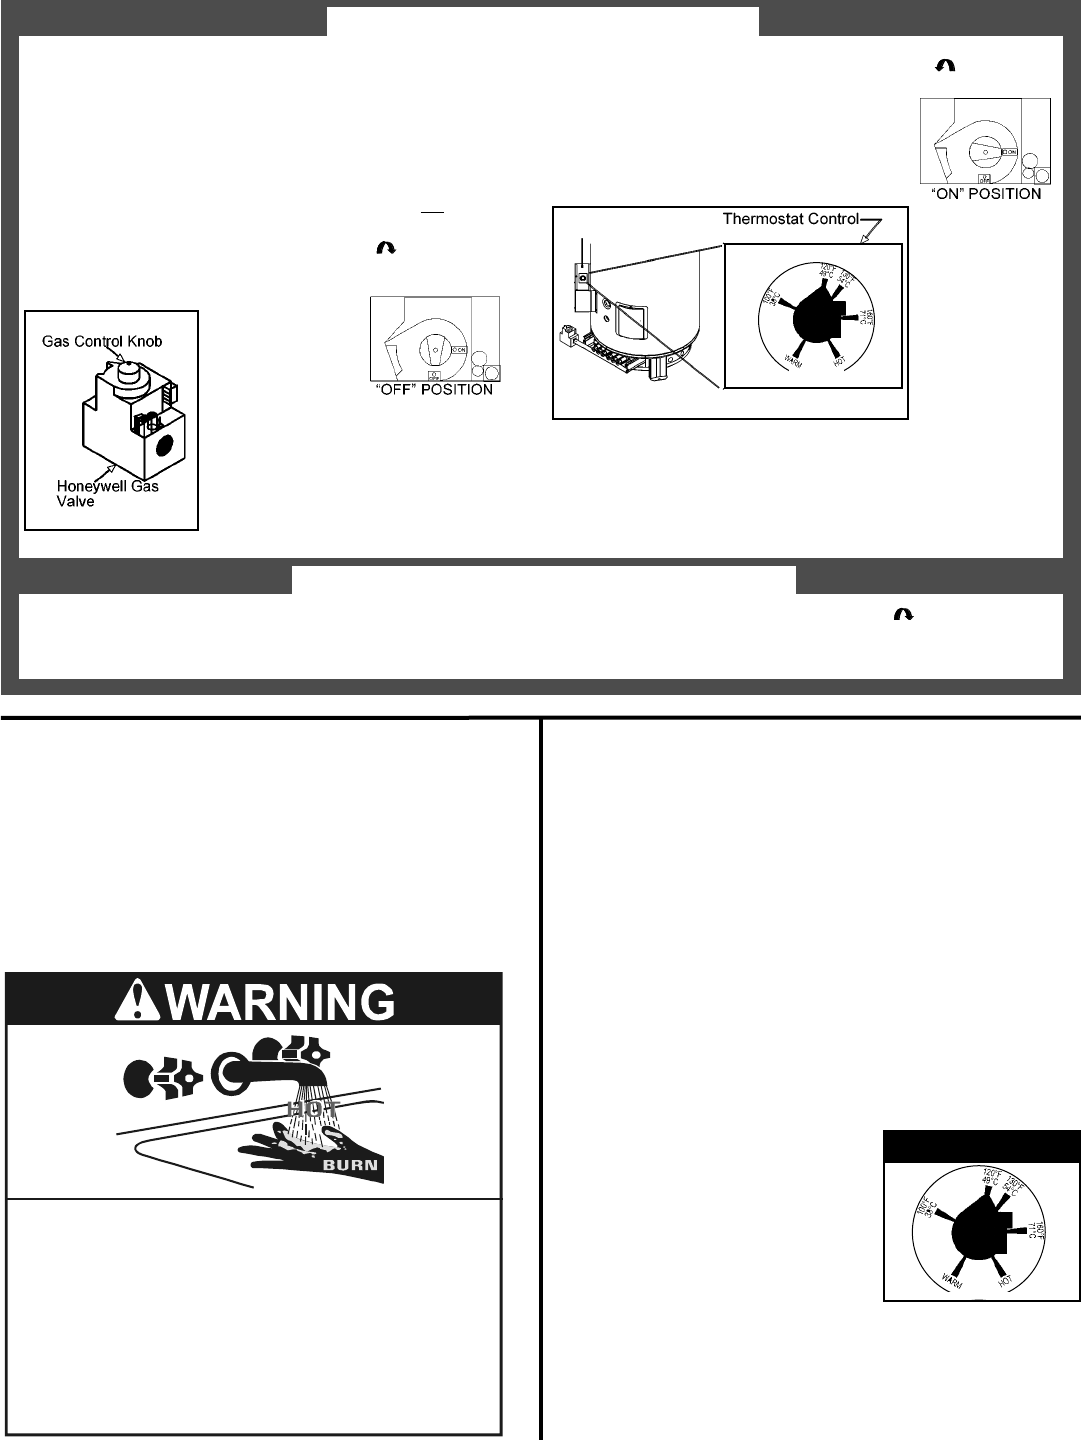
The thermostat is adjusted to its lowest temperature
setting when it is shipped from the factory. Water tem-
perature can be regulated by moving the temperature
dial to the preferred setting. The preferred starting
point is 120°F(49°C ) .
Important: Since most commercial installations utilize
higher temperatures, the use of a tempering valve is
strongly recommended in all domestic hot water lines
(i.e. public restroom sinks, etc). Auxiliary commercial
equipment (i.e. dishwashers, laundry equipment, etc.)
may require higher temperature settings. Refer to
instruction manuals supplied with this type equipment
for recommended temperature settings.
Important: Adjusting the thermostat past the 120°F
(49°C ) setting on the temperature dial (see Figure 13)
will increase the risk of scald injury. Hot water can pro-
duce first degree burns within:
120°F (49°C) more than 5 min-
utes
130°F (54°C) at 20 seconds
140°F (60°C) at 3 seconds
150°F (66°C) at 1-1/2 seconds
160°F (71°C) at less than 1 sec-
ond
Each water heater consists of a mechanical tempera-
ture stop set to 140°F (60°C). To set to a different set-
ting remove the temperature dial knob, loosen the shaft
nut and re-position the mechanical temperature stop.
Tighten the shaft nut and replace the temperature dial
knob.
Stacking
Stacking occurs when a series of short draws of hot
water are taken from the water heater tank. This causes
increased cycling of the burner and can result in
increased water temperatures at the hot water outlet. A
tempering valve should be installed in the hot water
supply line to reduce the risk of scald injury.
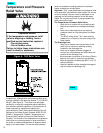
Water Temperature Regulation
Figure 13: Temperature Dial
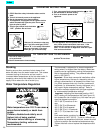
Water temperature over 125°F can cause
severe burns instantly or death from
scalds.
Children, disabled and elderly are at
highest risk of being scalded.
Feel water before bathing or showering.
Temperature limiting valves are
recommended.
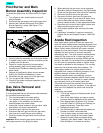
1.Turn off all electric power to the appliance if service is
to be performed.
2.Set the thermostat to lowest setting.
3.Turn the gas control knob clockwise to the off
position. Do not force.
1. STOP! Read the safety information above on this
label.
2. Turn off all electric power to the appliance.
3. Set the thermostat to the lowest setting.
4. This appliance is equipped with an ignition device
which automatically lights the pilot. Do not try to
light the pilot by hand.
5. Turn the gas control knob clockwise to the
“OFF” position. Do not force.
6. Wait ten (10) minutes to clear any
gas. If you then smell gas, STOP!
Follow “B” in the safety information
above on this label. If you don’t
smell gas , go to the next step.
7. Turn gas control knob counterclockwise to “ON”.
8. Set thermostat to desired setting.
9. Turn on all electric power to the
appliance.
10.If the appliance will not operate after three automatic
tries, follow these instructions once more. If the
appliance still refuses to light, follow the instruc-
tions "To Turn Off Gas To Appliance" and call a qual-
ified service technician.
OPERATING INSTRUCTIONS
TO TURN OFF GAS TO APPLIANCE
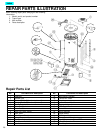
Index