8
LTD HEATER INSTALLATION
BE SURE POWER IS
DISCONNECTED AND LOCKED
OUT BEFORE INSTALLATION!
FAILURE TO DO SO MAY CAUSE
SERIOUS INJURY OR DEATH.
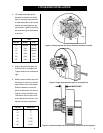
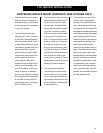
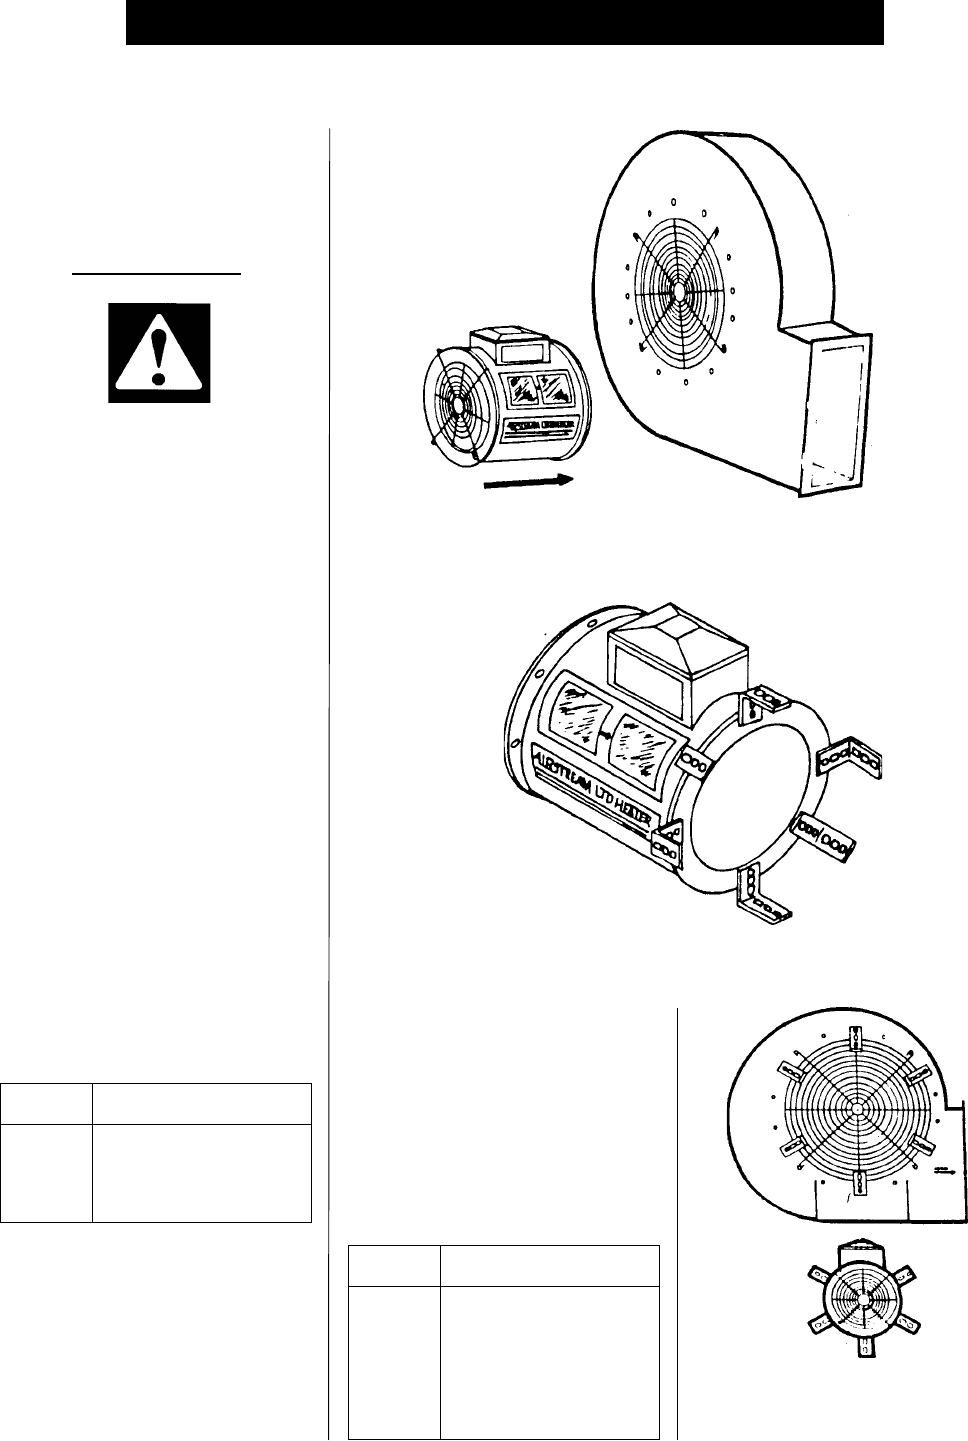
1. Place heater on the ground next
to the inlet of the centrifugal fan.
The LTD heater is designed to
mount upwind. Be sure airflow
decal is pointing towards the in-
let of the fan.
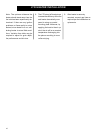
2. Bolt LTD mounting brackets to
each of the six holes in the
downstream angle ring of the
heater. Snug tighten bolts such
that they can still pivot with little
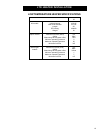
force applied. See chart for slots
to bolt through in bracket.
THESE INSTRUCTIONS ARE
FOR HEATER INSTALLATION
ON FAN UNITS WITH 230V
MOTORS.
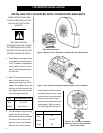
Figure 1: Make sure the LTD Heater is positioned in the right direction.
INSTALLING THE LTD HEATER WITH LTD MOUNTING BRACKETS
IMPORTANT!
Note: Heater Direction
Slot
End
Middle
Fan Inlet Bolt Circle
31" to 35"
Less than 31"
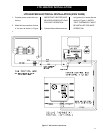
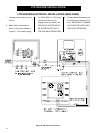
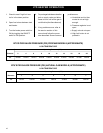
3. Pivot brackets so they are nearly
radial from center of heater.
Stand behind heater and deter
mine which bolts on fan inlet
best line up with the brackets.
Remove the nuts from those
six(6) bolts and bolt the remain-
ing six(6) brackets to fan using
nuts removed. It may be neces-
sary to remount the fan grill
guard so mounting brackets will
seat properly. Slots to use for
fan mounting bolts are below.
Slot
End
Middle
Inner
Fan Inlet Bolt Circle
35"
31 3/4"
29"
Figure 2: The six(6) mounting brackets positioned on the LTD Heater.
Figure 3: The LTD Heater brackets
pivoted so they are radial from the
center of the heater.


