– 7 –
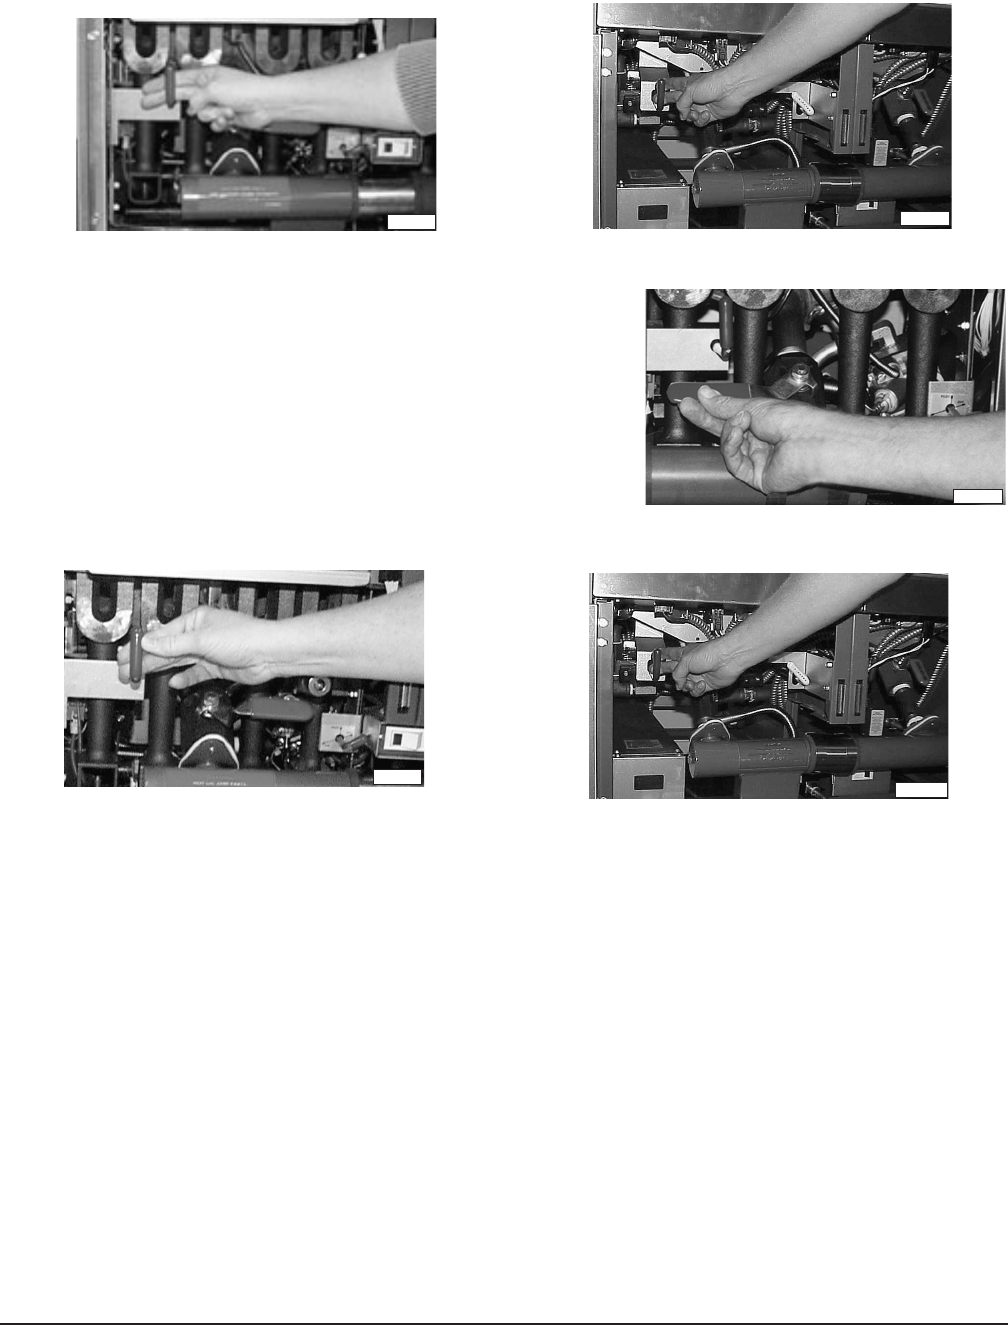
6. To start filtering, pull out the red filter valve handle (Fig. 7) of the fryer tank to be filtered. Use
a brush to remove all the residue from the bottom of the tank into the drain tube. Let the oil
recycle for 1 to 3 minutes, flushing residue from the tank bottom into the filter.
Fig. 8
PL-41605
PL-41606
Gas Fryer Electric Fryer
Fig. 9
9. Turn the filter power switch OFF (Fig. 6).
10. Close the fryer doors.
FILTERING PROCEDURE WHEN USING SOLID SHORTENING
1. Follow the fat melt procedure discussed in the
INSTRUCTION
manual supplied with your fryer.
WARNING: Do not set a complete block of solid shortening on top of an electric fryer's heating
elements. Doing this may damage the elements and increase the potential for shortening flash
fire. If solid shortening is to be used in an electric fryer, remove the baskets and crumb screen(s),
pack the bottom of the tank completely with solid shortening, lower the elements and then pack
the shortening COMPLETELY around over top of the elements. Lay crumb screen(s) in the tank
on top of the packed shortening. Follow the Fat Melt instructions in the ER Fryer installation &
operation manual. Once all shortening has been melted and the fryer has met the set
temperature, fill baskets and resume frying.
PL-41608
PL-41609
Gas Fryer Electric Fryer
Fig. 7
7. Close the red fryer tank drain lever (Fig. 8) by turning the
lever clockwise until it stops. The fryer tank will now
refill.
8. After filtering is complete (all oil is removed from the filter
tank and air bubbles should appear in the fryer tank),
push in the red filter valve handle completely (Fig. 9).
PL-41607
