7372
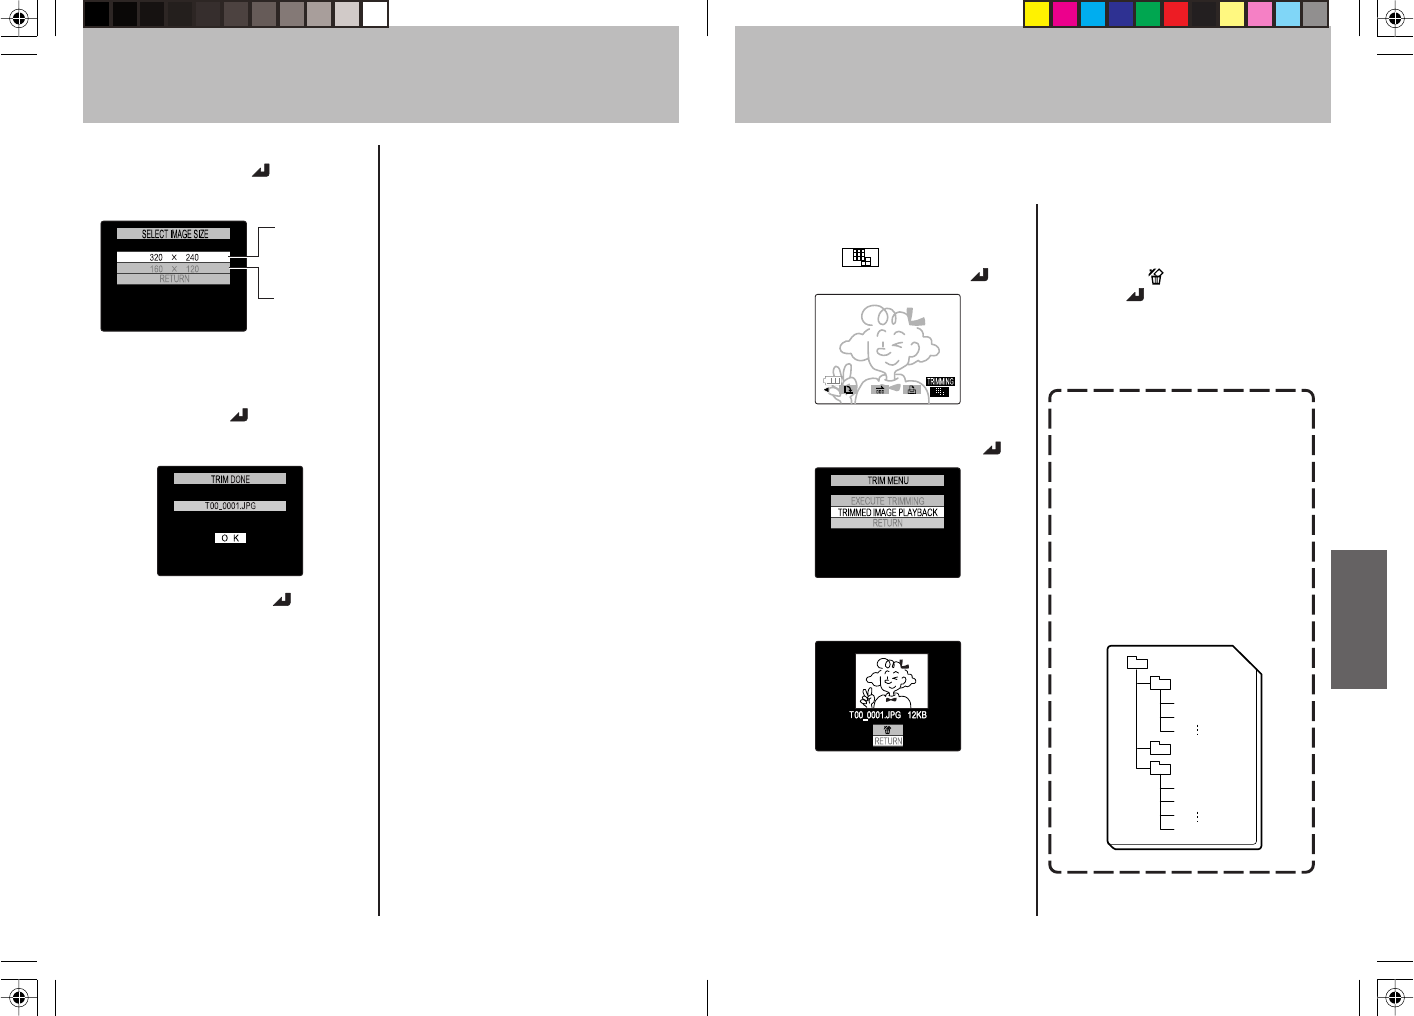
Viewing and Erasing the Trimmed Image
You can view or erase the trimmed image.
<Operation>
1 Press “MENU” button.
Select “
” using the “@” or
"#" button, then press “
.”
2 Select [TRIMMED IMAGE
PLAYBACK], then press “
.”
3 The trimmed image will be
displayed.
You can select other pictures
using
“@” or “#.”
<To Erase a Picture>
1 Select the picture you want to
erase using “@” or “#,” and
highlight “
” using “%”, then
press “
.”
2 Press the “MENU” button to
go back to the playback
screen.
You can view the trimmed
image on a PC.
1In Windows, click the
“Removable Disk” icon in “My
Computer.” In Macintosh, click
“Untitled folder” icon on
Desktop (see page 97).
2The trimmed image is recorded
in the following location.
Open the “TRIMMING” folder
and double-click the name of the
file you want to see.
Memory Card
MISC
TRIMMING
DCIM
100TOSHI
PDR_0001.jpg
PDR_0002.jpg
T00_0001.jpg
T00_0002.jpg
T00_9999.jpg
6 When you finish to select the
area, press the “
” button.
7 Set [IMAGE SIZE].
Select the image size using “@” or
“#” then press “
.”
8 The file name will be displayed.
9 Press “MENU” or “ ” to go
back to the image playback.
The size of a
single picture will
be approximately
between 10 KB
and 20 KB.
The size of a
single picture will
be approximately
between 4 KB
and 7 KB.


