116
17
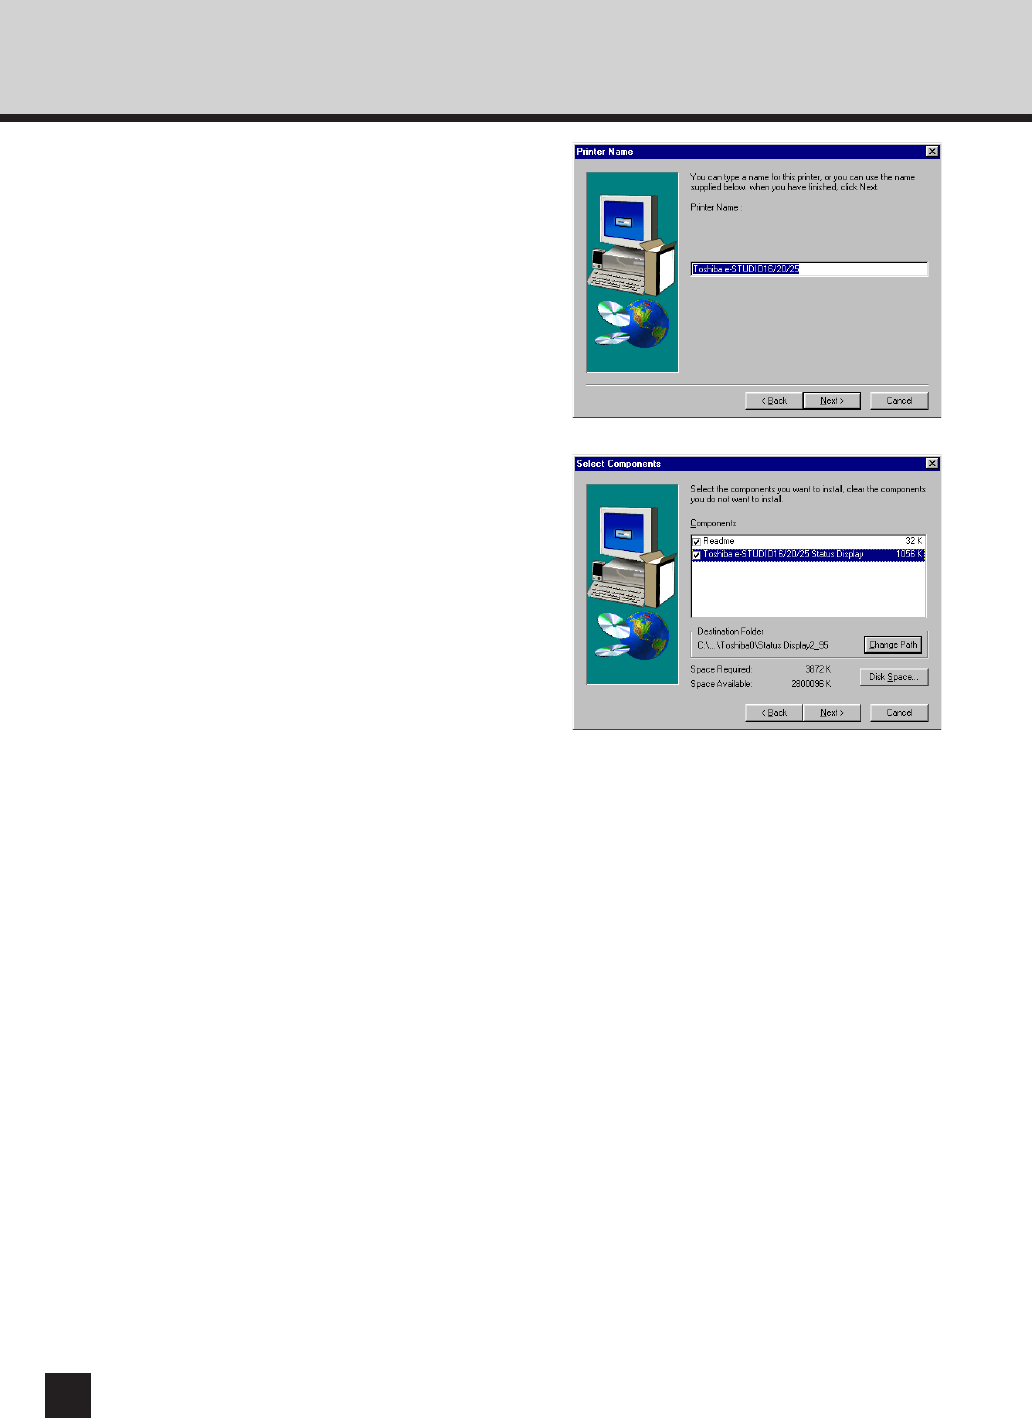
Ensure that the e-STUDIO16/20/25
Status Display is not checked.
● When your e-STUDIO16/20/25 is connected to
the network, you do not need to install the
TOSHIBA Status Display. It is not available
when the e-STUDIO16/20/25 is connected to
the network.
● The checkbox for the e-STUDIO16/20/25 Status
Display is not displayed when you select
“Network Printer” on step 10.
18
Select the drive and path for the
components to be installed.
● [Change Path] button:
The Select Folder screen appears from which a
folder can be selected or created to install the
application into.
● [Disk Space...] button:
The Available Disk Space screen appears from
which a disk drive with sufficient space to install
the application can be selected.
19
Click on [Next].
● The Select Program Folder screen appears.
16
Enter the printer name, and click on
[Next].
● The default printer name is automatically
entered. If you do not need to change the
name, click on [Next].
● The Select Components screen appears.


