Startup
7. Add or erase channels from the VCR’s memory.
You may want to add or erase channels if some of the channels are not
active, have weak signals, or you do not want to watch them.
A.
6.
c.
D.
E.
F.
Press VCR1 (VCR2).
Press PROGNCR+ on the remote to see the
VCR MAIN MENU on
the
TV screen.
Press 5 to select SET UP VCR.
Press 2 to select
ADD/ERASE CHANNELS.
Follow
the directions on the screen.
Add or erase more channels by entering channel numbers or using
CHANNEL up or
down.
8. Use TV/VCR button.
Skip this step if you used one of the advanced hookups.
When using one of the basic hookups, the TV/VCR button on the remote
lets you switch between the picture coming from the VCR or the picture
from the TV channel. This button allows you to record a program on the
VCR while watching another channel on the TV.
D&is are on page
18.
A. Press VCR1 CJCRZ) to set remote to control VCR.
B. Press NNCR to see the picture from the VCR.
The VCR indicator lights in the display panel.
C. Press
CHANNEL
up or down to change channels on the VCR.
The channel number changes on the TV screen and in the display
panel.
D. Press lVNCR to see the TV
channels.
The
VCR
indicator does not light in the display panel. Change
channels using the TV’s remote.
E.
Return the TV to the VCR viewing channel - CH3 or CH4.
F. Press VCR1 (VCRZ), then NNCR to switch back to the picture from
the VCR.
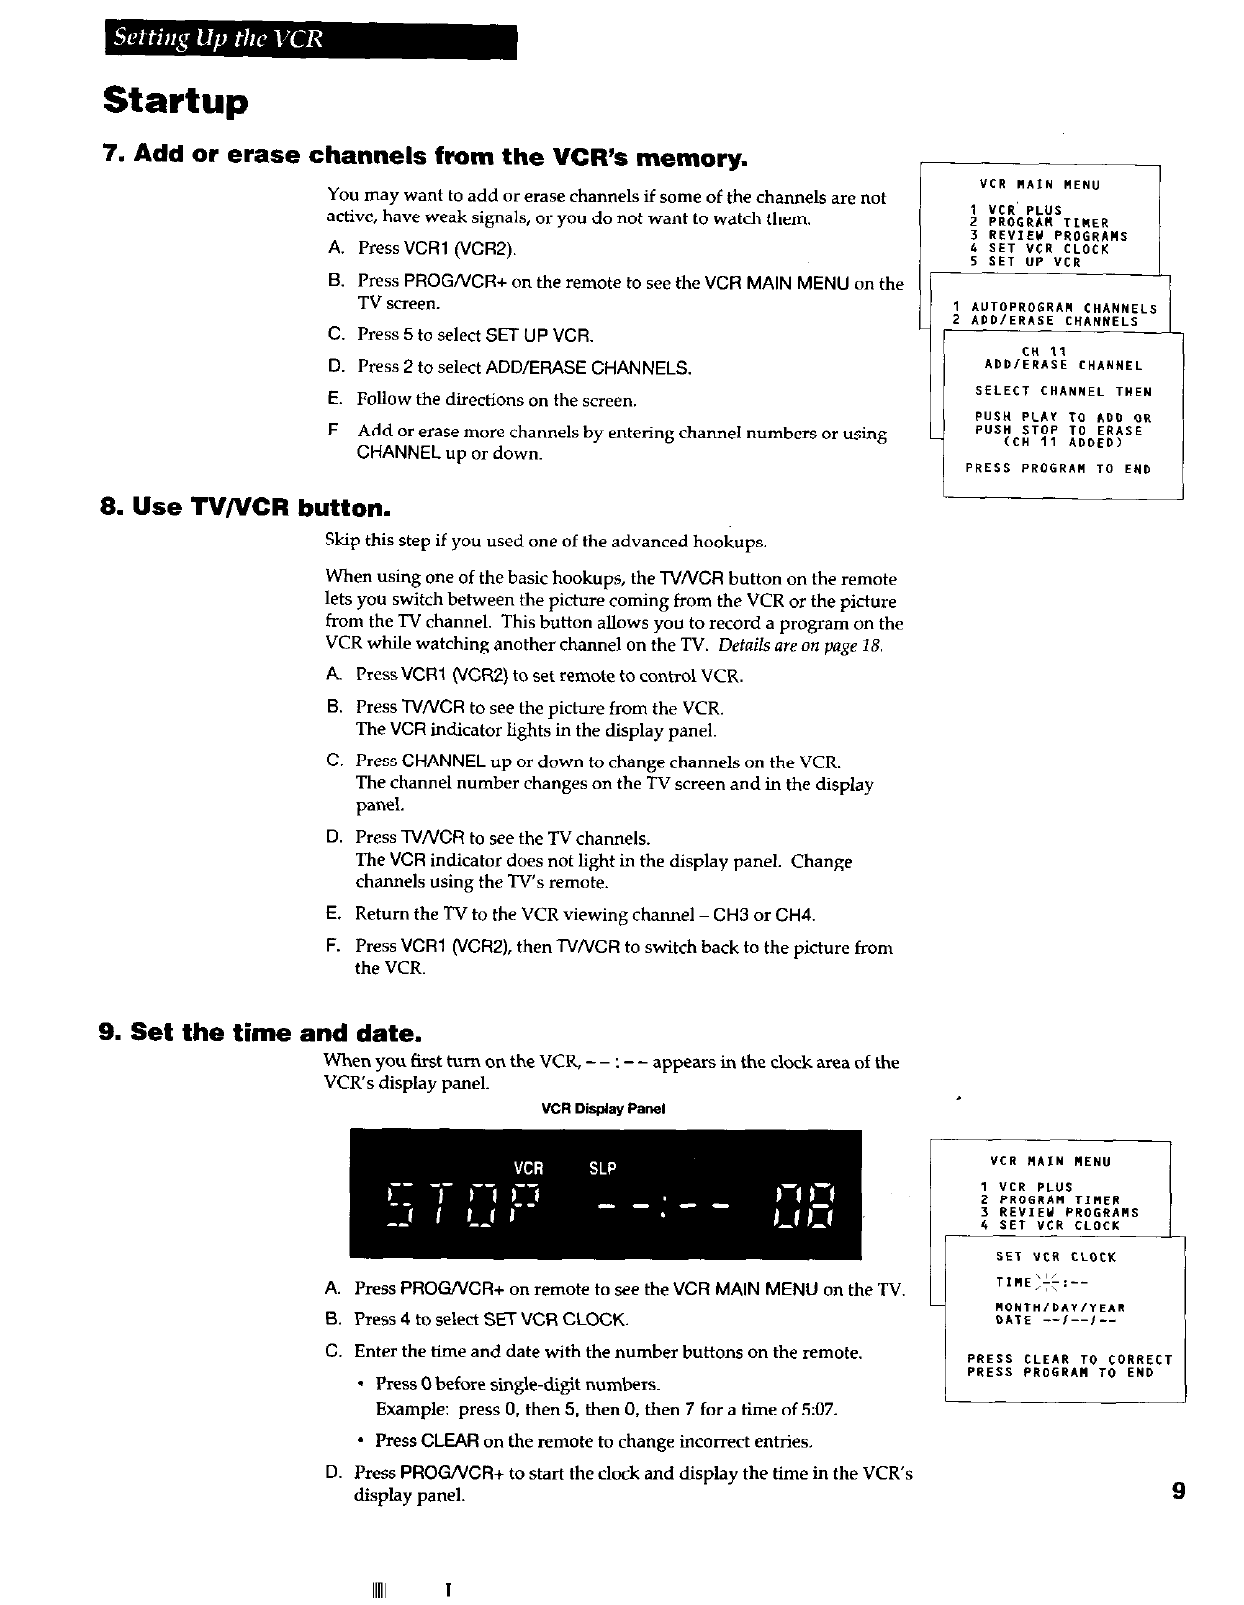
9. Set the time and date.
When you first turn on the VCR, - -
: - -
appears in the clock area of the
VCR’s display panel.
“CR Dis&l(ay Pallet
lr
A. Press PROGNCR+ on remote to see the VCR MAIN MENU on the TV.
B. Press 4 to select SET VCR CLOCK.
C.
Enter the time and date with the number buttons on the remote.
* Press 0 before single-digit numbers.
Example: press 0, then 5, then 0, then 7 for a time of 5:07.
* Press CLEAR on the remote to change incorrect entries.
D. Press PROG/VCR+ to start the
clock and display the time in the VCR’s
display panel.


