16
Chapter 5 Installing Optional Modules
You can purchase optional modules separately to meet the needs of
your network. The process of installing optional modules is the same.
Follow these steps to install the optional module:
1. Power the Switch off before installing the optional module.
2. Place the Switch on a at surface. Grasp the thumbscrew on the
sides of the optional module or blank bracket and turn counter-
clockwise to unscrew them. You can also use a screwdriver. Remove
the old module or the blank bracket and set aside. Do not discard
the module or blank bracket. Put the module or blank bracket back
in if you remove the new module.
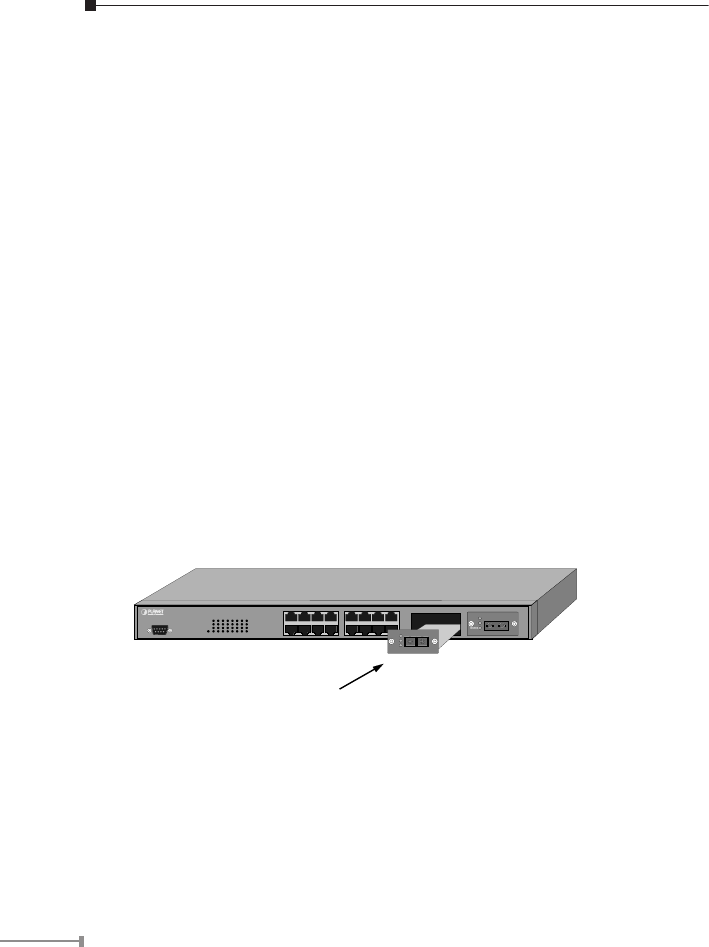
3. Install the new module by inserting it into the guides and sliding it in
until it stops (See Figure 7). Press it rmly until you feel the module
snap into place. Never force, twist or bend the optional module. The
optional module slides in smoothly.
4. Gently push the thumbscrews in and turn clockwise to tighten. Do
not over tighten the thumbscrews.
5. Power the Switch on after you have installed the new module. The
Switch will automatically detect the new module.
Intelligent 10/100/1000Mbps Ethernet Switch
1 2 3 4
13
14 15 165 6 7
8
9 10 11 12
Slot 2
WGSW-2402A
LNK/ACT
100/10
PWR
13141516
1 2 3 4 56
7
8
9101112
LNK/ACT
100/10
TX RX
WGSW-C1ST
100Mbps
100Base - FX
ACT
24
Slot 1
WGSW-C1GT
1000
100
10
Mbps
10/100/1000Base-T
100Base - FX
Figure 7. Insert the modules
6. Take off the dust cover from the transceiver and plug the cable in, if
you are installing a ber optic module.
7. Check the LEDs to verify that if there is a link and a proper connec
-
tion at the port.
Please refer to the Switch’s user’s manual for more about Switch or
module’s management.


