44
OPERATING THE
APPLIANCE
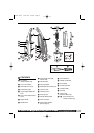
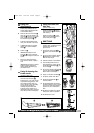
Assembly
A
WARNING: Do not plug in
the cleaner until it is
assembled.
1 Carefully unpack all of the
components.
2 Lift the cleaner body to the
upright position.
3 Remove the two screws that are
already attached to the body.
4 From the rear of the cleaner,
align the handle with the groove
and slide into the body. If
necessary, use thumb and finger
pressure to slide the handle into
position.
5 Fasten the handle with the two
screws.
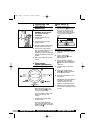
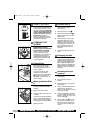
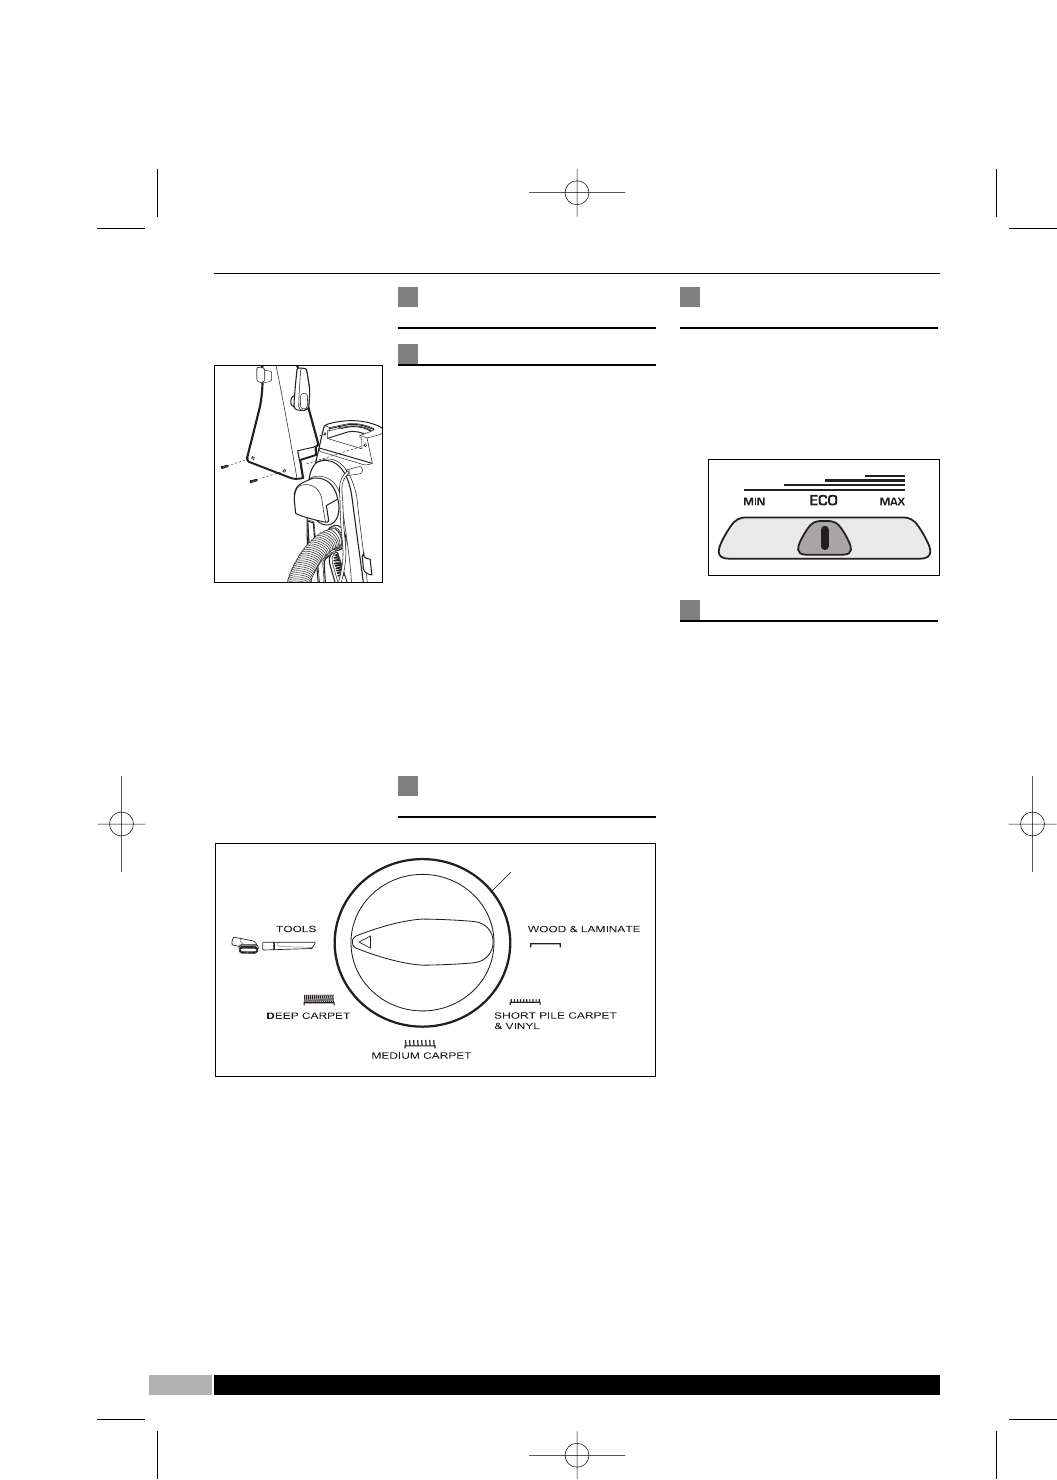
Floor nozzle
height adjustment
B
Before using the cleaner, the
floor nozzle height fi must be
set to the correct height.
Choose the setting which most
closely matches your floor
surface.
• Use the TOOLS setting when
using the tools.
Note: The height adjustment
only comes into effect when the
handle is released by the handle
release pedal È.
Eco Switch
C
(Certain models only)
The Eco Switch ⁄ allows you
to turn down the power when
cleaning more delicate items,
such as curtains and upholstery,
saving energy and reducing
costs.
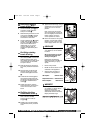
Using on carpets
1 Place the cleaner in it’s upright
position.
2 Set the carpet height
adjustment knob fi to the
desired position.
3 Release the mains cable by
revolving the quick release cleat
‚ half-a-turn and extend the
cable fully.
4 Plug the cable into the mains
socket.
5 Step on the handle release
pedal È to release the handle
to the desired position.
6 Press the on/off button to the
‘on’ position.
IMPORTANT: To prevent damage
to carpets, never leave the
cleaner switched on in one
place for an extended period.
• Never have the brushes set too
low such that the cleaner is hard
to push.
C
B
A
UUKK HHeellpplliinnee 00884444 887711 00994499 RReeppllaacceemmeenntt PPaarrttss 00884444 887733 00771155 IIrreellaanndd HHeellpplliinnee 11880000 440099 111199
fi
⁄