22 EN
Progressive Mode Recording
This mode lets you record moving images (successive
jitter-free still images) onto a tape. Images can then played
back jitter-free, with superior quality. High-resolution still
images can also be processed on a personal computer or
can be printed out (੬ pg. 55).
1
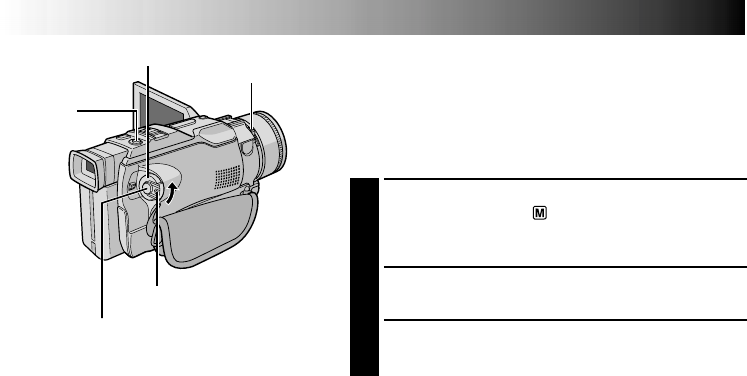
Set the Shooting Mode Switch to “VIDEO”, then set
the Power Switch to “ ” while pressing down the
Lock Button located on the switch. Pull out the
viewfinder fully or open the LCD monitor fully.
2
Set “CAMERA MODE” to “PS-VIDEO” in the Menu
Screen (੬ pg. 26, 27).
3
To start Progressive Mode Recording, press the
Recording Start/Stop Button.
To End Progressive Mode Recording . . .
.... press the Recording Start/Stop Button. The camcorder
enters the Record-Standby mode.
NOTES:
●
When an image recorded using the Progressive Mode is
played back, the image may not look natural.
●
When “CAMERA MODE” is set to “PS-VIDEO”, Picture
Wipe/Dissolve (
੬
pg. 32) and some Programme AE
with special effects (
੬
pg. 34) cannot be used.
●
If SNAPSHOT is pressed in the PS-VIDEO mode, a
snapshot will be recorded with higher quality than in
VIDEO mode. However, “MULTI-4” and “MULTI-9”
cannot be used (
੬
pg. 18).
Lock Button
Recording Start/Stop Button
Power Switch
RECORDING
Advanced Features For Video And D.S.C.
Shooting
Mode Switch
SNAPSHOT
Button


