Clock Setting
1
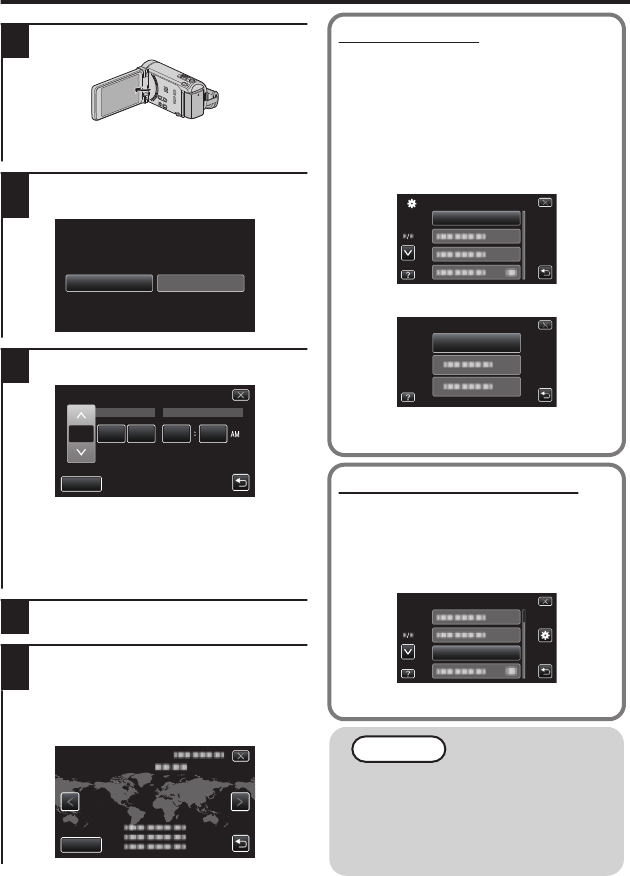
Open the LCD monitor.
.
0
The unit turns on. When the LCD
monitor is closed, the unit turns off.
2
Tap “YES” when “SET DATE/TIME!”
is displayed.
.
3
Set the date and time.
.
2011JAN 1 10 00
DATE
CLOCK SETTING
SET
TIME
0
When the year, month, day, hour, or minute
item is tapped, “∧” and “∨” will be displayed.
Tap “∧” or “∨” to adjust the value.
0
Repeat this step to input the year, month, day,
hour, and minute.
4
After setting the date and time, tap “SET”.
5
Select the region where you live and
tap “SAVE”.
0
The city name and time difference are
displayed.
0
Tap “<” or “>” to select the city name.
.
GMT
SAVE
CLOCK/AREA SETTING
To reset the clock
Set the clock with “CLOCK ADJUST”
from the “COMMON” menu.
A
Open the LCD monitor.
0
The unit turns on.
B
Tap “MENU”.
C
Tap “Q”.
D
Tap “CLOCK ADJUST”.
.
E
Tap “CLOCK SETTING”.
.
CLOCK SETTING
CLOCK ADJUST
0
The subsequent setting operations are
the same as steps 3 - 5 on p. 14.
To change the display language
The language on the display can be
changed.
A
Perform steps A - C from “To
reset the clock”.
B
Tap “LANGUAGE”.
.
C
Tap to the desired language.
NOTE
0
“SET DATE/TIME!” is displayed when
you turn on this unit after it has not been
used for a prolonged period.
Connect the AC adapter for more than
24 hours before setting the clock.
(p. 10)
14
For more information, refer to the Detailed User Guide
http://manual.jvc.co.jp/index.html/


