Specialized Storage Areas
Your refrigerator has an Adjusti-Temp’” meat storage
drawer. This drawer is designed to provide a short term
storage area for fresh meats, cheeses and luncheon
meats.
The Adjusti-Temp’” Drawer is the top drawer in the
fresh food compartment.
The temperature control for
this drawer is located on the shelf front above the draw-
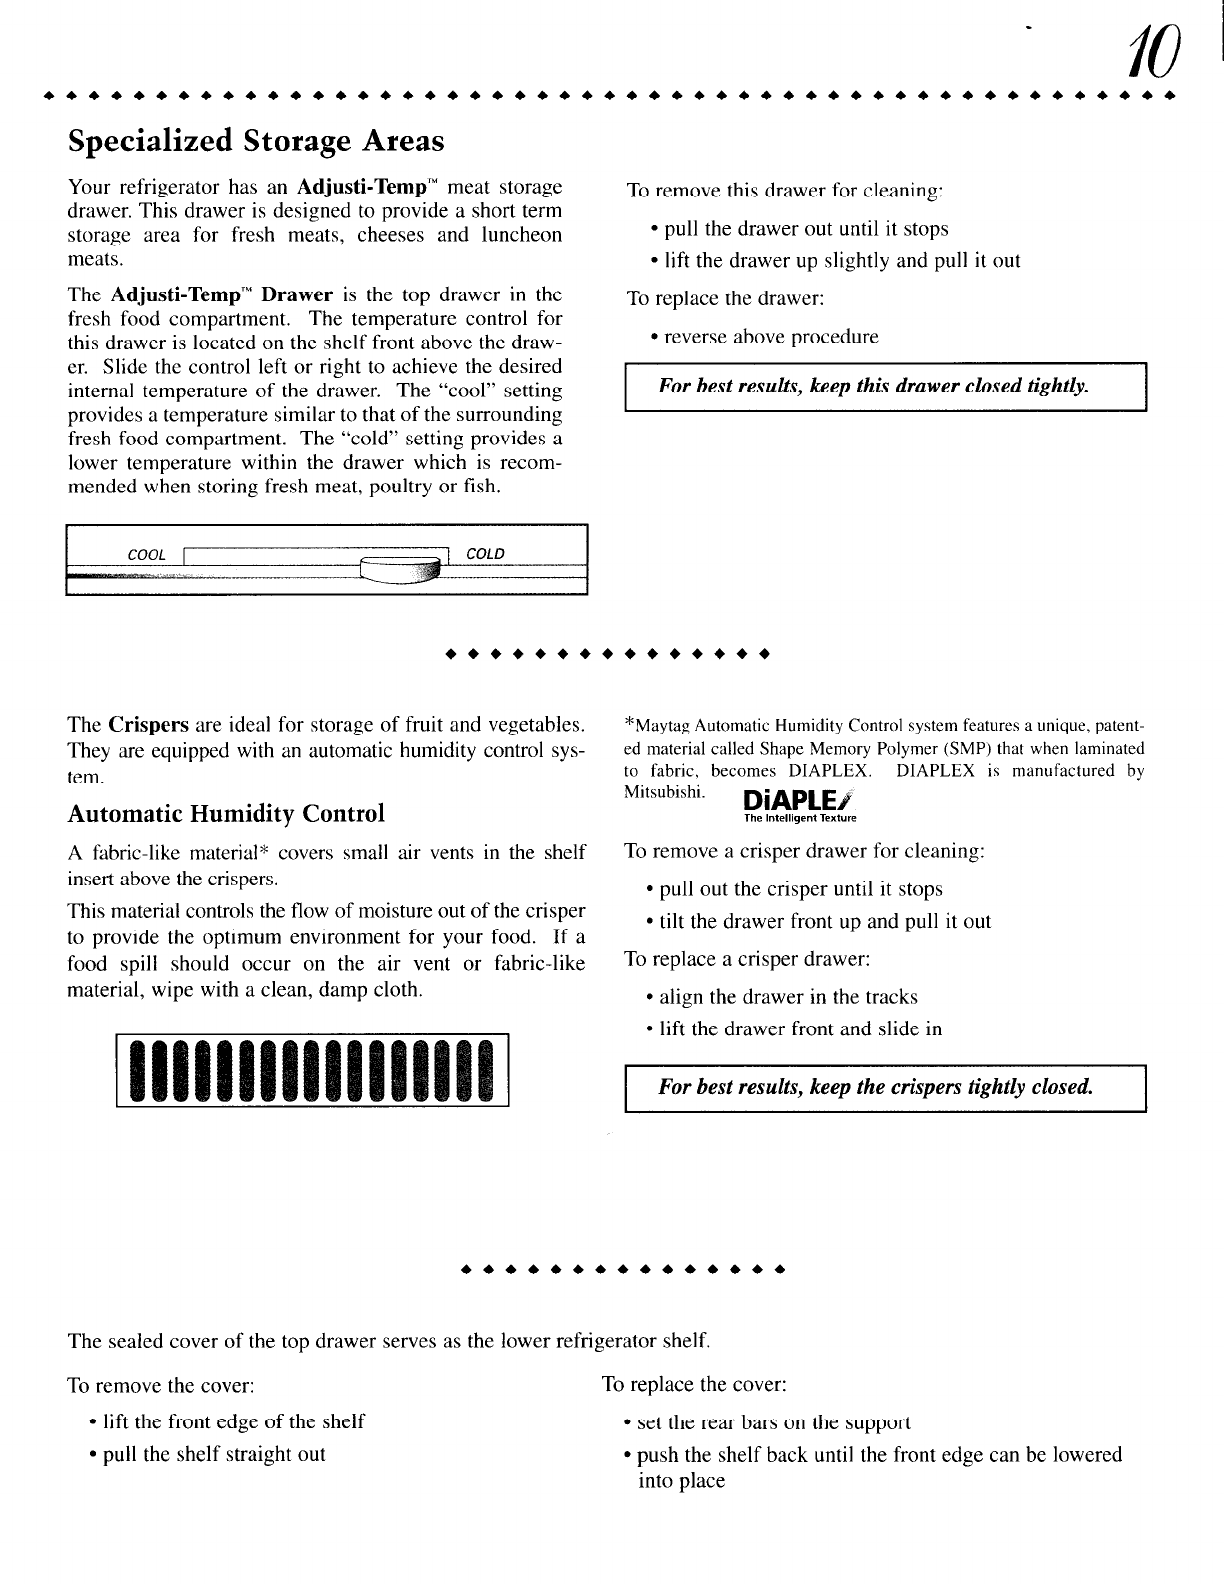
er. Slide the control left or right to achieve the desired
internal temperature of the drawer. The “cool” setting
provides a temperature similar to that of the surrounding
fresh food compartment. The “cold” setting provides a
lower temperature within the drawer which is recom-
mended when storing fresh meat, poultry or fish.
To remove this drawer for cleaning:
l
pull the drawer out until it stops
l
lift the drawer up slightly and pull it out
To replace the drawer:
* reverse above procedure
For best results, keep this drawer closed tightly.
l **************
The Crispers are ideal for storage of fruit and vegetables.
They are equipped with an automatic humidity control sys-
tem.
Automatic Humidity Control
A fabric-like material* covers small air vents in the shelf
insert above the crispers.
This material controls the flow of moisture out of the crisper
to provide the optimum environment for your food. If a
food spill should occur on the air vent or fabric-like
material, wipe with a clean, damp cloth.
*Maytag Automatic Humidity Control system features a unique, patent-
ed material called Shape Memory Polymer (SMP) that when laminated
to fabric, becomes DIAPLEX. DIAPLEX is manufactured by
Mitsubishi.
DiAPLEi
To remove a crisper drawer for cleaning:
l
pull out the crisper until it stops
l
tilt the drawer front up and pull it out
To replace a crisper drawer:
l
align the drawer in the tracks
l
lift the drawer front and slide in
I
For best results, keep the crispers tightly closed.
I
l **************
The sealed cover of the top drawer serves as the lower refrigerator shelf.
To remove the cover:
l
lift the front edge of the shelf
l
pull the shelf straight out
To replace the cover:
l
set the rear bars on the support
l
push the shelf back until the front edge can be lowered
into place
