Changing the Sleep Timer Setting - Windows
You can use the printer software to change the time period before the printer enters sleep mode.
1. Do one of the following:
• Windows 7: Click and select Devices and Printers. Right-click your product name and select
Printing Preferences.
• Windows Vista: Click and select Control Panel. Click Printer under Hardware and Sound,
right-click your product name, and select Printing Preferences.
• Windows XP: Click Start and select Printers and Faxes. (Or open the Control Panel, select
Printers and Other Hardware if necessary, and select Printers and Faxes.) Right-click your
product name and select Printing Preferences.
2. Click the Maintenance tab.
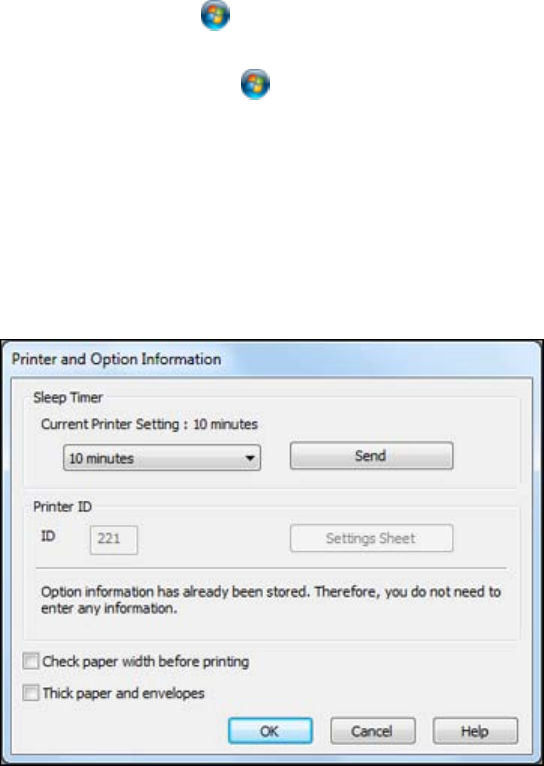
3. Click the Printer and Option Information button.
You see the Printer and Option Information screen:
4. Select the time period you want before the product goes to sleep as the Sleep Timer setting.
5. Click Send.
26


