Digital Out
Set the digital audio output.
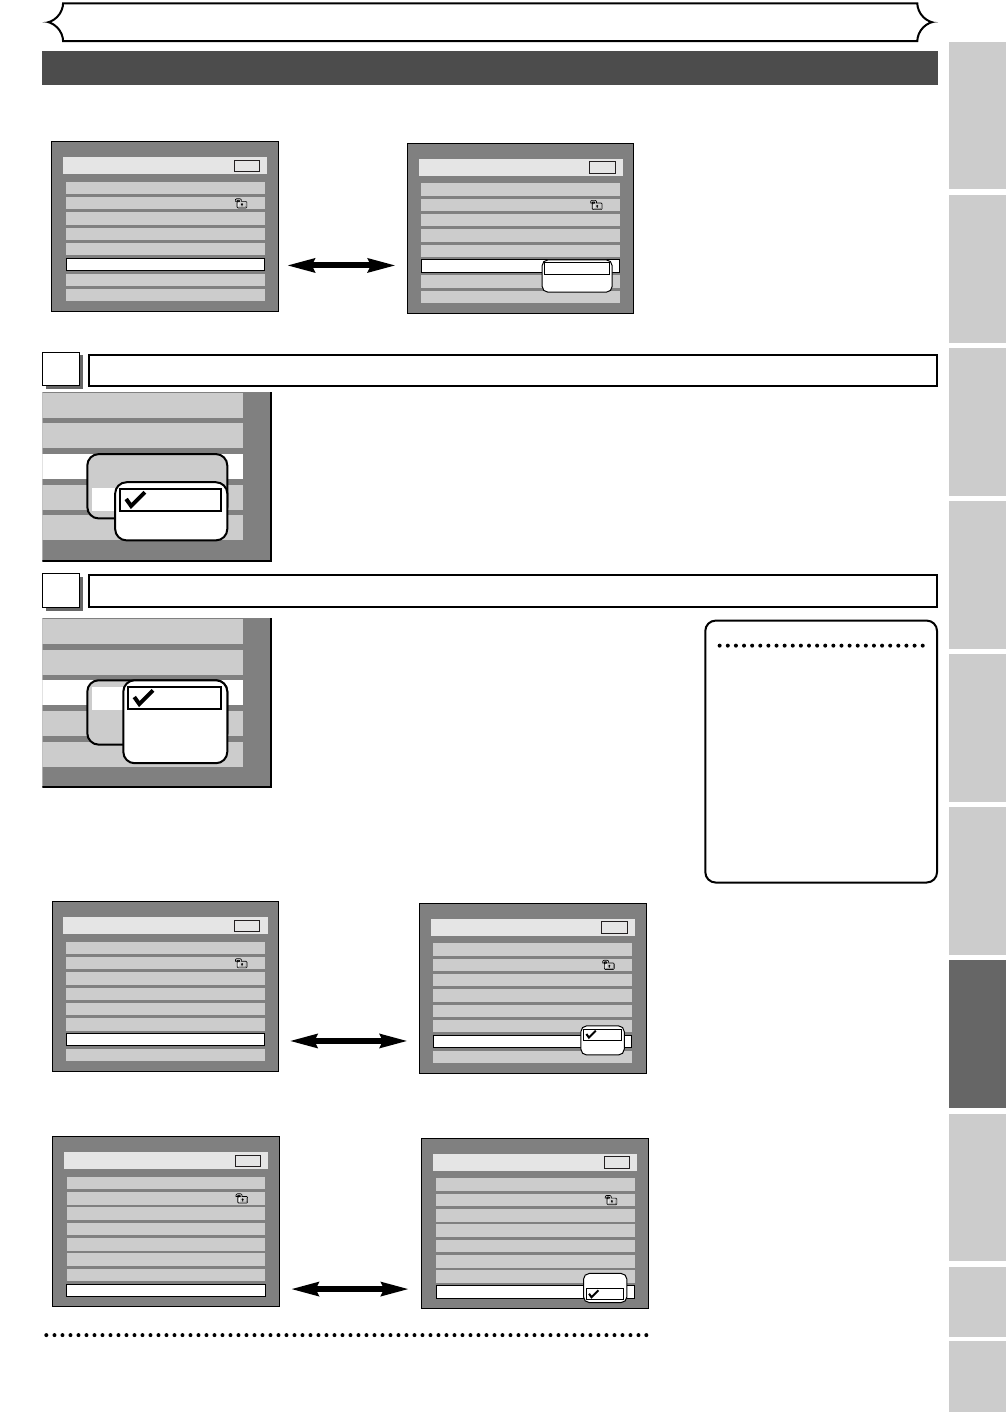
•
Select a setting using K / L
buttons, then press ENTER
button.
Option window will appear.
Proceed to steps A or B.
•
Select a setting using K / L
buttons, then press ENTER
button.
Your setting will be activated.
•
Select a setting using K / L
buttons, then press ENTER
button.
Your setting will be activated.
Dynamic Range Control
(Default : ON)
Set to ON to compress the range between soft and loud sounds.
Fast Forward with Audio (Default : OFF)
Set to ON to output the sound during playback in fast forward of x2.
5
Press SETUP button to exit SETUP menu.
Settings for Dolby Digital (Default : Stream)
•
Select a setting using K / L buttons, then
press ENTER button.
Your setting will be activated.
Auto : Select “Auto” usually.
48kHz : If your amplifier/decoder is NOT com-
patible with 96kHz PCM, select “48kHz”.
96kHz sound will be output in 48kHz.
96kHz : If your amplifier/decoder is compatible
with 96kHz PCM, select “96kHz”. 96kHz
sound will be output.
Note
When playing disc with
copyright protection
• If you select “Auto”, the
sound will be down sam-
pled at 48kHz.
• If you select “96kHz”, no
digital sound will be out-
put. Select “Auto”, so
that outputting 48kHz
digital sound.
•
Select a setting using K / L buttons, then press ENTER button.
Your setting will be activated.
PCM : Convert the Dolby Digital into PCM(2 channel).
When your amplifier/decorder is NOT compatible with Dolby Digital,
set to “PCM”.
Stream : Outputs a Dolby Digital signals.
When your amplifier/decorder is compatible with Dolby Digital, set to
“Stream”.
A
B