256
Creating Custom Stitch Patterns (Programmable Stitch Creator)
Opening a Pattern File
A previously saved programmable stitch file can be
opened to be edited.
Toolbar button:
1. Click , or click File, then Open.
→ An Open dialog box similar to the one
shown below appears.
2. Select the drive and the folder.
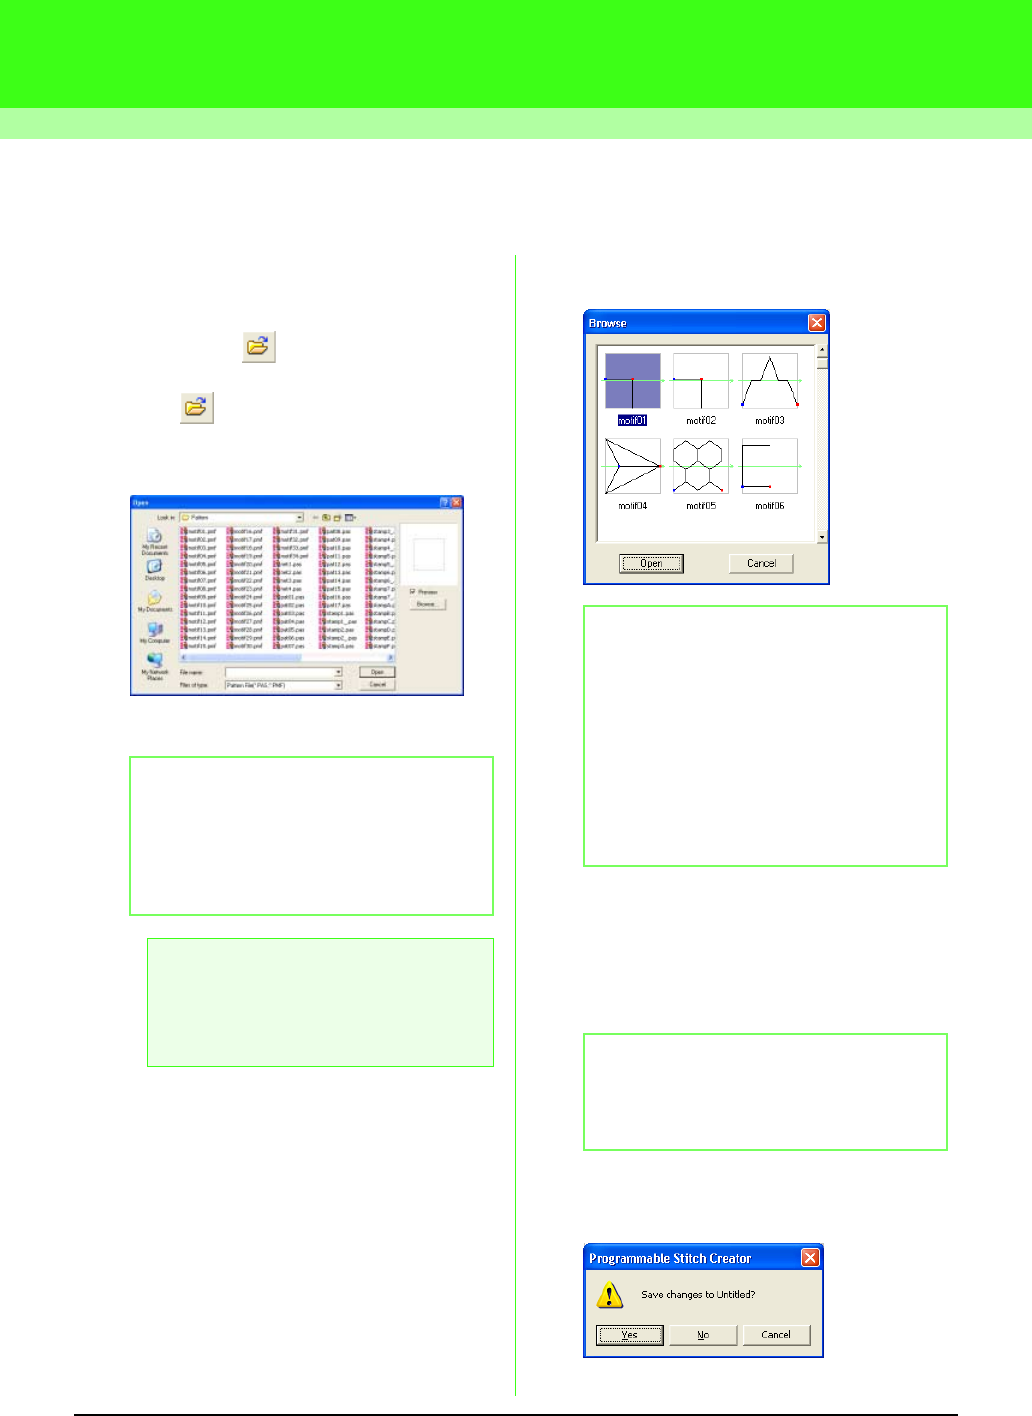
3. To view the contents of the .pas and .pmf files
in the currently selected folder, click Browse.
→ A Browse dialog box similar to the one
shown below appears.
4. To open a file, select it, and then click Open,
or double-click the file’s icon.
→ If the current work area has already been
saved or has not been edited, the
contents of the selected file immediately
appear in the work area.
→ If the current work area has not been
saved, you will be asked whether you
want to save the changes.
b Memo:
• If the
Preview
check box is selected, the
contents of the selected file will appear in
the
Preview
box.
• To quit the operation and close the dialog
box, click
Cancel
.
a Note:
To open a fill/stamp stitch pattern, be sure to
select a
folder that contains .pas files. To
open a motif stitch pattern, be sure to select
a folder that contains .pmf files.
b Memo:
• To return to the
Open
dialog box, click
Cancel
.
• A green arrow through the middle of the
stitch pattern indicates motif stitch patterns
(.pmf). Otherwise, the data is a fill/stamp
stitch pattern (.pas).
• Stamps are identified by the red- (engraving
effect sewn with the fill stitch) and blue-filled
areas (embossing effect sewn with satin
stitching).
b Memo:
The mode will automatically change to match
that of the selected pattern (
Fill/Stamp
for
.pas files or
Motif
for .pmf files).


