


1110
Testing the Motion Detector
• Set the slide switch on the Motion Detector to position 1.
• Press and hold the TEST button for about a second. The LED flashes twice when you
release it.
• Wait 20 seconds for the sensor to settle.
• Walk in front of the Motion Detector. The indicator LED lights each time it senses
movement. Check the coverage area and reposition the sensor as required.
• Press the TEST button to return to normal operating mode.
Note: The Motion Detector will automatically return to normal operating mode after
about 2 minutes.
InstallationInstallation
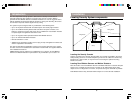
Installing the Motion Detector
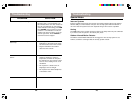
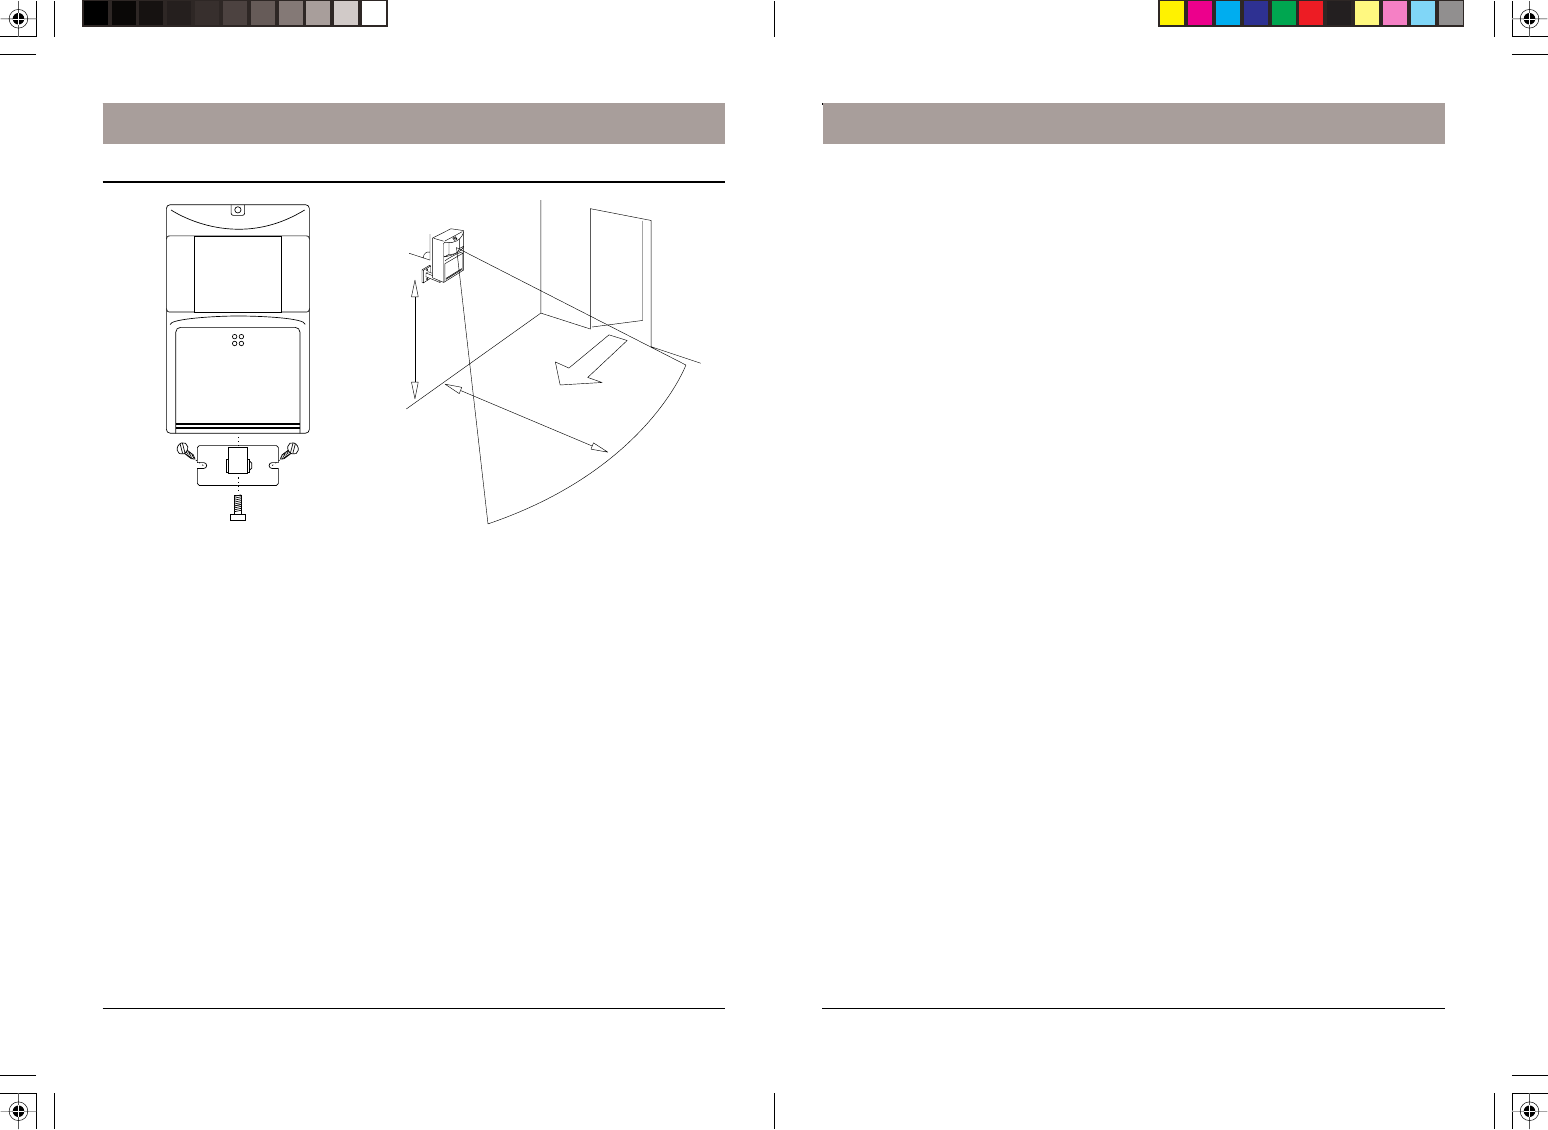
• Attach the Motion Detector to a wall at a height of 5 to 6ft using the mounting bracket
and screws provided.
Note: The Motion Detector has a special lens that 'looks' downwards. It must therefore
be mounted to face outwards horizontally, i.e. do not 'aim' the sensor downwards.
• Set the slide switch to position 1 for instant triggering for maximum sensitivity or
position 2 to trigger only after two movements have been sensed.
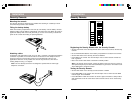
Registering the Motion Detector with the Security Console
• Fit four AA Alkaline batteries in the battery compartment.
• Press the CODE button on the back of the Motion Detector using a pencil or other
pointed object to generate a new random security code.
• Set the slide switch on the Security Console to INSTALL.
• Press the TEST button on the Motion Detector. The console beeps once to confirm
and the next available zone LED lights.
Note: If the Motion Detector senses movement before you press the TEST button it
may register itself automatically.
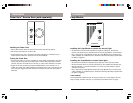
MOTION DETECTOR
5-6ft
30-40ft
90˚
MOTION DETECTOR
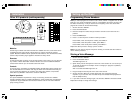
Motion Detector