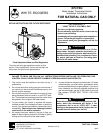
2
INSTALLATION
REPLACEMENT INFORMATION
REMOVING OLD CONTROL
1. Shut off gas to water heater.
2. Shut off water at cold water inlet.
3. Connect hose to heater drain cock. Drain water to a
nearby drain. Open a hot water faucet for faster drain-
ing.
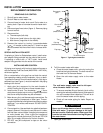
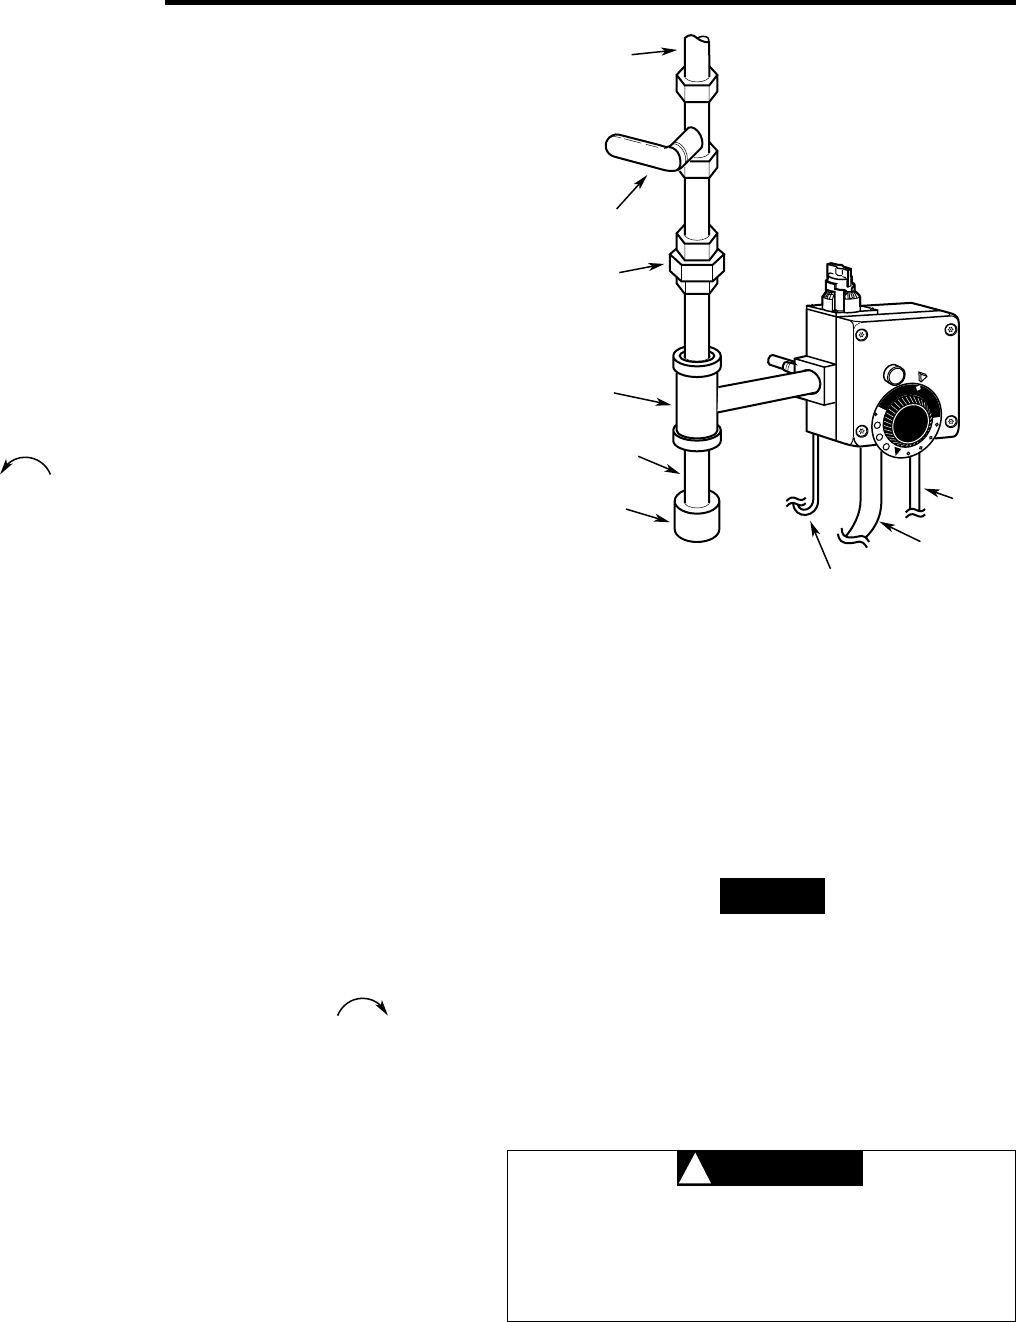
4. Disconnect gas line at union (figure 1). Remove piping
from old control.
5. Disconnect the:
a. Thermocouple (left side).
b. Pilot burner (small tube on the right side)
c. Main burner (large tube in the middle).
6. Remove the control by turning it counterclockwise
( ). If needed, a short piece of
1
/2” black iron pipe
can be screwed into the control inlet to increase lever-
age.
SPECIAL INSTALLATION NOTE
If replacing a Unitrol or Robertshaw control, install exten-
sion adaptor fitting provided into the outlet of the control.
If replacing a control with
3
/8" NPT outlet, install small
adaptor fitting provided into the outlet of the control.
INSTALLING NEW CONTROL
All piping must comply with local and state ordinances or
with the National Fuel Gas Code (ANSI Z223.1–NFPA 54),
whichever applies.
Dirt or contamination in the gas line can block the control
from operating creating a risk of explosion, injury or death.
To protect the control from dirt/contamination, a drip leg or
sediment trap (see Figure 1) must be installed in the piping
leading to the control.
1. Apply pipe joint compound to the male threads of
control, leaving the first two or three threads clean.
2. Install control in tank. Turn clockwise ( ). Use a
short piece of pipe to help in turning. Align the control so
that burner and pilot tubes may be connected.
3. Make burner, pilot, and thermocouple connections. Do
not use pipe joint compound or teflon tape. Thermo-
couple nut should be hand tightened and then turned an
additional
1
/4 turn with a small wrench. DO NOT OVER-
TIGHTEN.
4. Connect gas line. Use new black iron pipe that has been
properly reamed. If old pipe is used, be sure it is clean
and free from rust and scale. Use pipe joint compound
on male threads only. (Use a pipe joint compound
approved for natural gas service.) Do not use TEFLON
tape. Do not apply compound to first two threads.
5. DO NOT use joint compound or tape on the union
connection.
To pilot
burner
To main burner
To thermocouple
A
B
C
P
I
L
O
T
L
I
G
H
T
I
N
G
L
O
W
H
O
T
V
E
R
Y
H
O
T
RISK OF SCALDING
INCREASES WITH
HOTTER WATER
CAUTION:
Figure 1. Typical gas connection
Drip leg
(sediment trap)
Pipe cap
Tee
Union
(metal-to-metal)
Gas shut-off
valve
Gas supply
pipe
6. To fill the water heater with water:
a. Close the water heater drain valve by turning the
handle to the right (clockwise). The drain valve is on
the lower front of the water heater.
b. Open the cold water supply valve to the water
heater.
The cold water supply valve must be left open
when the water heater is in use.
c. To ensure complete filling of the tank, let air exit by
opening the nearest hot water faucet. Allow water to
run until a constant flow is obtained. This will let air
out of the water heater and the piping.
d. Check all new water piping for leaks. Repair as
needed.
Never use this water heater unless it is completely
filled with water. To prevent damage to the tank,
the tank must be filled with water. Water must flow
from the hot water faucet before turning ON gas to
the water heater.
7. Open gas shutoff valve.
NOTE
CAUTION
!


