


Page 2PMS-01 042610
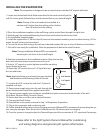
Note: The evaporator is designed to be mounted on two standard 16” spaced wall studs.
1. Locate two desired wall studs. Mark center lines for the studs vertically on the
wall (16 inches apart) followed by a level horizontal line at your desired height.
Note: The top of the unit needs to be installed at a
minimum of 6 inches from the ceiling and no further
than 18 inches from the ceiling.
2. Place the installation template on the wall lining up the vertical lines through the sight slots.
3. Mark through the indicated Mounting Screw holes and location for the Access Hole.
4. Set Installation Template aside.
5. Install the supplied four 2” #8 Hex Head Screws into the marked mounting screw locations leaving 1/6” be-
tween the wall surface and screw head.
6. Cut out the Access Hole using a drywall saw or desired method. Be sure to clear all debris and insulation.
7. The wall is now ready for installation. Place the prepared unit below the install location.
Note: During installation WhisperKOOL recommends
elevating the unit close to the install height.
8. Raise the evaporator to the installation location. Align the rear key
holes with the mounting screws and mount the unit.
9. Using a 1/4” wrench or socket tighten accessible mounting
screws inside of the unit.
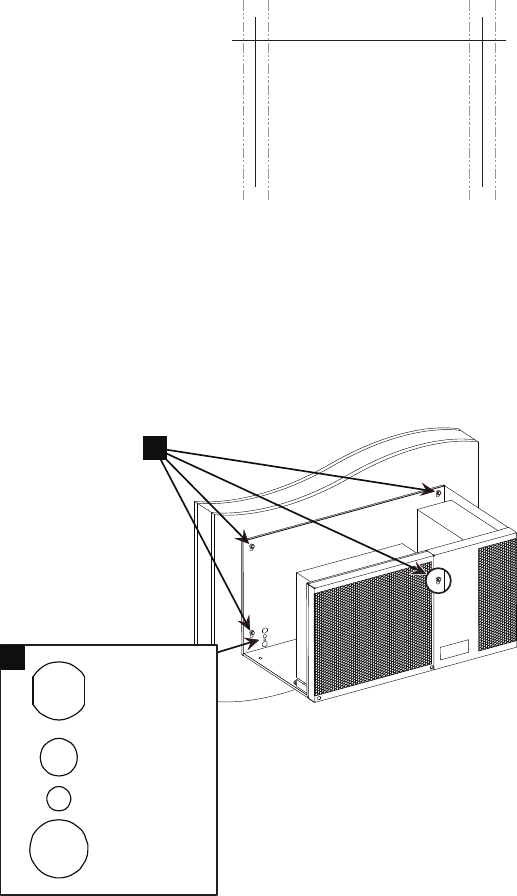
10. Route the 3/8” suction line and 1/4” liquid line into
the unit and braze.
Note: Angle the ame up and away from any electrical
and insulation while brazing inside of the unit.
11. Insulate the 3/8” suction line with the 10” piece of
supplied cork tape.
12. Route power supply wires into the unit through the
power knockout and install the supplied strain relief.
13. Connect power supply wires to the pre-installed butt splice connectors located inside of the unit
(Hot=Black, Neutral=White, Ground= Green).
14. Route drain line out of the unit to desired location.
15. Connect the Bottle Probe.
16. Reinstall the access panel removed in step 1 of Evaporator Preparation.
17. Plug in the evaporator and condensing unit.
18. Follow standard refrigeration system charging processes. WhisperKOOL recommends pressurizing the sys-
tem using dry nitrogen, then allow unit to hold pressure for 30 minutes prior to charging.
19. Once the system is charged, adjust the Thermal Expansion Valve to maintain 8-12°F superheat if necessary.
INSTALLING THE EVAPORATOR
Please refer to the Split System Owners Manual for condensing
unit wiring diagrams and general split system information.
9
Power
3/8” Suction
1/4” Liquid
Drain
10