24
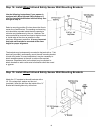
Step 26: Connecting Door Arm to Door
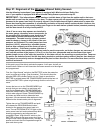
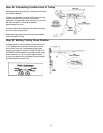
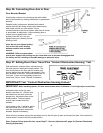
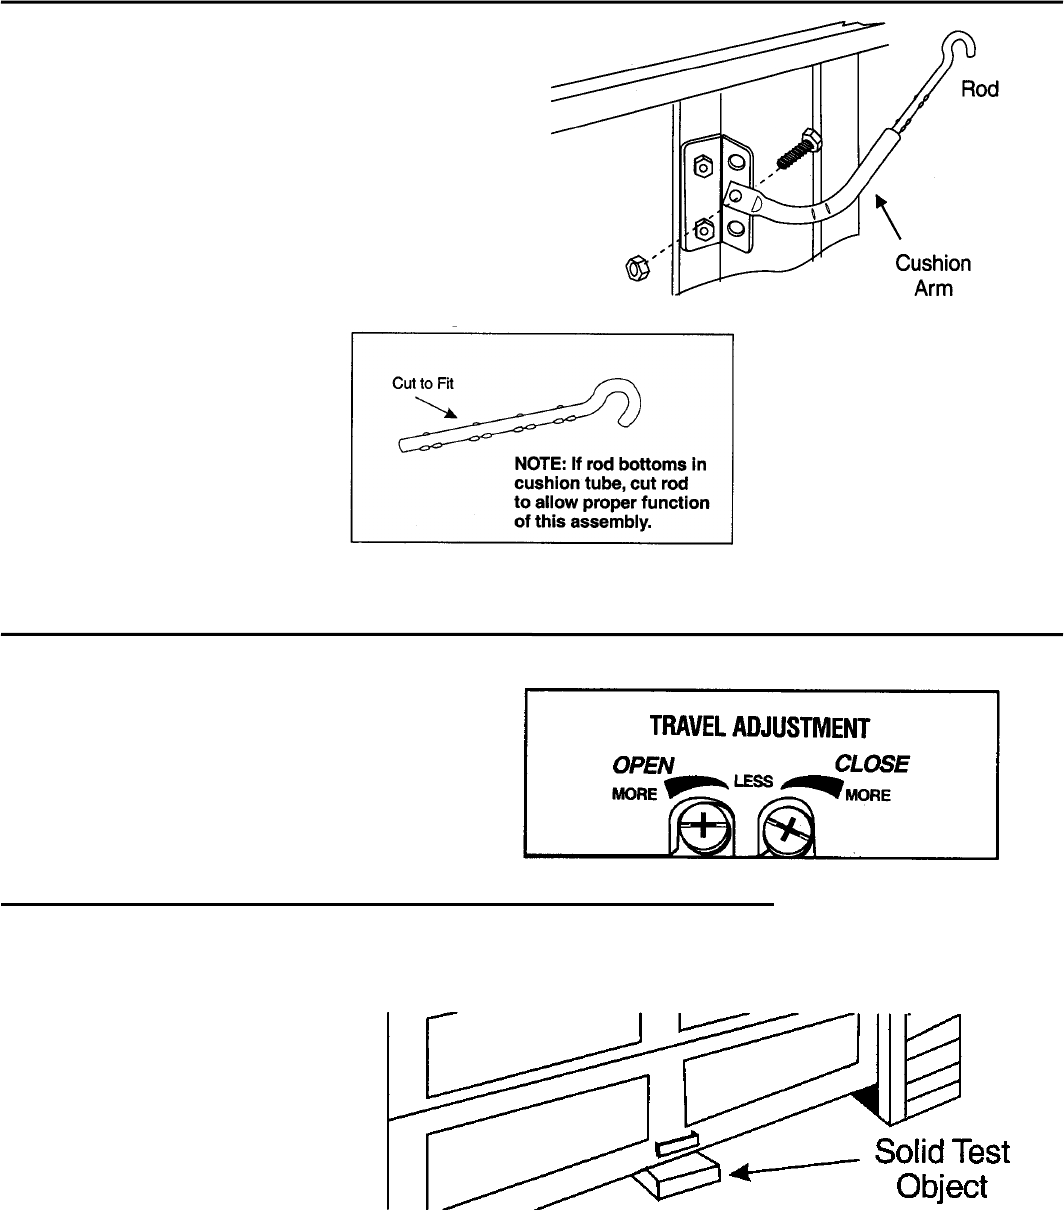
Door Mounted Bracket
Visually align cushion arm connecting hole with middle
hole of door bracket by rotating tube section in appropriate
direction.
Release trolley (cushion arm attached) with manual
release cord and pull trolley a few inches toward motor.
Now rotate cushion arm tube section 2 turns
counterclockwise to provide a cushion when door is closed
or encounters an obstruction. Align connecting hole in
cushion arm to middle hole in door
bracket; insert 3/8” dia. bolt and
tighten locking nut, allowing for free
pivoting of arm.
Note: Do not over tighten locking
nut, as this will cause binding
between cushion arm and door
bracket.
WARNING: Failure to secure door
arm to door bracket with locking nut can cause door arm to become disengaged from
the trolley and fall, resulting in possible damage or personal injury.
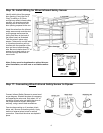
Step 27: Setting Door Close Travel Plus “Contact Obstruction Sensing” Test
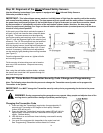
With wall control up/down button, activate door to
full open position; reactivate to close position. The
door should stop on the floor with the cushion arm
and the bottom door seal slightly compressed. If the
door reverses off the floor, turn close travel knob 1/4
turn “less”. If door is not completely closed, turn
travel knob 1/4 turn “more”. Repeat if necessary.
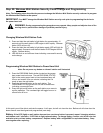
IMPORTANT! Test “Contact Obstruction Sensing Feature”
IMPORTANT: After installing opener, the door must reverse when it contacts a 1 inch high object on the floor.
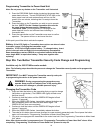
Activate the door to the full, open
position and place a 1” (25mm) solid
test obstacle on the floor under the
garage door. Activate the door to the
closed position. The door should
reverse upon contact with the 1”
obstacle.
If door stops on the 1” obstacle, adjust
the close travel knob 1/4 turn “more”
until door reverses upon contact with
obstacle. Repeat if necessary.
When the door reverses, remove the test object and run the full cycle of open and close of the door. Door should not
reverse when it comes to the fully closed position.
Note: If opener fails to pass this test, repeat Step 27. Also see Adjustment #2, page 28, (Contact Obstruction
Sensing Adjustment).


